TeeHee… the “anatomy” of a lesson. My inner ten year old boy is peeking out. I feel like I have wanted to type that in a blog title forever. Almost as much as I have been dying to have “Stop. Collaborate and Listen” as a title. Can you name that tune? Seriously, now I may have to craft a blog post JUST to use that one!
So, back on track. I want to address how I choose to plan and implement guided reading groups and the parts of the lesson I choose to include. There are several different approaches towards guided reading and I like to sample from what I have read and also simply what I have observed others do. I have been heavily influenced by teachers that I admired as masters and I tried to emulate what they did. Here are a few of my personal nonnegotiables (these are my opinions of what is important to me in my classroom : )
-
Students should be successful in guided reading- if they are not I need to make changes. Whether that be text difficulty, the amount of previewing and activation I provide or text choice. Students need to WANT to come to my groups. Magic happens at that table and I want my students fully invested.
-
I should have a plan. Yes, that means I write 3 plans per day ( I only have 3 groups this year). When I teamed I wrote 8 guided reading lesson plans per day. It is important that I know the text inside and out or it is very difficult to anticipate errors and scaffold. Teachers that whip out the pamphlet lessons or no lesson make me cringe. The point of guided reading is guiding YOUR reader. The pamphlet of lessons can definitely be a great resource and guide, but I don’t view them as my lesson. I’ll wait for people to stop throwing tomatoes at me. I know that it is pretty opinionated of me. (Insert long pause here). However, I DO reuse guided reading plans from year to year but make modifications for what I anticipate this year’s group of readers will need. Am I forgiven now?
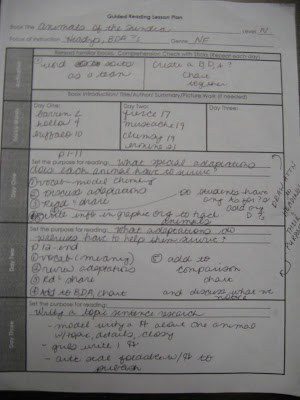
Since I am so picky about having a lesson plan : ) I will share the plan I use now.
Here is a picture of a filled out lesson I did last week.
During guided reading groups I stay to a general format.
1. Reread
2. Introduce or activate text
3. Discuss tricky words
4. Set purpose for reading
5. Students read. Teacher taps in.
6. Discuss purpose for reading question and text in general.
7. If time, quick teaching point/ lesson.
I have created a handout that is a flow chart of a guided reading lesson. It contains much of this post in a more eye friendly manner!
Kids always reread familiar, past text. I have a set of sticks with cards at the top that each have a different reading question. I made these at a class that I took on guided reading (it was wonderful). I pick one student to randomly draw a stick and then kids read for this purpose. Shelley Gray has posted some cards that are similar on TpT for free. I try to “tap in” and listen to a student for fluency.
After the familiar read students share the answer to the card that was pulled.
The next step depends on whether I am introducing a new book or if I am continuing an old text.
If I introduce a new text I complete some kind of activation or previewing activity. Then I share the author, title and a brief summary. How long I spend on this step depends on the amount of support and background knowledge my students need. I tend to spend MUCH longer when starting a nonfiction book. On my website I have several ideas for activation or previewing. A great one is Give One, Get One.
If we are continuing a text from a previous day we usually discuss it after we do the familiar read (using the part of the text we have already read) and then I move on. I share tricky words or vocabulary that I think kids will struggle within that portion of the reading. I try to stick to 3 words. Sometimes I might go over 4, but that is the MOST. If I find I have more tricky words, then the text is either to hard or I need to chunk up the reading so there are only 3-4 tricky words at a time (if this makes sense). Often when I introduce the tricky words I model chunking the word. Sometimes I will play games like Rivet (the kids love this one). After we decode the word I tell students the page it is found in the book and I tell them where it is on the page. They use highlighter tape to highlight the word. Then I have them read the sentences the words are contained in to figure out the meaning of the word. This is a great time to teach kids strategies to figure out word meanings like reread, look at the picture and so on.
After we have figured out all the tricky words in the text, I have students mark a stopping point in the text.
Then I set the students purpose for reading by giving some kind of question to answer after they have read that portion of the text. I usually write the question on the easel so student always see the question. One thing I need to get better at is giving students post it flags to mark the text. They need to use the flags whenever they find the answer to the question I ask. This sets up a support system to start guiding students to use evidence in the text to support responses. (Note to self- start doing this again).
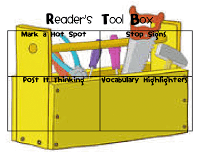
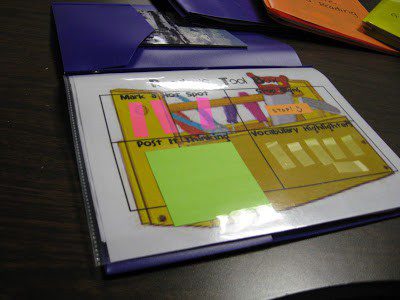
Students have the Reader’s Tool Box sheet above available to them during guided reading groups (I will explain soon how I organize materials but thought it would help in this post too). On the sheet are all the do-hickeys (yes, that is my technical term) needed in guided reading groups. Below is a picture of it and the materials I use in guided reading.
As students read the text I try to “tap in” to one or two if the students and listen to them read. I usually do a quick running record and then ask one comprehension question. I spend maybe 3 minutes on a student or so.
After a student reads they answer the question. If they finish before the rest of the group, they reread to practice their reading fluency.
After all students have finished reading (even if they haven’t written down their responses. This is where the real world and the dreaded clock buts in) we share our answers.
If time I try to find a common teaching point. Fluency is a great one. It is easy to show students how punctuation affects inflection. Quick and easy lesson.
And then we are DONE!…and I call my next group. Whoosh.
That is the Mandy School of Guided Reading. I am sure other people do it differently and probably even better : ). I have been very lucky to be successful so far.
Next I intend to focus on teacher organization and recording of information. Oy. This could be a doozy!
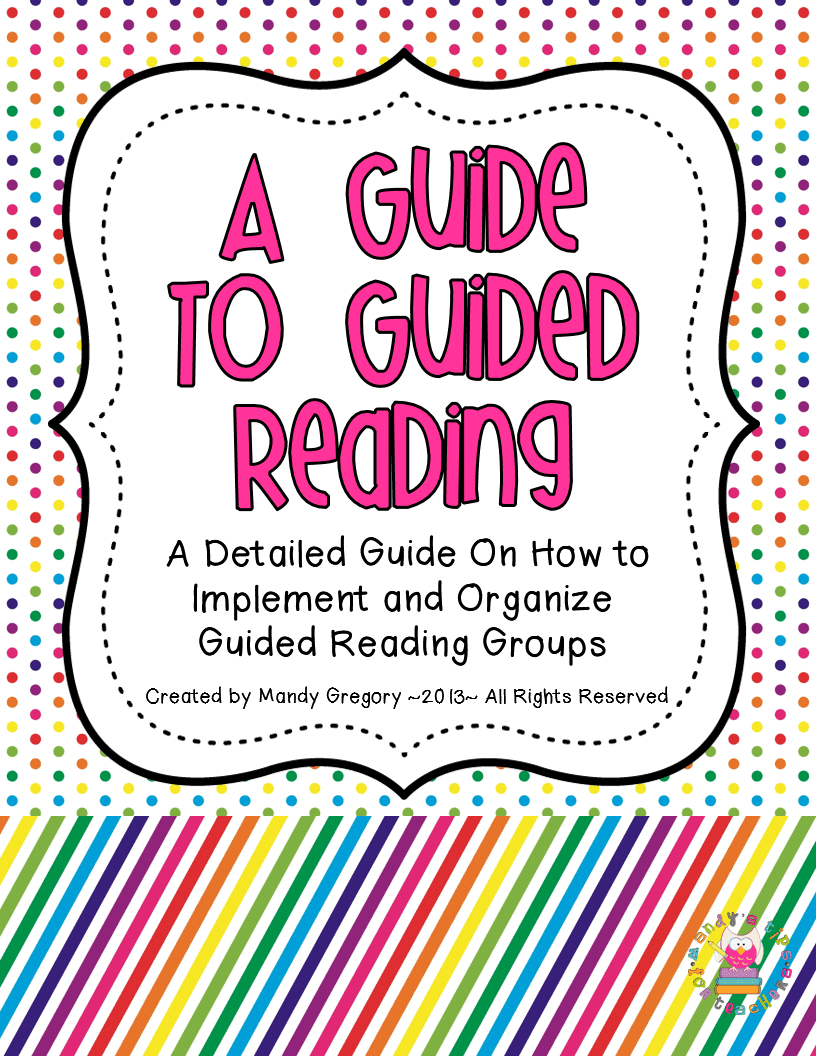
Update: If you are looking for LOTS more information about Guided Reading and organizational make sure to check out my guided reading pack, A Guide to Guided Reading. A hundred pages of guided reading goodness!
Mandy Gregory is a 2007 and 2012 Teacher of the Year. She has taught Kindergarten- 4th grades in both the general education and inclusion settings. She is currently a 1st grade Special Education teacher. She is the owner and creator of Mandy’s Tips for Teachers website (www.mandystipsforteachers.com) and has over 13 years of teaching experience. She is married with two beautiful children.



I just came across this – how wonderful for you to share!!
do you make one of these up for each group you have…or do you use the same one for all your goups?
Thanks for sharing!
Hey Jen!
Thank you so much! I do actually make a lesson plan for each group. Once I get in the swing I can knock one out in 10-15 minutes.
I do save them from year to year in a big binder ( I should take a picture of that…) so the next year I just pull out the old plan, make any adjustments I think the current group will need, and move on.
If I did all the plans on the same page it would make it very hard to save over the years (if that makes sense).