I am so sorry this ding-danged reveal is taking 200 years. I have been so tired lately that even the THOUGHT of sitting down and writing exhausts me. When I finally get the chance or energy, I peter out before I can finish it all! I WILL finish today if I am uploading pictures in my sleep!
If you can’t remember where we left of (and I can’t imagine why, it was only 200 years ago), I last showed pictures of our whole group area. I will pick back up there.
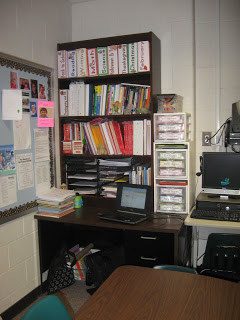
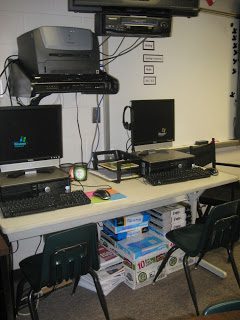
Right next to my desk is are the desktop computers for student use. Right now we are using them for a listening station and spelling tests (www.spellingcity.com). Soon students will rotate through using them for addition fact practice.
I know the cords are OUT OF CONTROL. I am not good at cleaning cords up. I need my hubby to do that and hate to have him to stop by the classroom after a long day of work. I really want to buy a little lamp to cozy this place up!
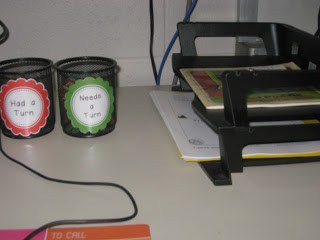
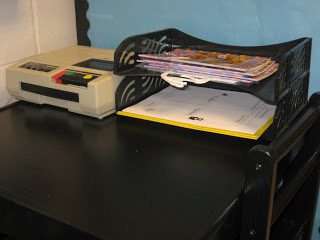
Between the computers are two cups and a set of black paper stackers. I keep a copy of whatever the book students are listening to on the computer (from the site Tumblebooks which I LOVE) and in the bottom stackers are copies of the listening to reading form.
One cup says needs a turn and the other says had a turn. Inside the needs a turn cup are Popsicle sticks with student’s names on them. These will be used when students rotate through a program called FastMath to practice addition fact mastery. Students will complete it as part of the morning work routine. After they finish FastMath they will put their stick in had a turn and draw a stick from the needs a turn. Then they deliver the stick to the student whose name is on the stick to let the child know it is now their turn. If all that confusing mess makes any sense at all, kudos to you! Click here for a copy of the has a turn, needs a turn labels.
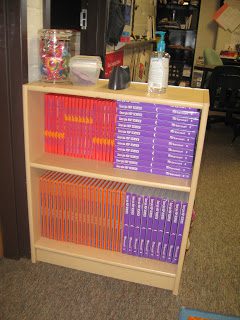
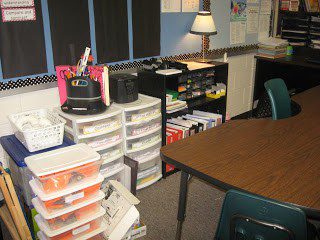
This is a shot of the room from my table and the computers. You can see my IKEA rug which I still LOVE! You can also see the front door to the classroom and the back of a shelf. I tried to photograph the shelf, but it was too dark :(. The shelf has all of our Writer’s Workshop materials on the bottom and is a literature sorter on top for papers to send home. I covered the back of the shelf with blue butcher paper and black bordette to dress it up.
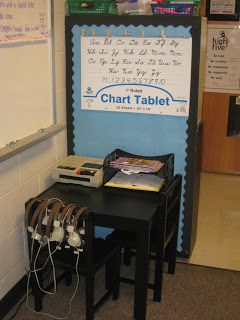
I used clothes pins to hang up (a bit crooked- opps!) chart paper since I like to have some at the front board as well as my easel in the back of the room. I LOVE this little black table. I was a hand me down from a friend whose son had out grown it. When I first got it, it looked like this.
Sorry for the messy background! This was a picture of when I started working on the table in my garage and my garage is a DISASTER! My friend and her son had finger painted the table together so I sanded it down and painted it black. I LOVE it now!
The set up is similar here to how it is on the computer. The book students are listening to is in the top stacker and the response to reading sheet is in the bottom stacker. The tape player to to the left. Students store all headphones on the back of one chair. So far it is working beautifully!
I think I am finally DONE! Yahoo! And THAT is a tour of my room!
Mandy Gregory is a 2007 and 2012 Teacher of the Year. She has taught Kindergarten- 4th grades in both the general education and inclusion settings. She is currently a 1st grade Special Education teacher. She is the owner and creator of Mandy’s Tips for Teachers website (www.mandystipsforteachers.com) and has over 13 years of teaching experience. She is married with two beautiful children.







Looking good! My cords are out of control too 😉 I think it just comes with the teaching territory!
~Stephanie
Teaching in Room 6
Nice job on the step by step article with pictures. Thanks For shearing This article.
RDP Thin Client & Citrix Thin Client