I have worked at two different schools and both had a chance for families to come in before school started to meet the teacher and fill in paper work. One school called it Registration and the other called it Sneak a Peek. For the sake of the clarity of this post, I will refer to it as Sneak a Peek. It is such a cute name! LOL!
I always worked like a dog to get my room ready for Sneak a Peek! It was the last day of pre-planning and I slaved to get my room set up and pretty in time.
Here is how I set my room up! I usually did it the SAME way every year, just to make it easier on myself.
I always created a rotation system. My desks were always set up into table groups. I put any papers on the desk groups. I told parents as they entered to simply rotate to every table (including my guided reading table) in the room and they would get everything!
This first rotation was the most important and was the table group closest to the door. I labeled the picture to make it easier to explain!
a.) I always put a bucket for parents to return forms to. This made it easy to organize and sort papers. I had one on each set of tables to keep the papers organized.
b.) I kept a basket of pens on every table group so parents would always have something to write on.
c.) I typed up a quick set of directions for each table and printed in on cute paper. This was no frills. I also TAPED it down so it wouldn’t’ get lost in the shuffle of papers.
e.) This was a form for the whole class to show
how students went home. It might seem redundant, but I liked to have the whole class on one sheet for subs and such. I put it on a clipboard because it did not have to be returned to the bucket. Parnet just had to write on it!
f.) This was just a
sign in sheet. We had to turn these into the office. I also kept it on a clipboard because it wasn’t put in the retur papers bucket. I felt like the clipboard made parents less likely to try to move the paper! LOL!
This was the second set of desks to create a table group. This one pretty much focused on transportation.
a.) I always put a bucket for parents to return forms to. This made it easy to organize and sort papers. I had one on each set of tables to keep the papers organized.
b.) I kept a basket of pens on every table group so parents would always have something to write on.
c.) I typed up a quick set of directions for each table and printed in on cute paper. This was no frills.
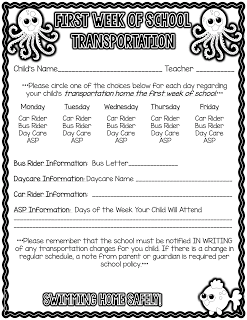
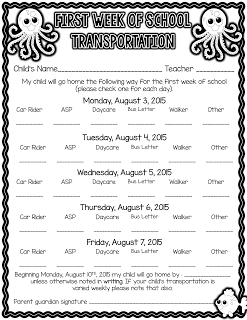
f.) through d.) Were all transportation forms. At the schools I worked at kids had a million and one ways to go home. ti was mind boggling. And they ALWAYS changed. The first day, was different from the first week, which was different from the remainder of the school year. So we were overly cautious and asked for LOTS of documentation!
Here are two different forms for the first week of school- both are for the first week, but are just a different format. There is no need to give parents both! Just choose the one form that best first your classroom! LOL! You can
click on the pictures to download both forms FREE!
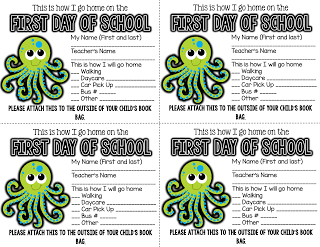
Another important form is this itty-bitty bus tag. You can attach these to bookbags the first day or have students wear them on a string or nametag badge.
This is a filled out version if you want to use it and it works for your school.
.
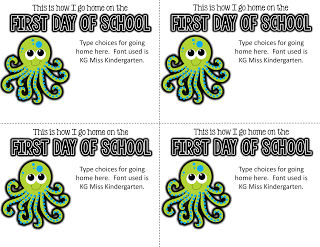
I also have an editable version so you can change it to meet your needs! Simply
click on the pictures to download your FREE copies!
The third table had information about (c)
volunteering and then (d) a
get-to-know-my-child form. Parents could return the forms to the bucket, or could take them home since the get to know you form took a bit to fill out.
This last table just had a bunch of information from the school. Parents didn’t need to fill anything out- they just took it with them!
I also had a few other, not as important, areas set up around the room.
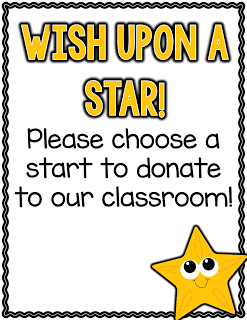
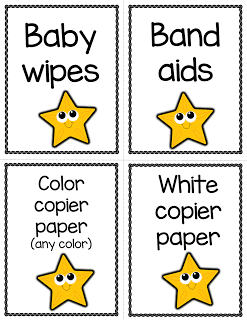
The kids loved this one! I put a basket of candy (a great attention getter!) around stars with items I would love donated in the classroom.
I typed up this quick list! It sticks with the sea creatures theme from above!
I made the donation requests really simple to cut apart. Just
click on the pictures above to download this freebie!
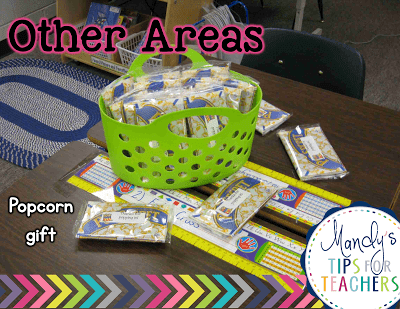
I also liked to give parents a little gift. I just bought microwaveable popcorn and stuck a cute little Avery label on it that said, “Thanks for popping in!” You can download the labels
here free!
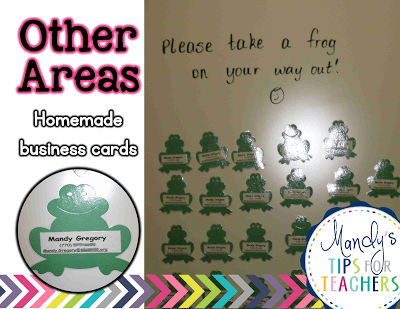
On the board I made some homemade business cards with my information. I just die-cut a cute shape, stuck on an Avery label with my contact info, and laminated them. Then, I cut them out and affixed magnets to the back. This way parents could keep my contact info on the fridge for easy access! I also ordered some magnetic business cards from Vista Print some years! This was much faster! LOL!
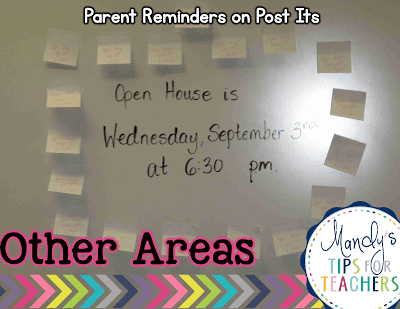
Next to the business cards, I put little post its with reminders. The reminders had information about our Open House. I just hand wrote the day and the time. Then parents could grab a post it reminder on the way out the door.
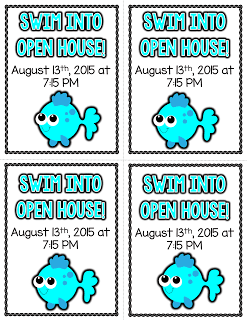
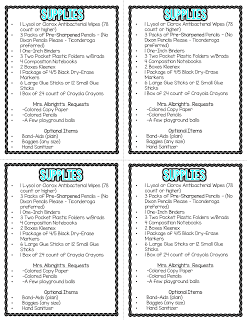
I made these little slips if you would rather use them. My friend printed them back-to-back. One side had the supply list and the other had Open House information.
I made these editable so you can type in your own supply list and Open House information! Just
click on the pictures to download this freebie!
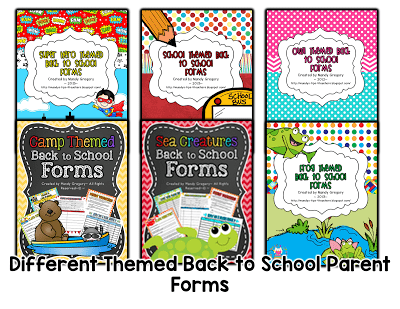
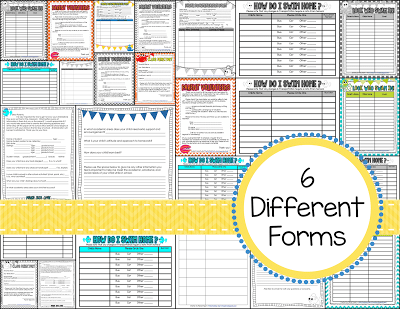
Are you looking for parent forms for back to school? I have all the forms listed in this post for only $2!!!
If you liked the Sea Creatures theme in all the freebies, I also have it in the matching parent forms!
Here is a preview of what is in all the parent form packs! Only the clip art and titles may be slightly different to match the themes!!
Mandy Gregory is a 2007 and 2012 Teacher of the Year. She has taught Kindergarten- 4th grades in both the general education and inclusion settings. She is currently a 1st grade Special Education teacher. She is the owner and creator of Mandy’s Tips for Teachers website (www.mandystipsforteachers.com) and has over 13 years of teaching experience. She is married with two beautiful children.







Looks great! Love all your ideas!! Just started following you!
🙂
fitandfuninthird.blogspot.com