Guided reading can seem like a complicated mess. I am all about making it as easy as possible on everyone- students, teachers, even the administration that walks through. It shouldn’t be like this! LOL!
What are some simple tools that can make it easier? Here are three of my MUST HAVE tools for guided reading and how I use them.
Must Have Tool #1: Sticky Notes
I love a good sticky note. They have so many uses in the classroom in general, but they can be INVALUABLE during guided reading. How do I use them?
First, sticky notes are perfect for students to respond on after reading. Before students are assigned their independent read where the teacher taps in (No idea what I am talking about? Click here to watch my video about the parts of guided reading), the teacher will assign a comprehension question. This is to help students read for a purpose and also can give the teacher a heads up who is (and isn’t) comprehending the text. A sticky note is small and doesn’t provide so much writing space that it is intimidating for struggling writers. The writing forces kids to be concise.
Another great use is simple to use sticky notes to show students where to STOP reading if the guided reading text is multiple pages. Often I just have students put a sticky note labeled STOP covering the page they won’t be reading. For example, if students read pages 1-4, the post it note covers page 5!
Must Have Tool #2: Mechanical Pencils 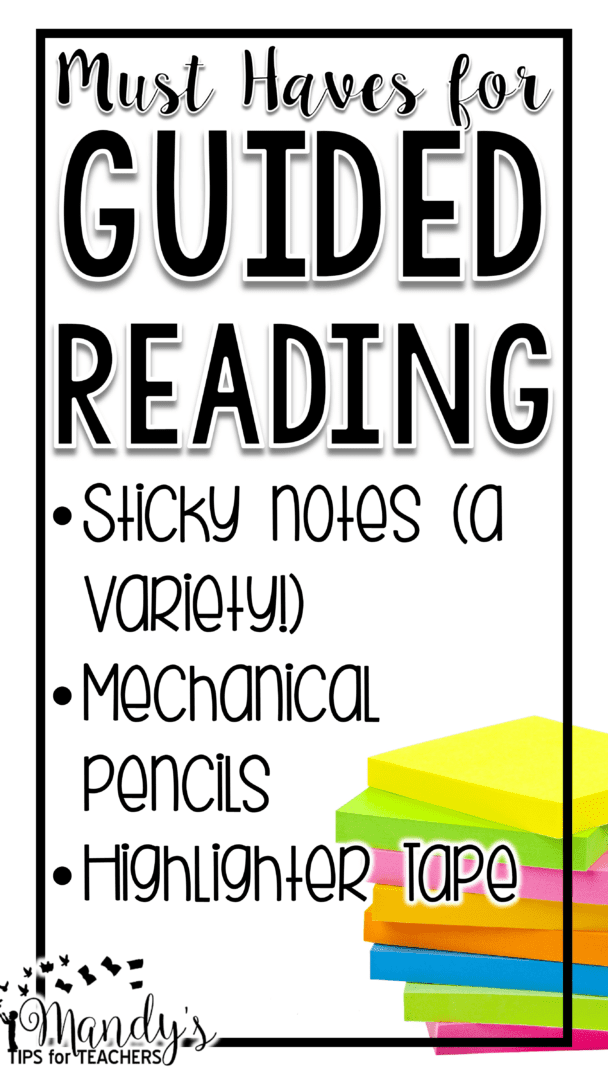
I kept a basket of mechanical pencils JUST for students to use during guided reading. We didn’t use them in our classroom because kids tend to either play with them, or struggle to refill them when they run out of lead. This made them super special to students! Writing with mechanical pencils was a treat! Kids used them whenever they had to write or respond to the text. It also helped ME. I didn’t have to always be sharpening pencils, which we all know is preettyyyy much teacher torture! LOL!
I have a friend that allows her kids to use pens at the guided reading table instead of pencils. This is a great idea! Such an easy way to get kids excited about coming to the reading table!
Must Have Tool #3: Highlighter Tape
This is a tool that I loved, but was a bit of a luxury. Highlighter tape is a colored transparent tape that won’t tear paper when pulled on and off. For each set of reading, I modeled decoding vocabulary words students would encounter in that bit of text (No idea what I am talking about? Click here to watch my video about the parts of guided reading). After modeling, I would show students where to find the word in the text, students would use the highlighter tape to highlight the word. Then, I would model reading the SENTENCE the vocabulary word was found in and the students would choral read the sentence to practice fluency. The highlighting tape acted as flag to remind students that this word was a modeled vocabulary word. I stored the highlighting tape on a “hot spot card.”
Want to know more about how I used the “hot spot card” and post it notes? I can write another post if you want to know more! I loved them!
Get My Best Sellers!
Join the Fun!
Math Centers
Sign up here for Three FREE Differentiated Math Centers to Practice Place Value within 100 or 1,000.

Mandy Gregory is a 2007 and 2012 Teacher of the Year. She has taught Kindergarten- 4th grades in both the general education and inclusion settings. She is currently a 1st grade Special Education teacher. She is the owner and creator of Mandy’s Tips for Teachers website (www.mandystipsforteachers.com) and has over 13 years of teaching experience. She is married with two beautiful children.