Math Group Frequency
The number of groups can determine how often students are met with. If the teacher is able to create three different groups, students can all be met with two times a week. If the teacher creates four groups, then students can be met with twice a week for the two lowest groups, and once for the two highest groups.
I have found that my groups were most effective when they were 25-35 minutes long. Generally, I was able to meet with no more than two groups each math block.
Another point to consider is that students will be working independently for the length of your math group. I have found that students, in general, are not able to work independently and on task for more than 25-30 minutes at a time.
What will students do when not in groups? How will you hold students accountable for this time?
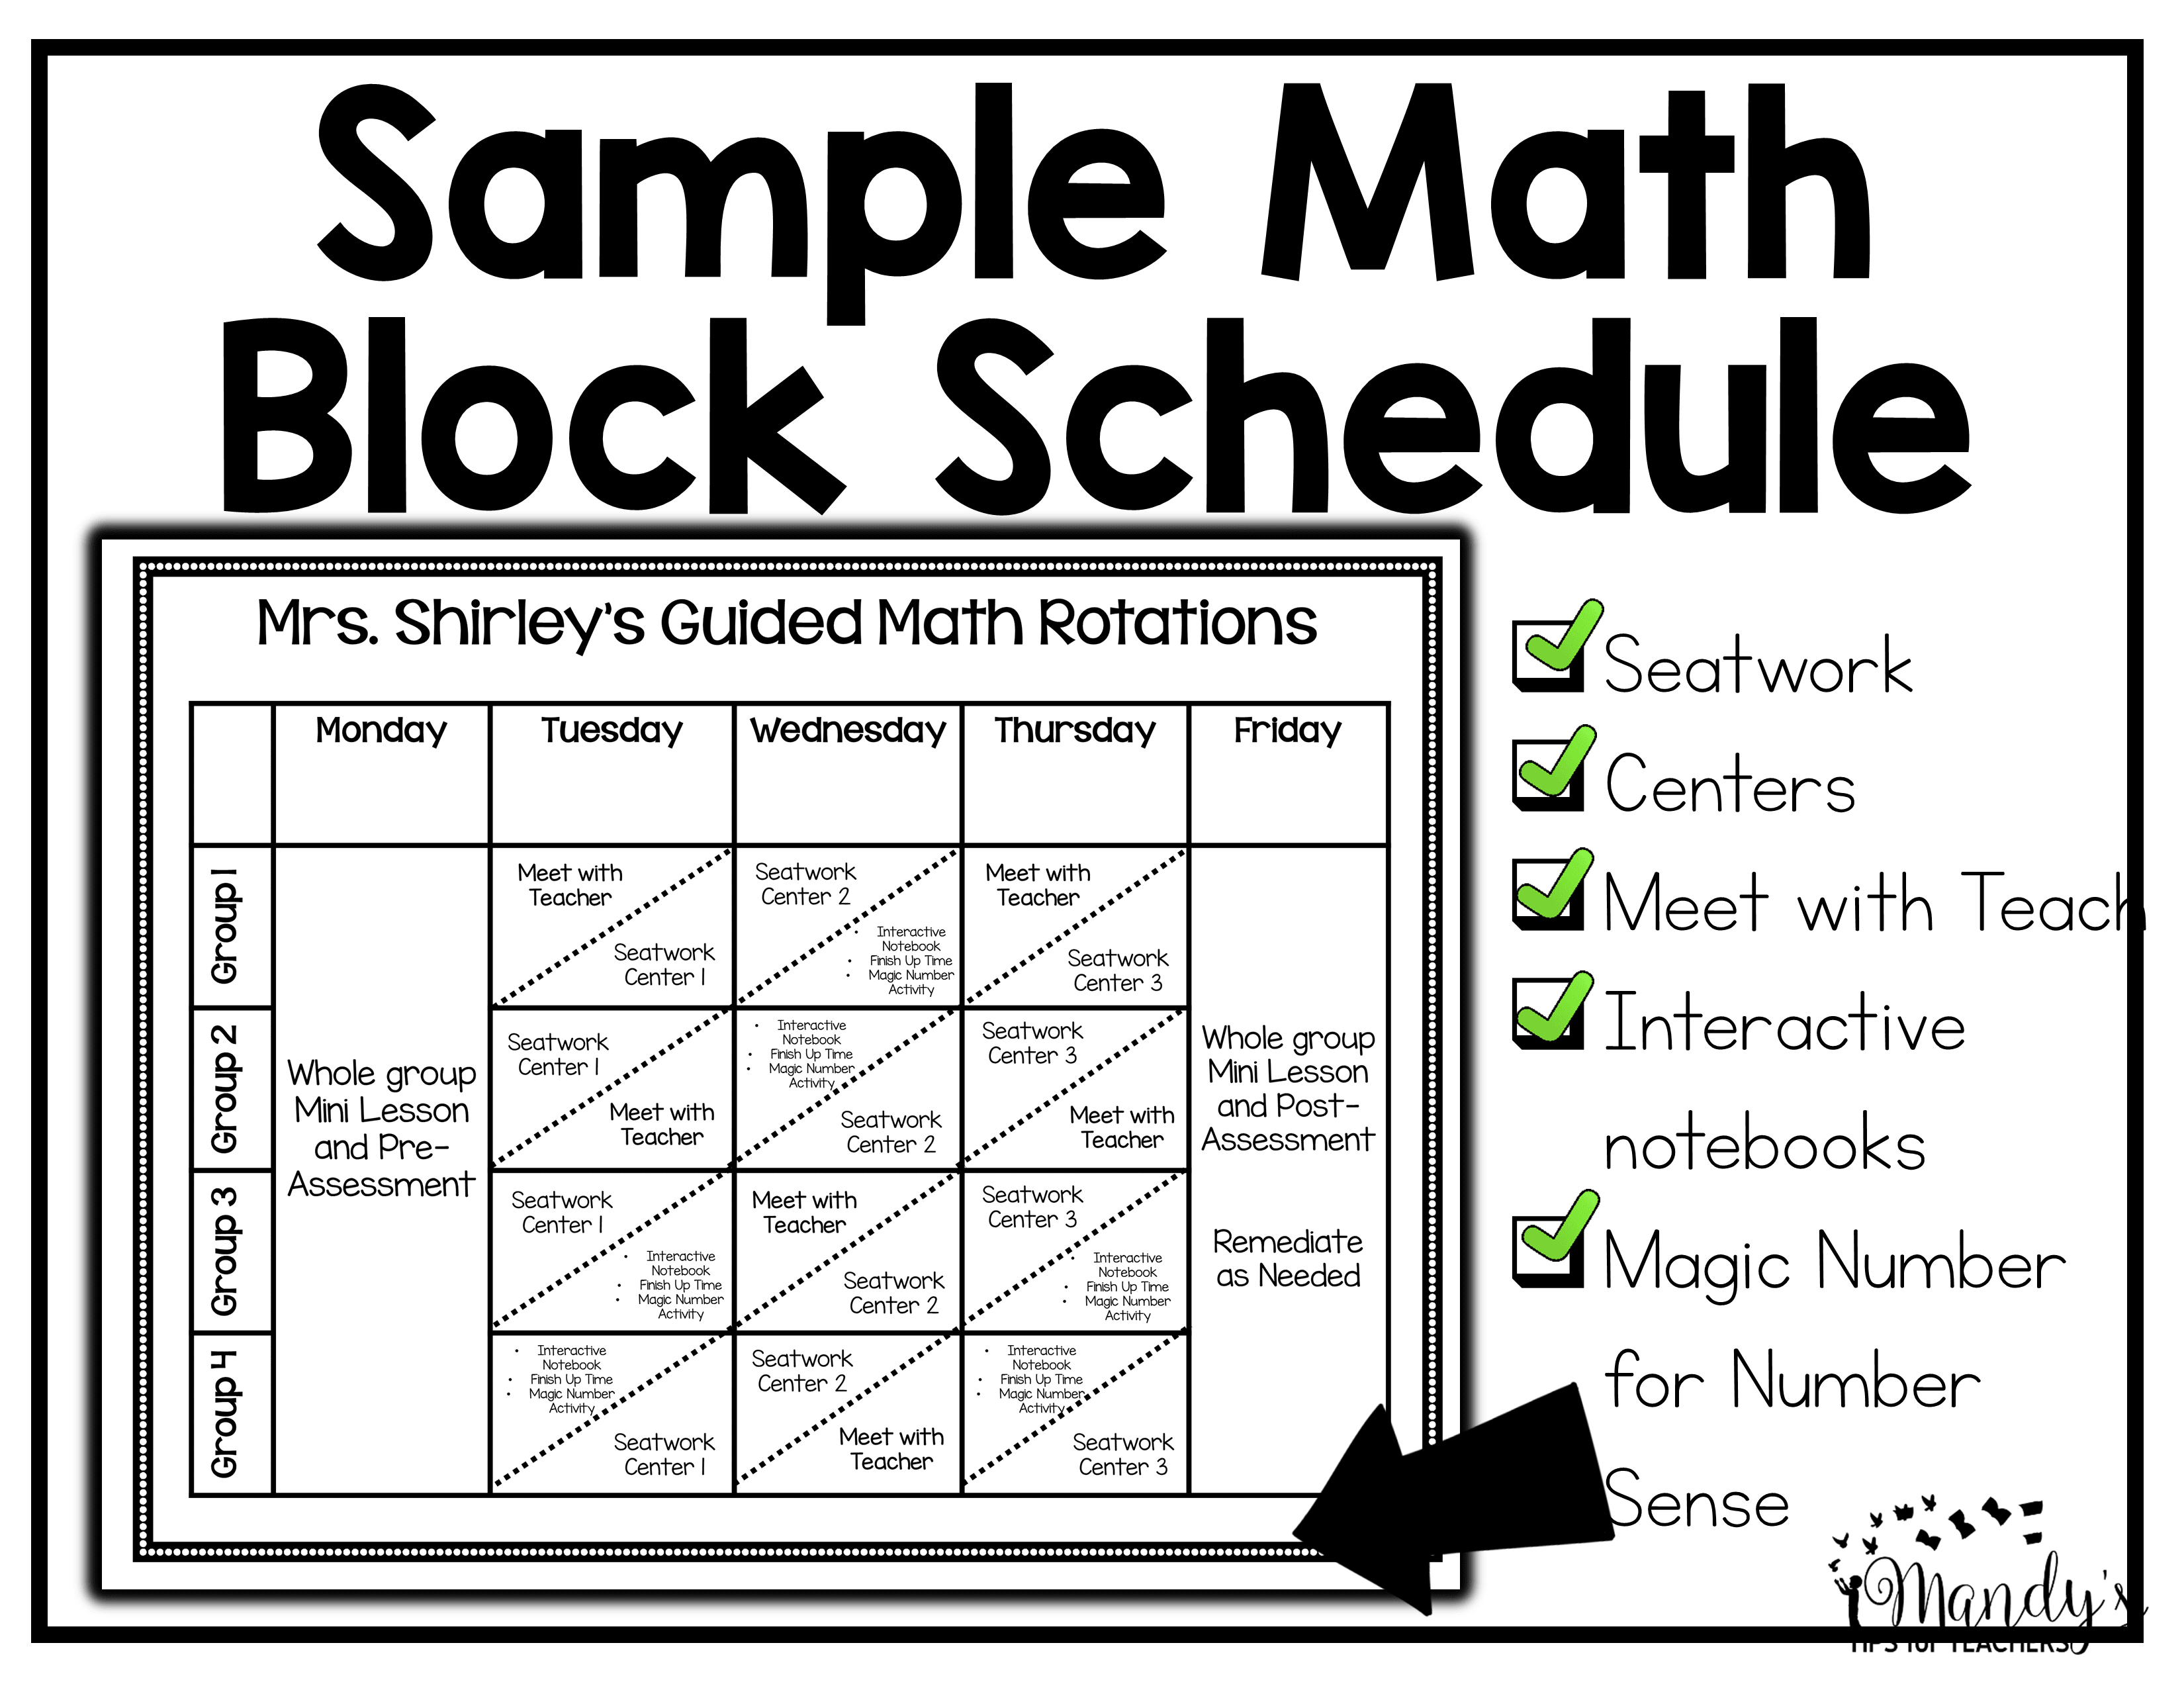
In the class I am working with the kids will be doing a variety of different activities. Students will be:
- Working in pairs to complete games/ centers
- Completing seatwork
- Completing interactive notebook pages
- Completing “Magic Number” activity to improve number sense. Each of these activities has a recording sheet for accountability
Click on the picture to download a BLANK copy of the rotation chart and MORE!
Games and Centers
I have had students do games and centers every year I have done guided math, but it has looked slightly different every year. I have had students work in partnerships playing a variety of math games with no recording sheets. I will say this is only successful with a relatively mature class. I have also had some classes complete independent differentiated centers with a recording sheet. This was successful with a more immature class. Then, I also have completed partnerships with games AND a recording sheet with my classes that had average maturity!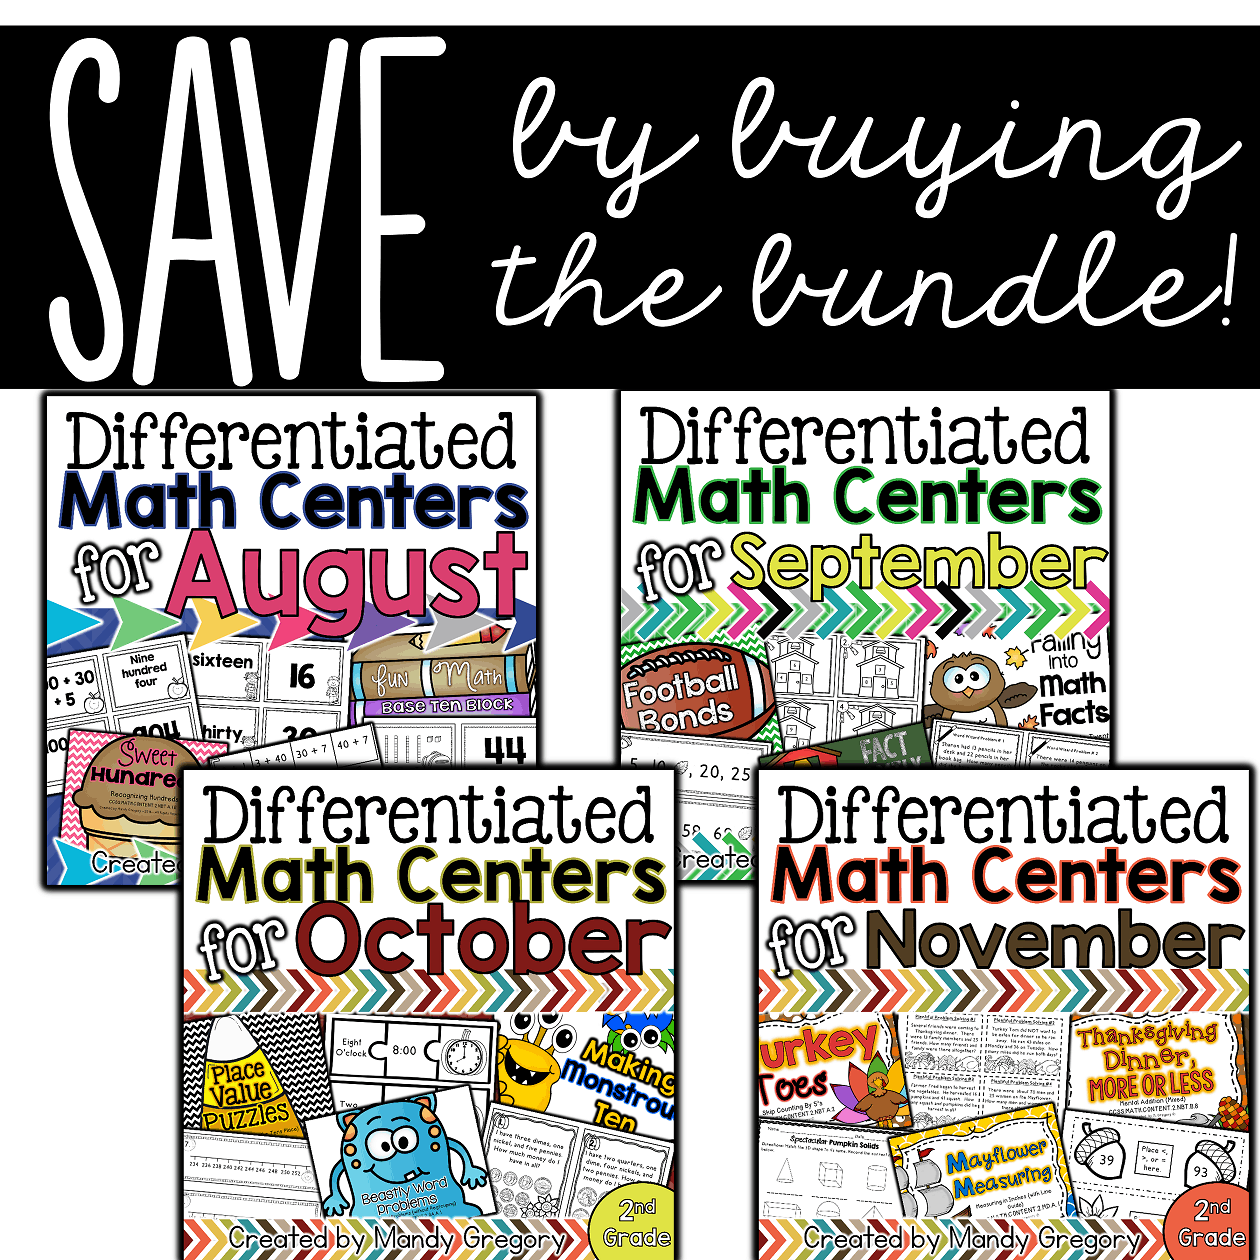
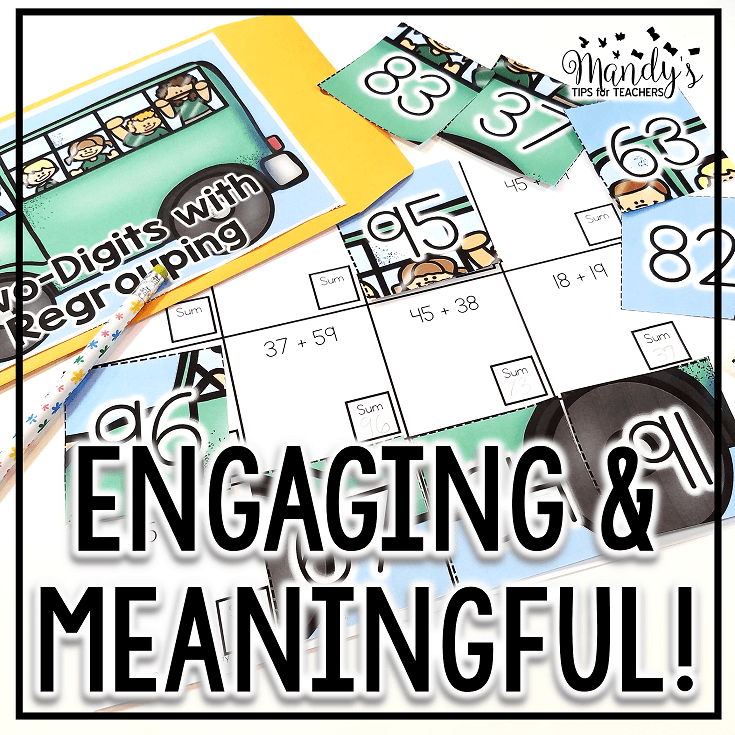
I created these independent, differentiated, monthly centers. A variety of skills are covered and each activity comes with a recording sheet for accountability. Each group can receive the same task, at different difficulty levels. All the levels look identical so students do not realize the tasks are different!
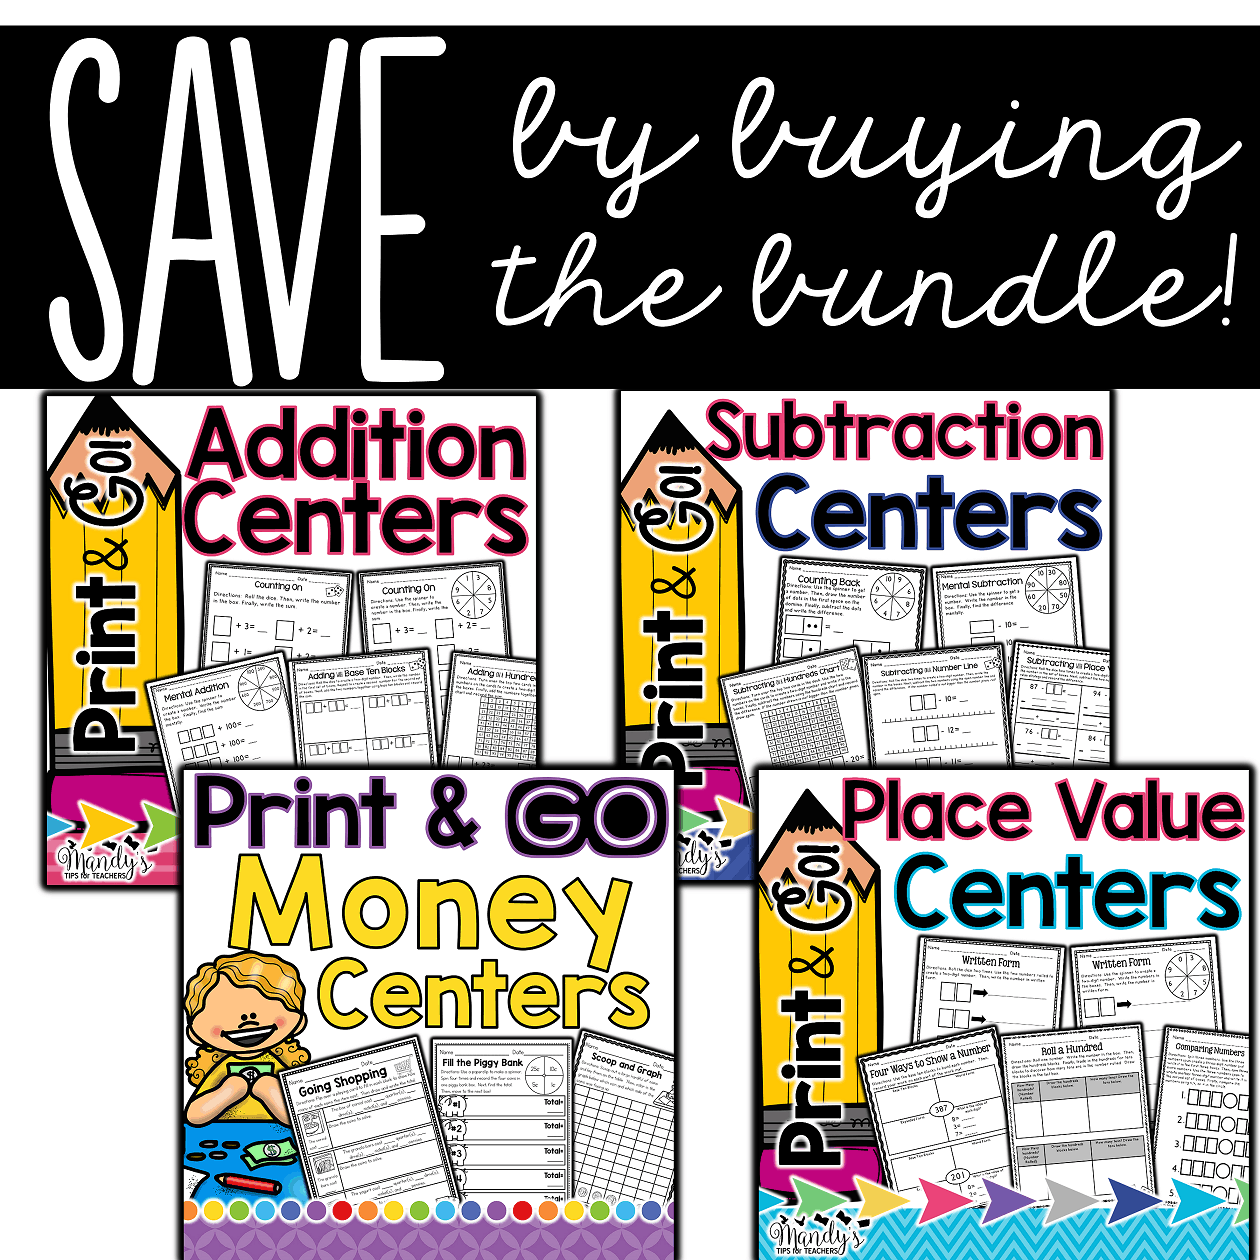 I also created these Print and Go! Centers! This is a series that included Place Value, Addition, Subtraction, and Money. These are extremely LOW PREP centers to make it easy on the teacher. All the teacher needs to do it copy the recording sheet and provide the manipulative (dice, playing cards, base ten blocks, or a paperclip for a spinner). Most of these can be independent and or partner activities.
If you want to try these out before you buy them, you can click here for a 13 page sample! Woo hoo!
Seatwork/ Independent Work
One of the rotations my students complete is seatwork. They must complete seatwork before moving to centers. I have done a variety of things for seatwork. I have used pages from the math series. It is easy to differentiate work because our series had a review book (easier), regular workbook, and challenge workbook. I simply picked out the pages for each group based on the group’s needs. I flagged each page with the number of students in the group so I knew the number of copies when I got to the copier. I also would write the day I would use the worksheet on a small post-it and leave it on the corner of the page so that when I copied it, the day was visible. This made it much easier to sort out the work for each group when I got the stack of copies back to my room! Often, I would give my students their seatwork for the week (stapled) and they would complete one page a day. Since the days were marked in the top corner, it was simple. Then, I collected work at the end of the week!
Interactive Notebooks are new to me and I am totally sad that I was not able to use them when I was in the classroom! However, my friend is using them and she says her students are loving them  and even REQUESTING to do pages! Eek! Love that! I have been creating monthly interactive notebook pages that are somewhat differentiated. Answer keys are included!
After students finish their interactive notebook page, they can finish up any incomplete seatwork for the week. They can also work on their Magic Number, which you can see about below!
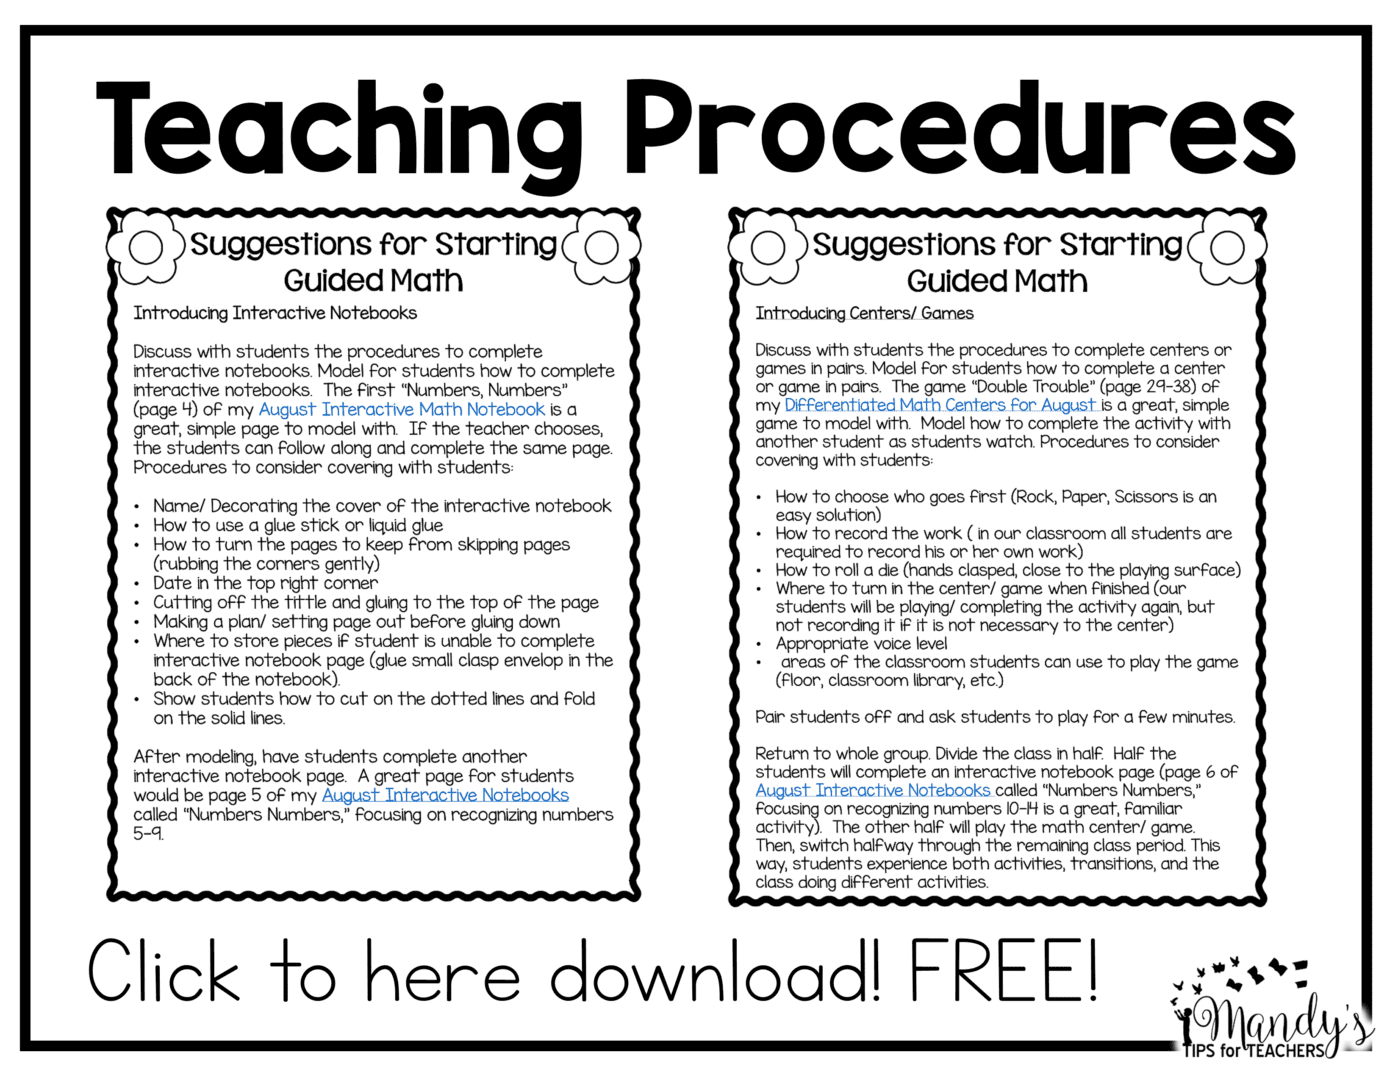
Teaching Procedures
I like to introduce the activities in this order: Interactive Notebooks, Centers/ Games, and Magic Number. I spend one day on each task. Students learn how to complete the task and then practice it.
I used any leftover time for a whole group lesson on concepts such as ten more/ ten less or even and odd. Want to know more about the Magic Number? Check out this video!
If you would like to see how I introduced each of these tasks, I am including these skeleton lessons. They are not complete lesson plans, more an outline of things to discuss and model with students.
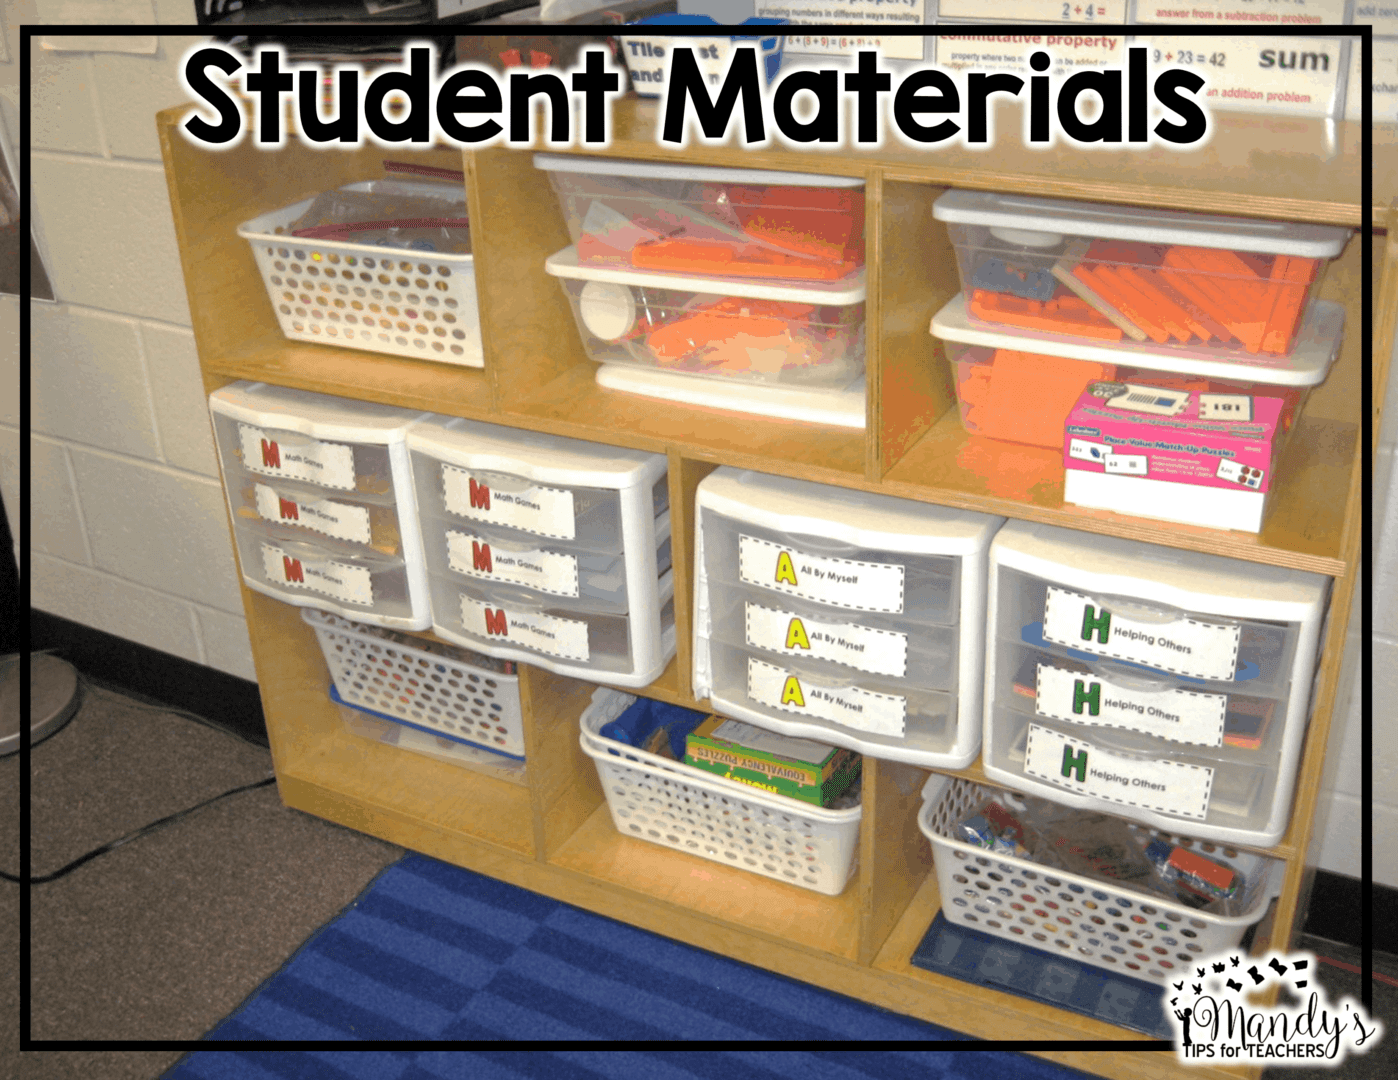
How will you store materials for students?
I used several methods over the years. I have used Dollar Store baskets with index card labels as labels. I used binder rings and hole punched the  index cards and attached them to the basket so I could easily switch activities.
Another year I used a combination of drawers to hold smaller activities and white baskets to hold the larger materials. This was not quite as successful since students had a harder time finding the materials since they were not well labeled.
 I wasn’t quite ready to give up on the drawers another year. This year I tried a similar setup, but centers were ONLY in the drawers. The other baskets were full of materials used in reading centers and general student supplies.
Here is another go at the drawers. This time each drawer was numbered, with a different center in each drawer. The color-coded folders on top were math folders. Each group was a different color and each student had a folder.
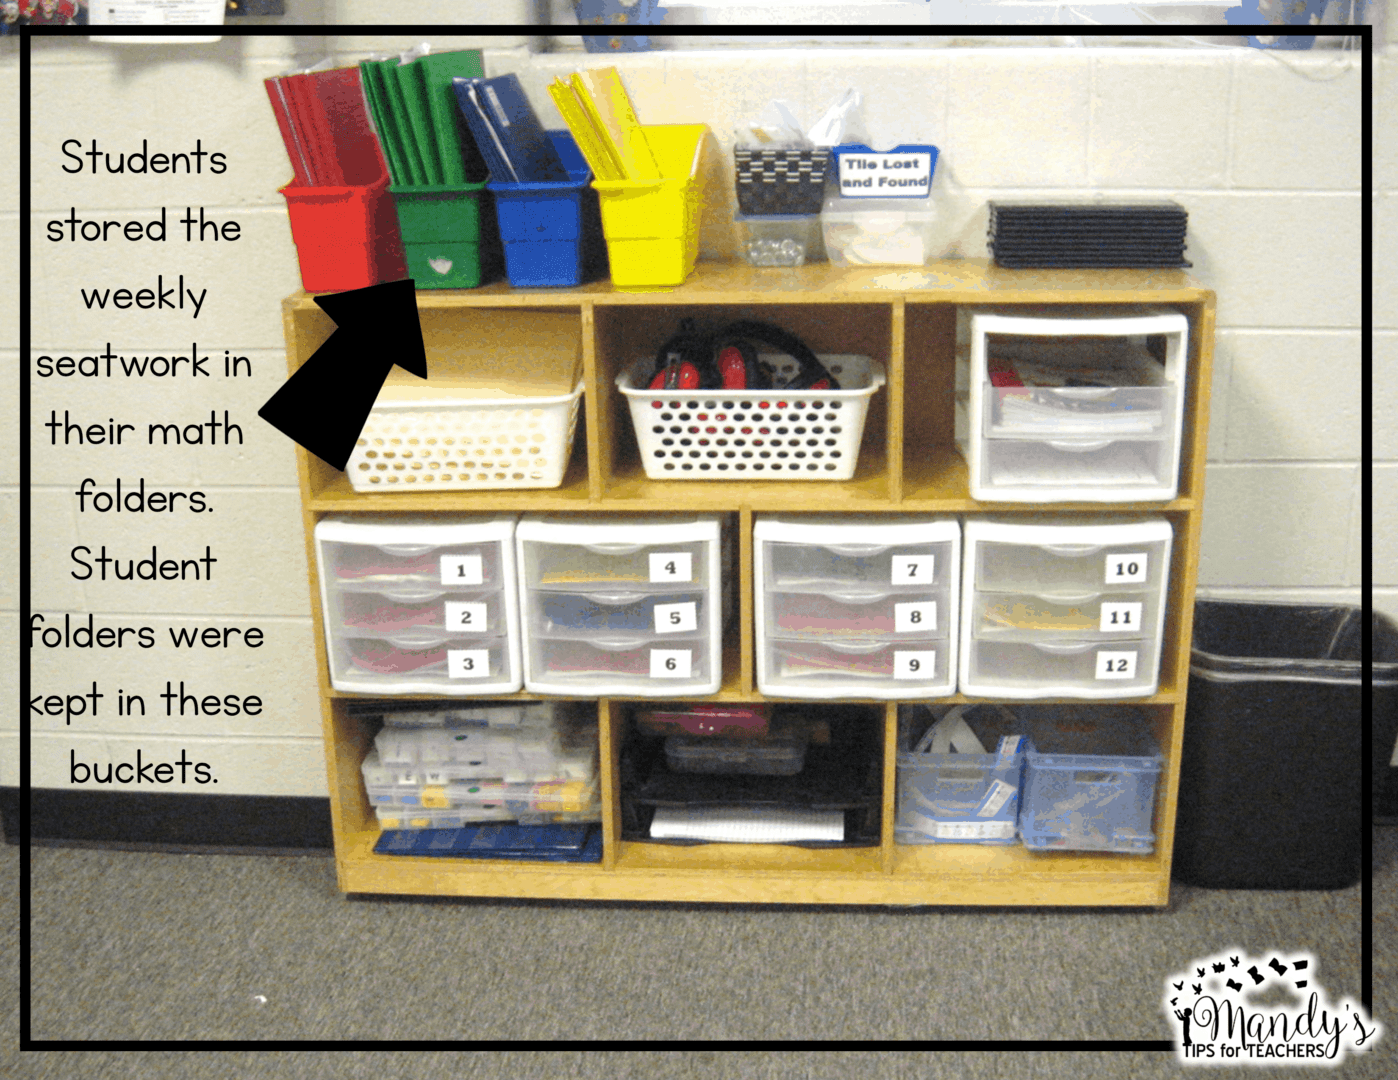
This set up really supported LOTS of differentiated as needed by students. I had four drawers set up (one for each math group) with three centers- enough for the full week. Centers could easily be differentiated by putting different centers in each group’s drawer.

How often will you assess students and create groups?
I have found the most success when I created groups weekly. This is because it is a natural beginning and end and allowed for frequent change (if needed). I was also able to check my students thinking frequently and adjust plans if needed. Usually, my assessments are a half-page and no more than 10 questions. I want the assessment to be short and to the point so I don’t waste instructional time, but can also see my student’s thinking.
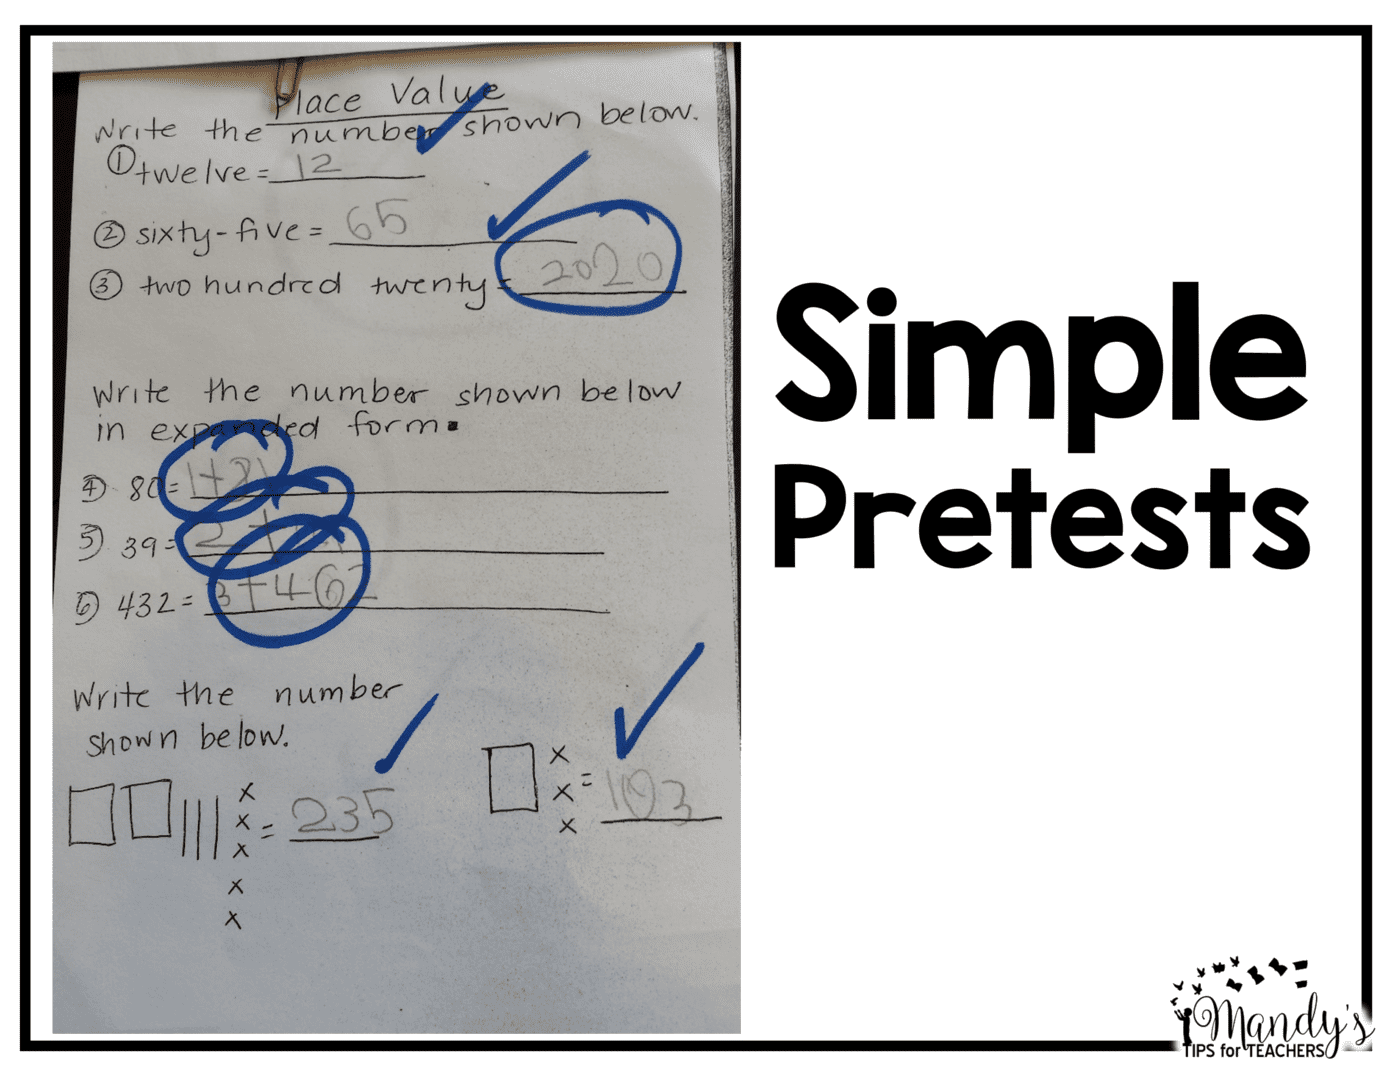
Here is an example of a second-grade pretest for place value. It is nothing fancy- I don’t even type them out because (personally) I would rather spend my time creating lessons and hands-on activities for the kids! It is better for the kids and more fun for me (ha ha!). I generally give a pretest on Monday and grade the assessments and create groups after school. Then, I do small, guided math groups Tuesday through Thursday and administer the posttest (identical to the pretest) on Friday.
After I grade all the test I sort the tests by common errors. For example, the tests below might have a group that needs help with expanded form, a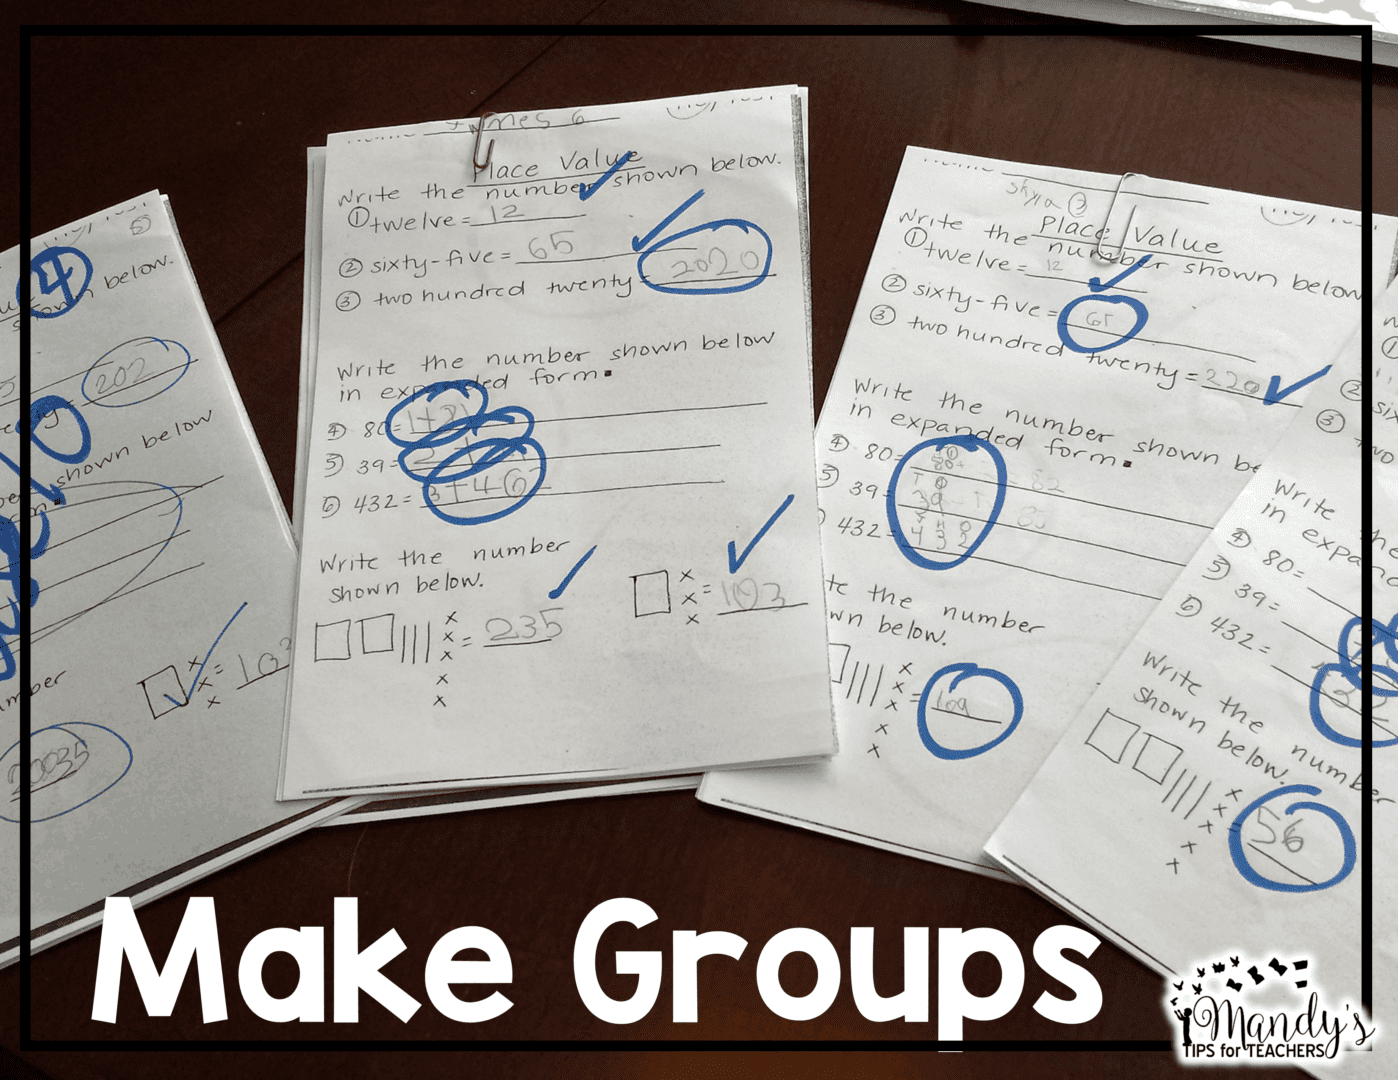 group that needs help with expanded and word form, and two groups that need support in all areas.
I do usually try to stick to creating 3 or 4 groups because I find that more can be overwhelming and 2 groups changed the structure of the math block. That is just a personal preference, though.
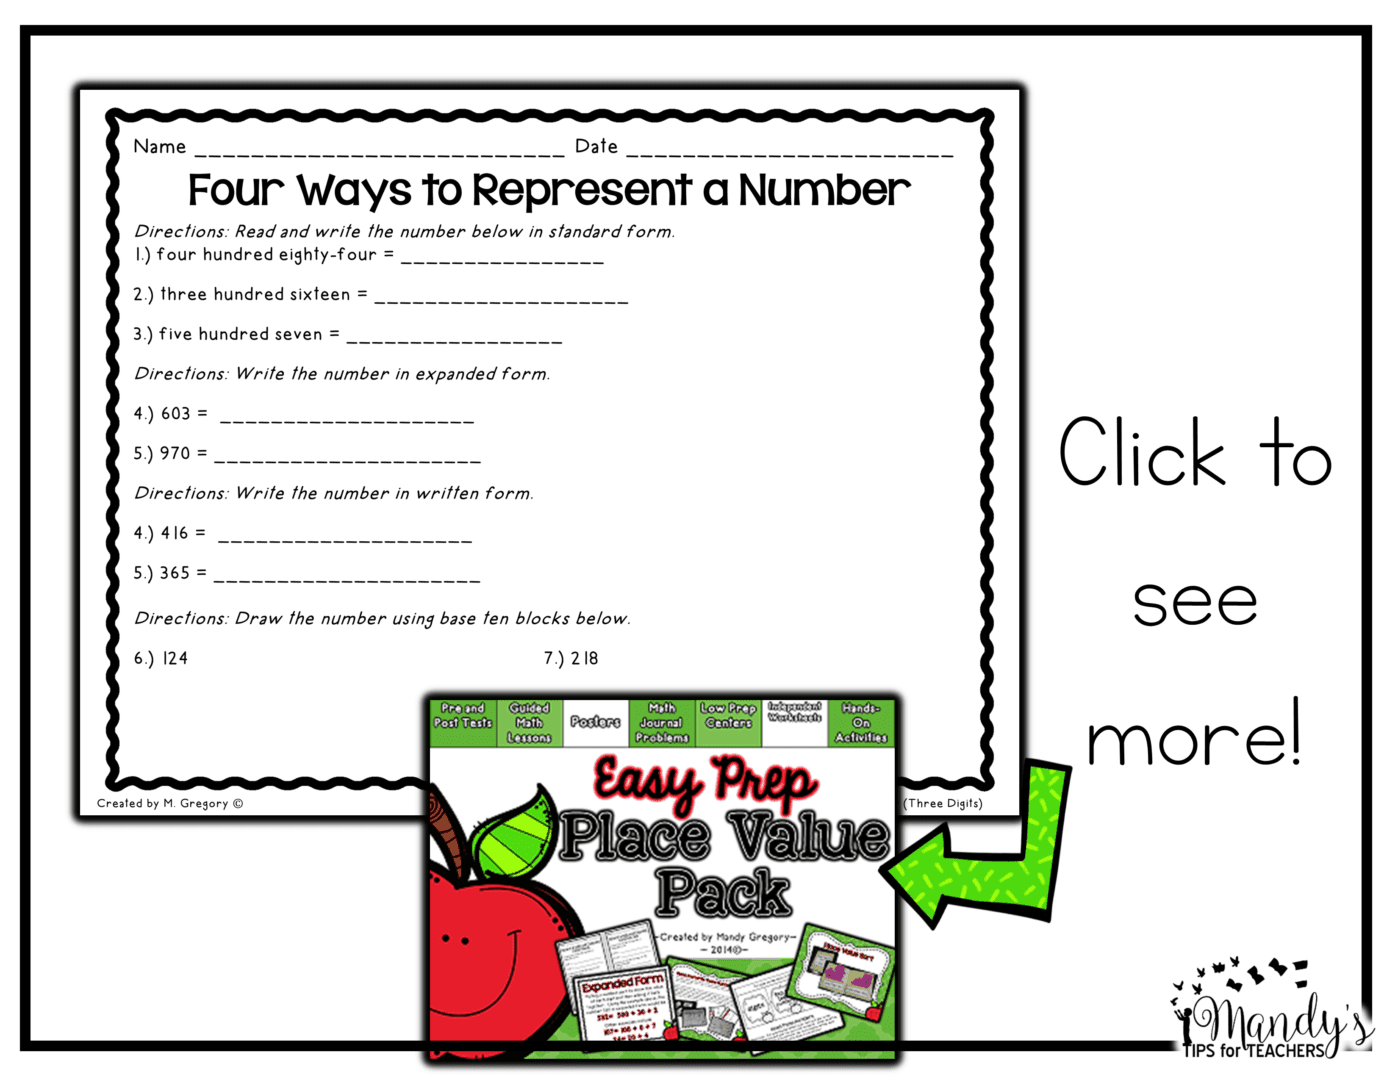
I did just create a pack specifically to make planning for guided math/ math workshop a snap. The pack is over 100 pages of materials to make planning easier for your math workshop when you teach the unit on place value (2nd grade). It includes SEVEN ready to go pre and posttests like this one! Click on the picture to check it out!
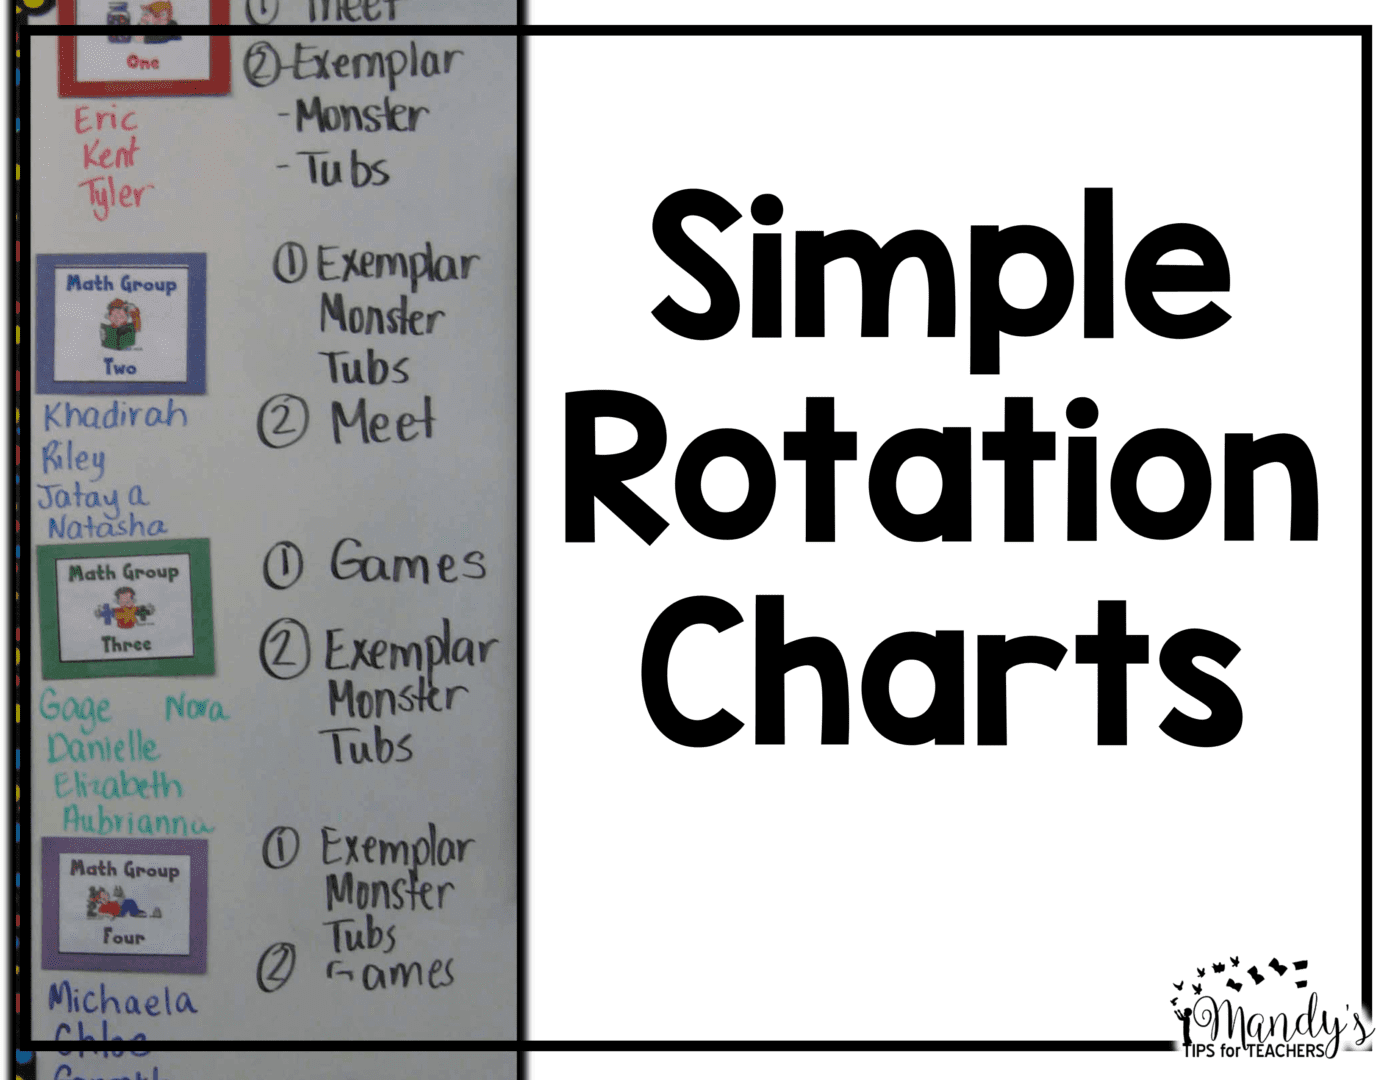
This is a photograph of how I displayed groups in the past. I had four groups by color posted on the whiteboard. Under the groups, I wrote the student’s name on the whiteboard in a matching dry erase marker. I liked this because it was simple to change out the groups weekly. Next to the group’s name (in black) is what the group did for the first rotation (1) and what the group did for the second rotation (2). Since it was on the board it was simple to change in and out. I have done this display on my Interactive Board, but honestly, felt like all the clicking and dragging was more work than erasing and writing!!!
Here are the new board pieces I made for a friend.
Looking for more guided math posts? Check these out!


PIN FOR LATER:

Click here for this great pack of FREE math centers, plus get tips and updates from me!
If you would like more ideas from me, be sure to follow me on Teachers Pay Teachers, Pinterest, and Facebook to catch all the freebies and ideas and more!
Mandy Gregory is a 2007 and 2012 Teacher of the Year. She has taught Kindergarten- 4th grades in both the general education and inclusion settings. She is currently a 1st grade Special Education teacher. She is the owner and creator of Mandy’s Tips for Teachers website (www.mandystipsforteachers.com) and has over 13 years of teaching experience. She is married with two beautiful children.


Thank you!! This is so helpful! We just started departmentalizing in 3rd grade this year and I'm teaching math. I have 100 minutes a day with each group. Way longer than I've never had for Math. Can't wait for the next post. This is a godsend! 🙂
The link for teaching procedures takes me to an activity instead. Help!
Yikes! Sorry Erika! It is now fixed! Thanks for the heads up!!!!!!