Although I am not in the classroom this year, I might be a *bit* of a back to school junkie. I have spent three days at different schools helping two different friends set up their classrooms. I love it! To me, it is so much fun!!
One of the friends is returning to teaching after staying at home with her children for 4 years. I will refer to her as S in this post. The other teacher is changing from being a co-taught classroom, to just being a general education classroom, with only one teacher. I will refer to her as H in this post. Both allowed me to take pictures of the classrooms as we set the up.
After helping them set up, I thought I would share some tips and ideas that I learned from the experiences. I have a feeling that this might get long, so I am breaking it up into several parts. I also am a terrible blogger and it gives me fodder for DAYS! LOL 😀
Here we go!
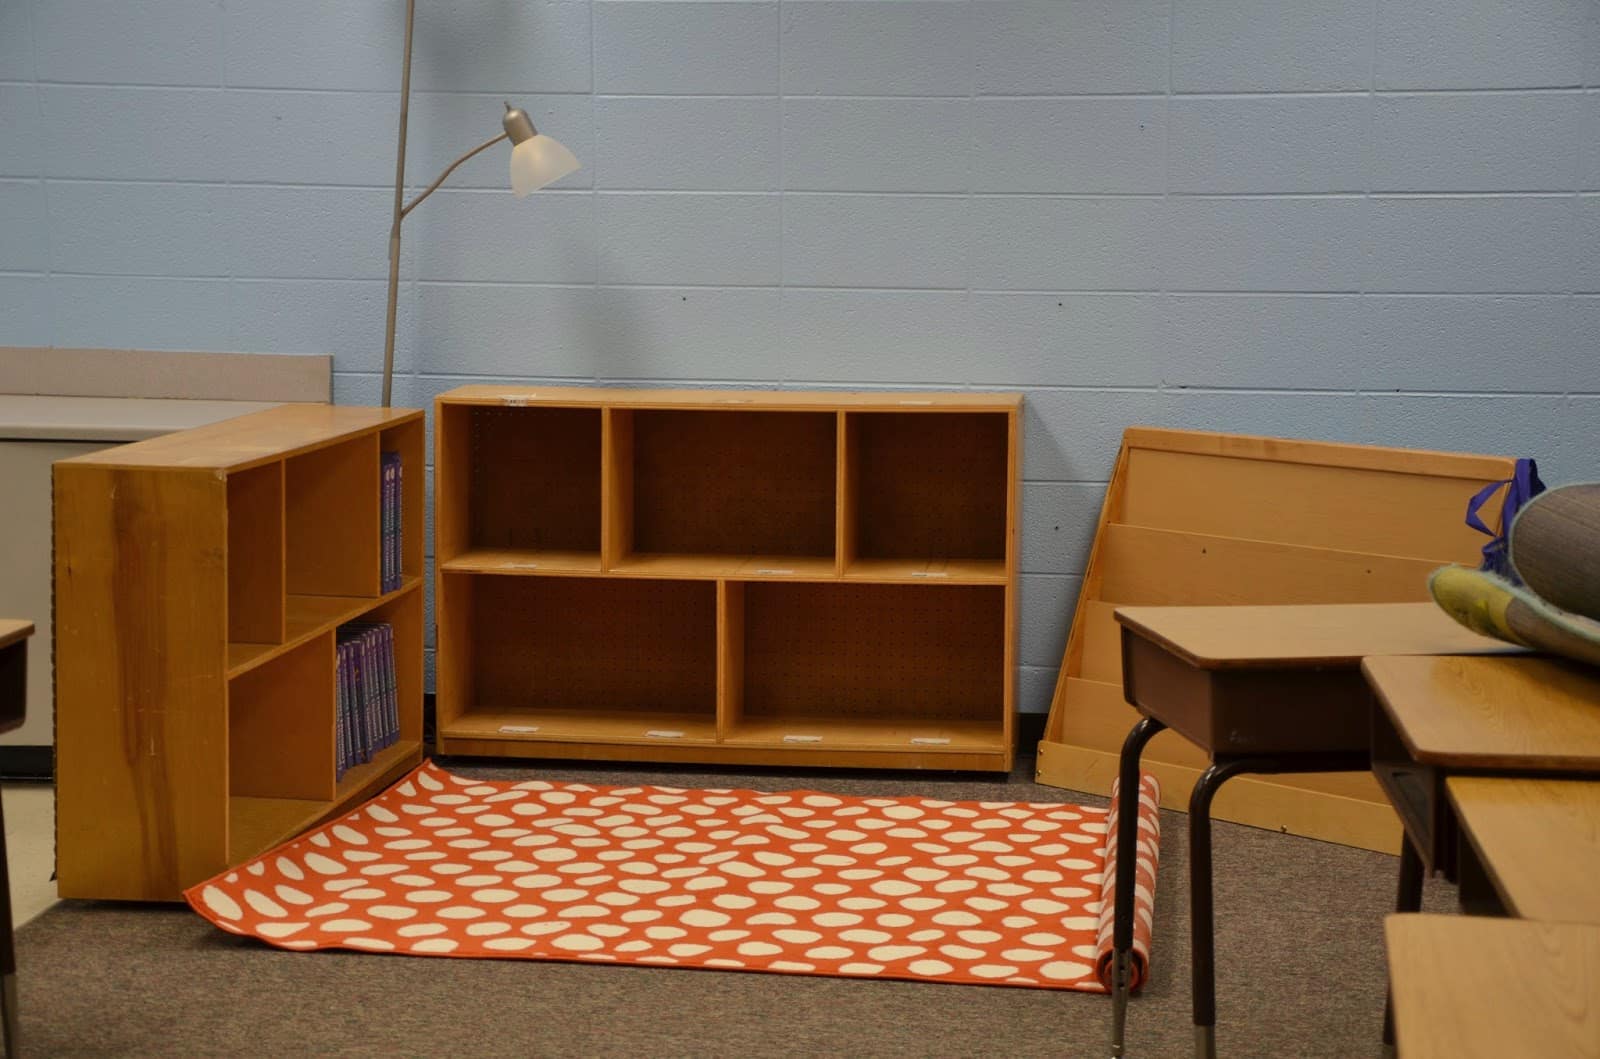
Due to a whole bunch of different circumstances, S. had only two days to set up her classroom before pre-planing. She knew pre-planning would be filled with meetings and wouldn’t really have much time to set up, so she decided to make the most of the two days she had and enlisted the help of some friends, myself included. I can’t believe how much she got done! Especially considering, she was UNPACKING her classroom as well as setting it up!!
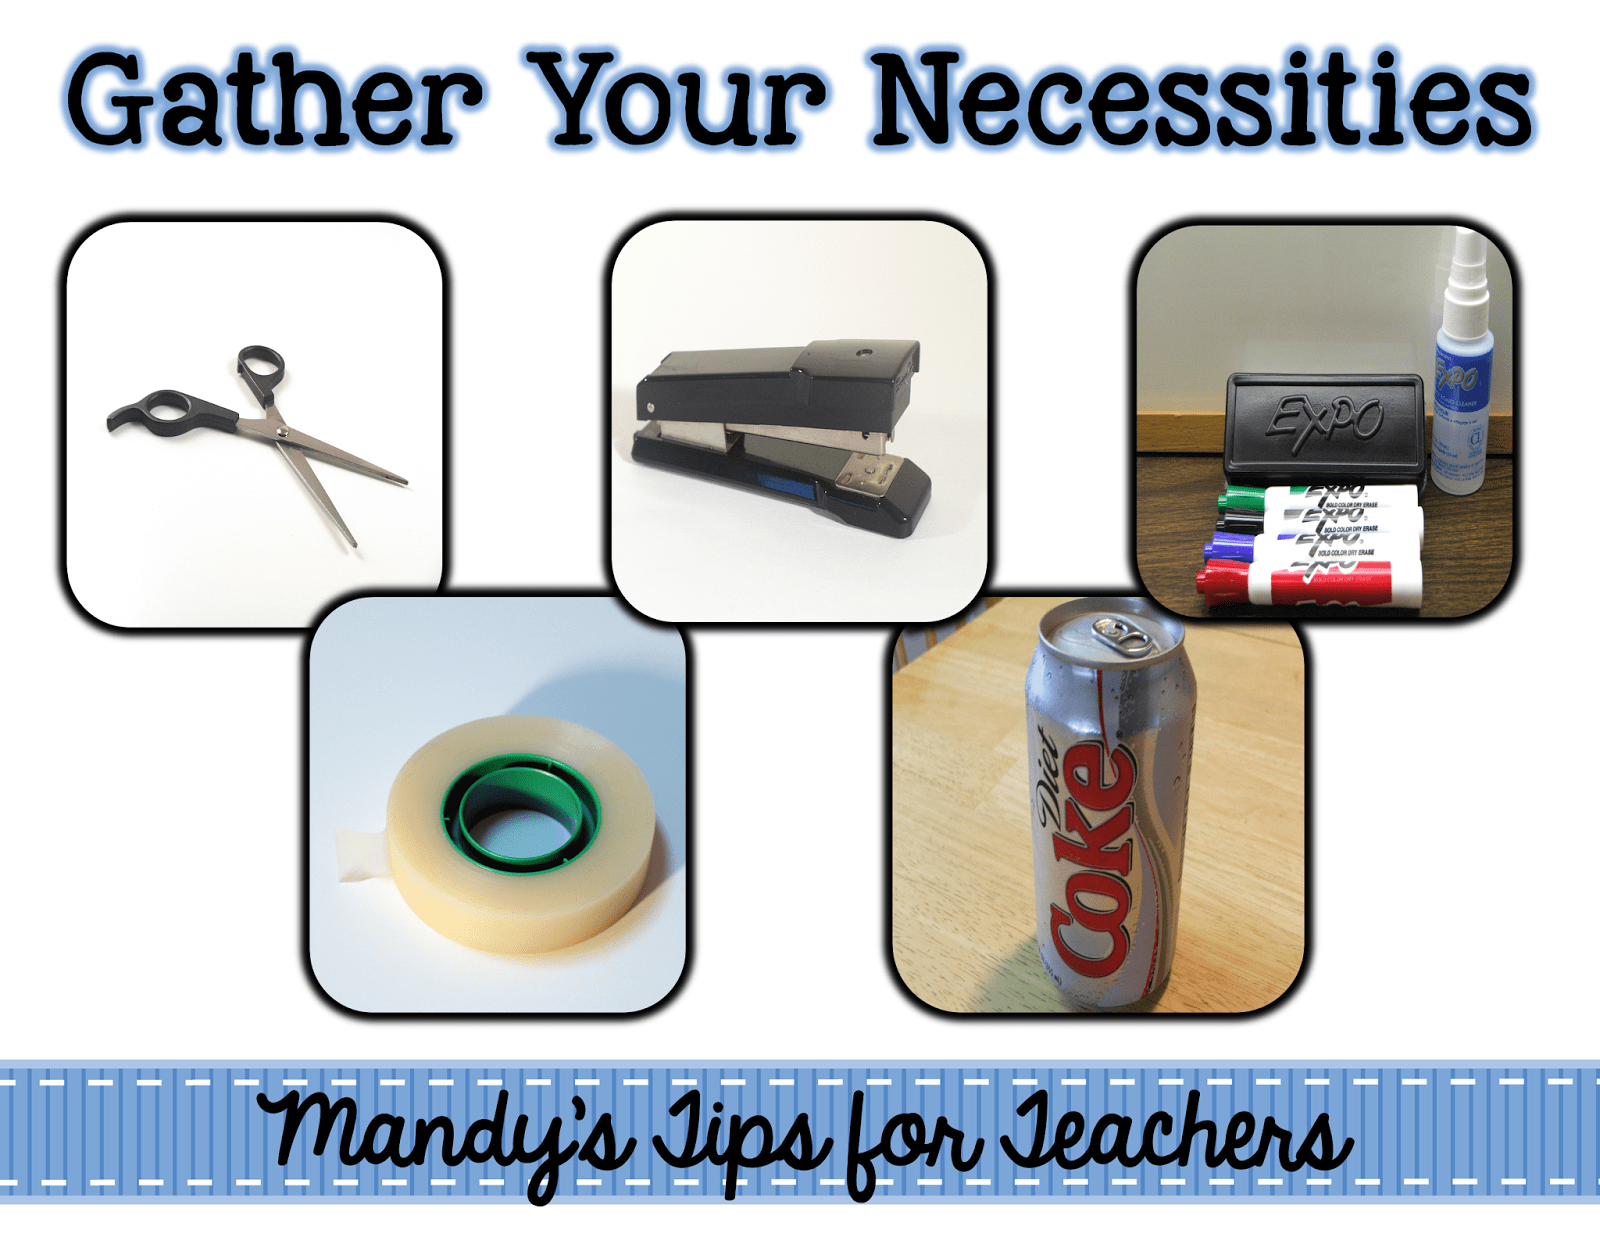
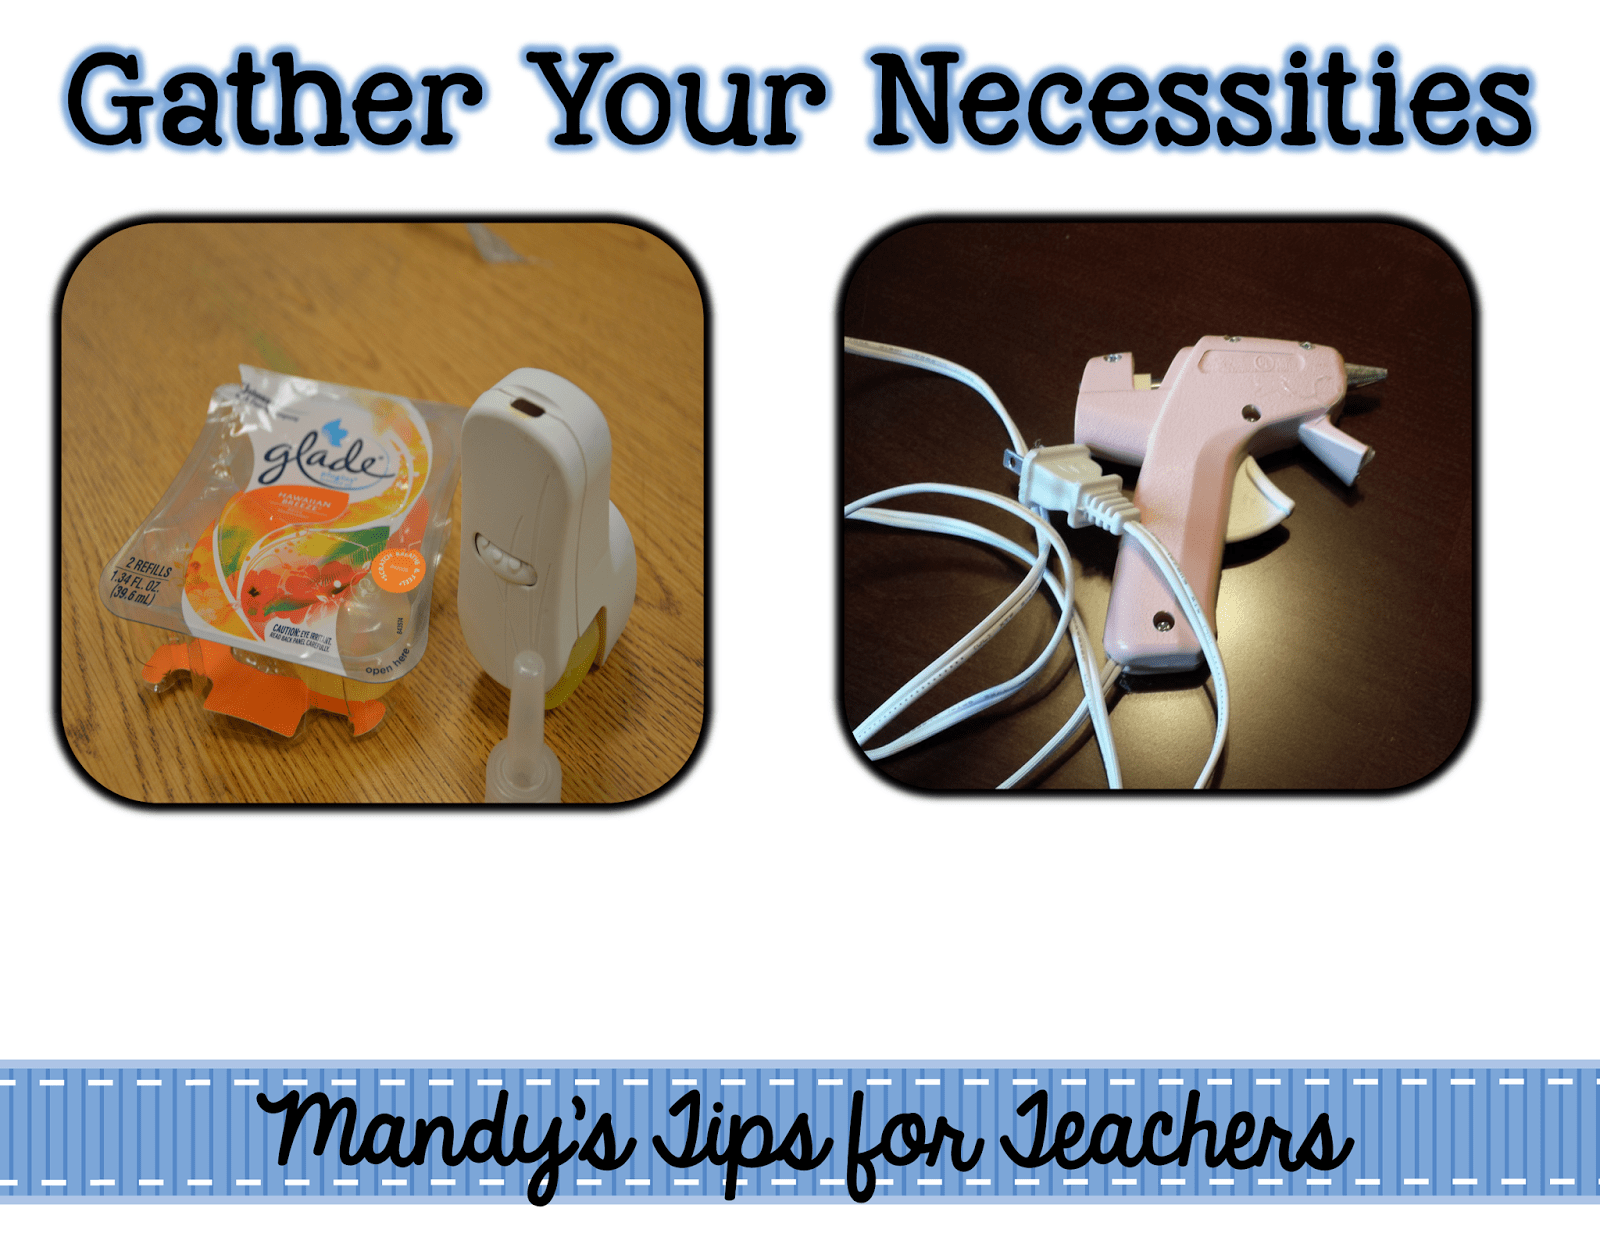
Yep, we used allllll of this stuff to set up her classroom. The air freshener is especially helpful after a classroom has been shut up all summer and needs to air out. Make sure to choose a soothing, light scent. You don’t want to give fellow staff members or children headaches or allergic reactions! Ain’t nobody got time for that!
Did you use
a next year box? Believe me, once you try it, you will do it EVERY year. SO EASY.
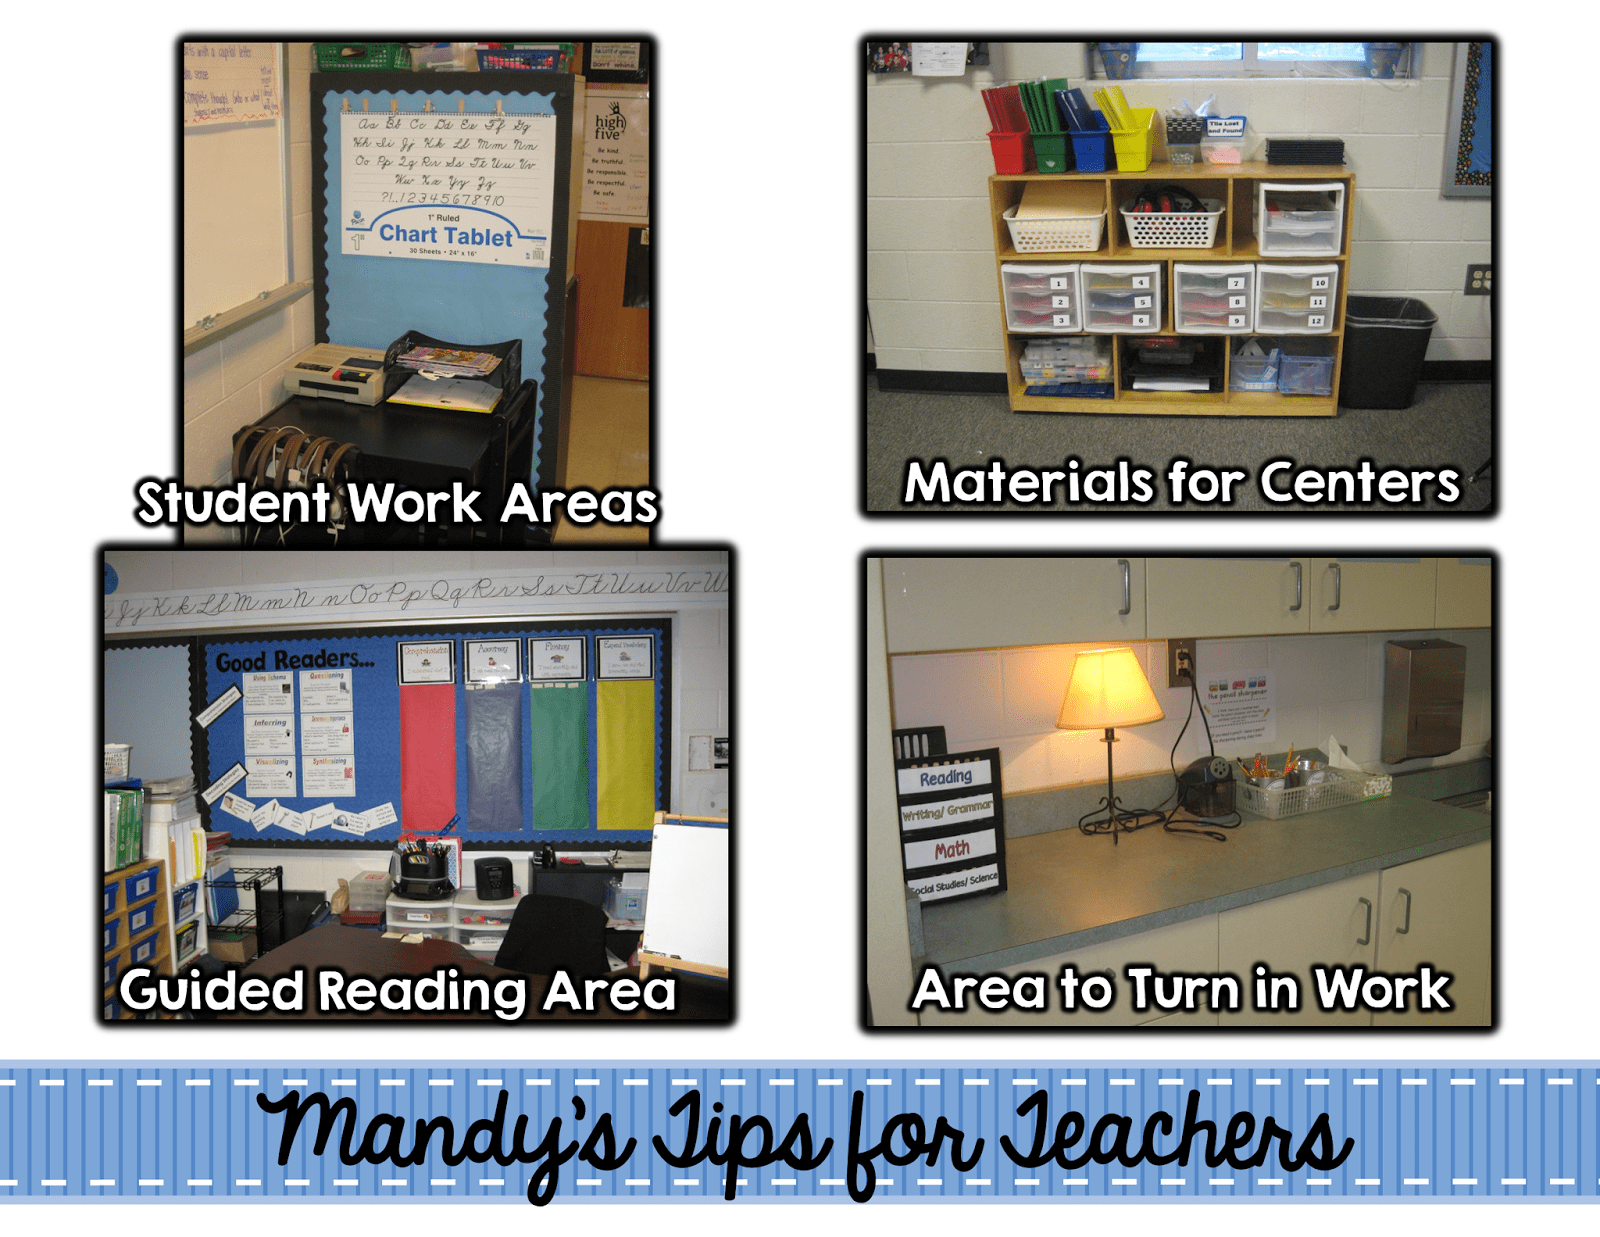
These are the areas that I felt were important to me. Please keep in mind that I had a LARGE classroom that year. It was a luxury, and I knew it! Here are a few ideas of areas to consider in the classroom…
This is what S really knew she wanted. She wanted a reading/ library area, whole group area, and writing center. She knew that she would also need an area for the computers and then plenty of space for her guided reading table. The room was much smaller than her past room, so most teachers do not have teacher desks at the school and the room didn’t even have a desk in it when she moved in.
When you are thinking about arranging the room don’t forgot to think about computer drops and boxes, outlets, where the project with be placed, and clear traffic paths for the pencil sharpener, water fountain and tissues.
Yeah. All that and I am SURE I forgot some things!
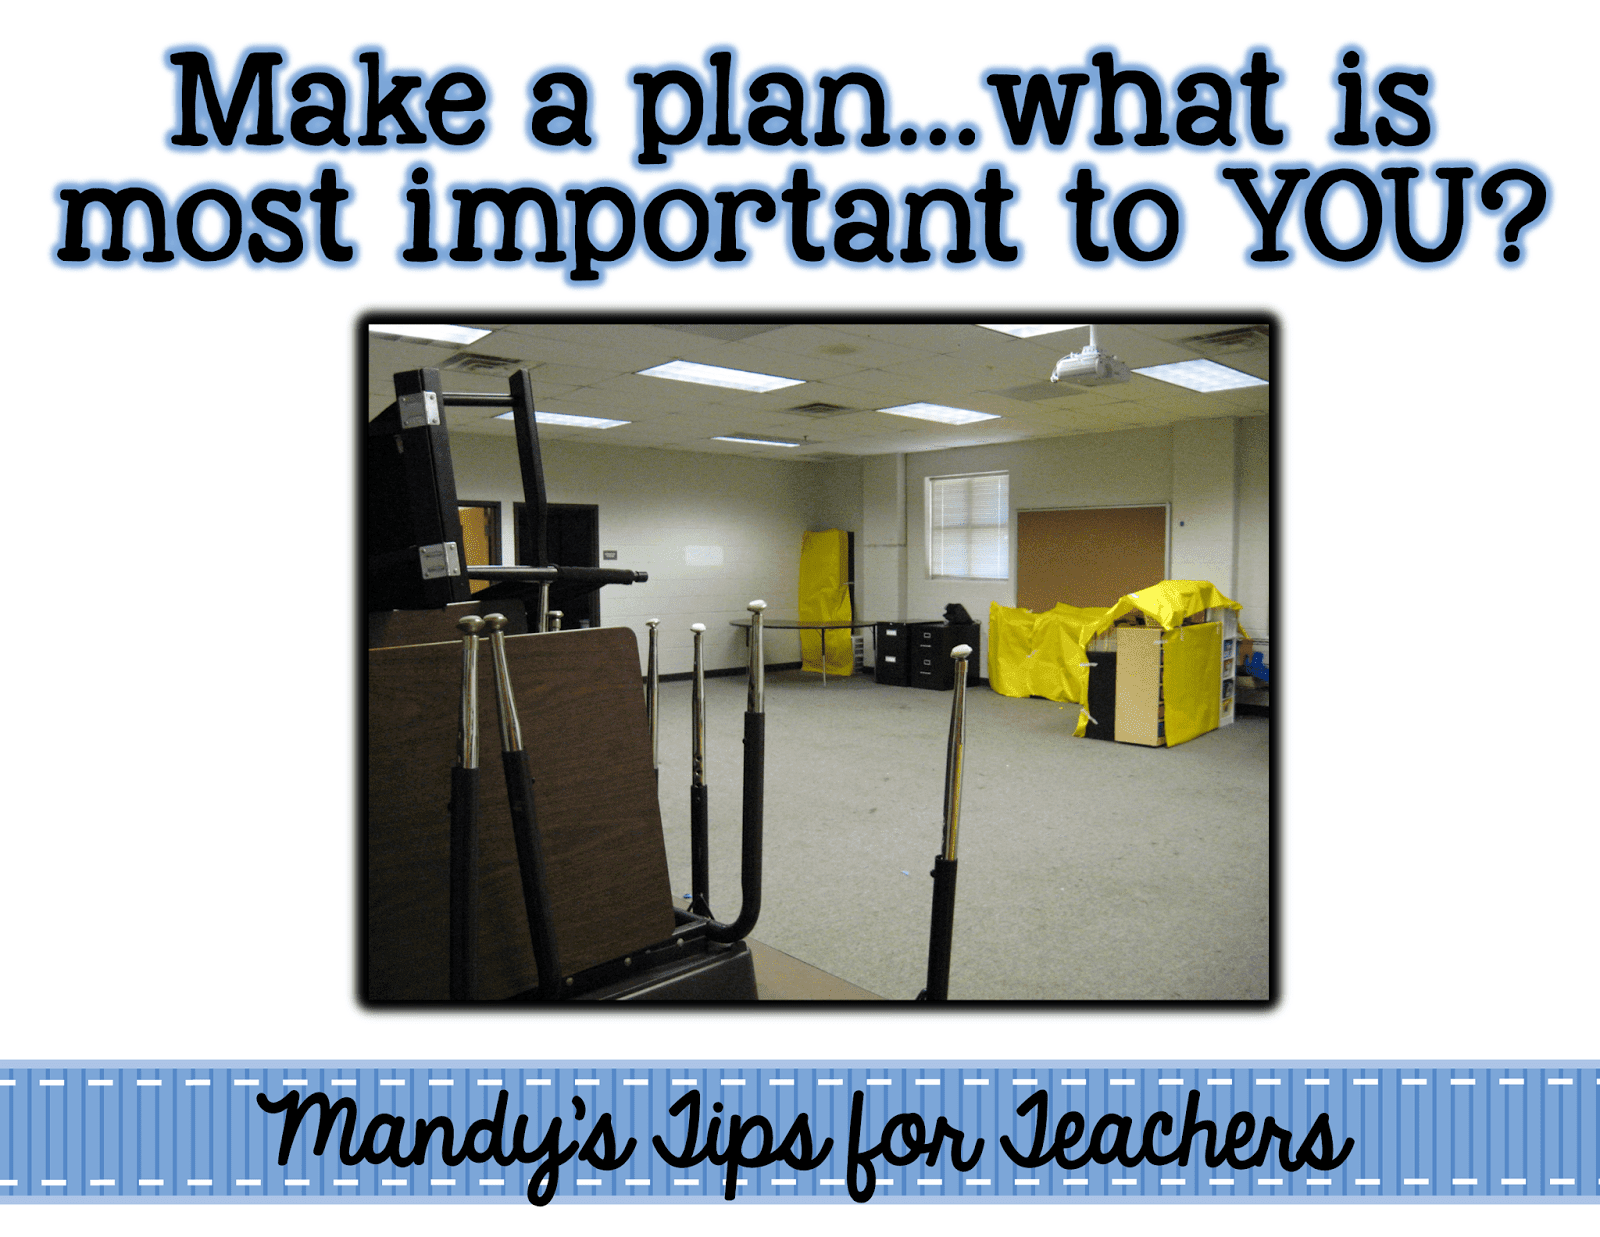
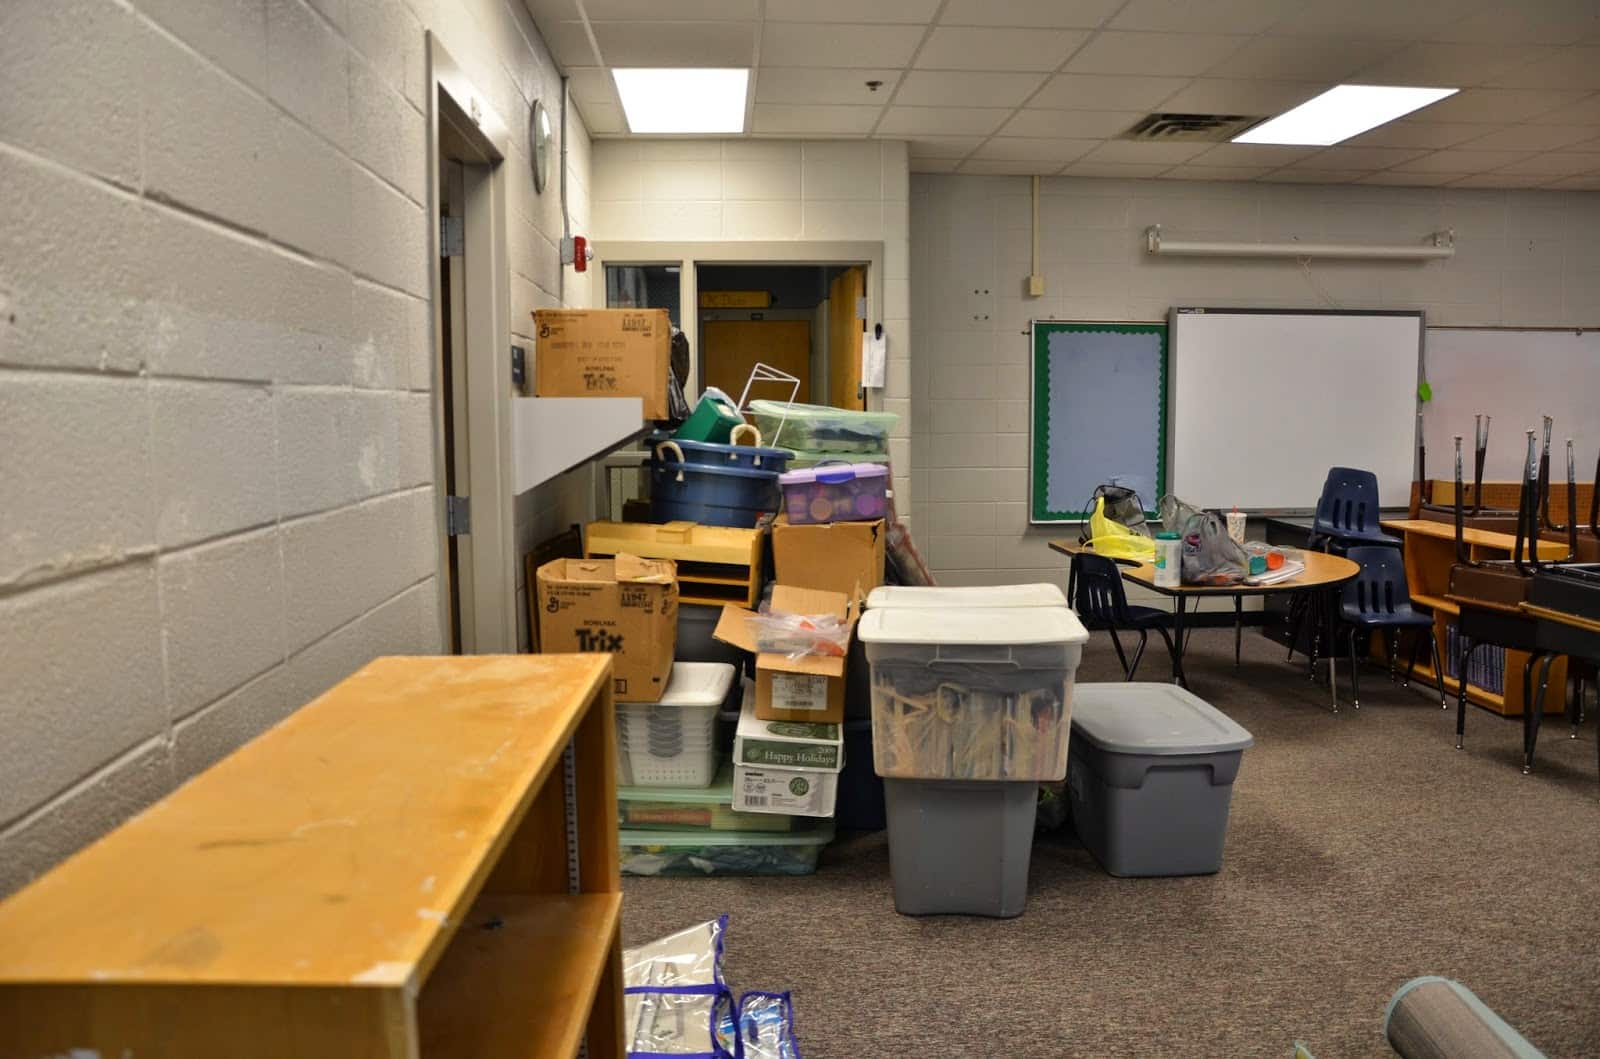
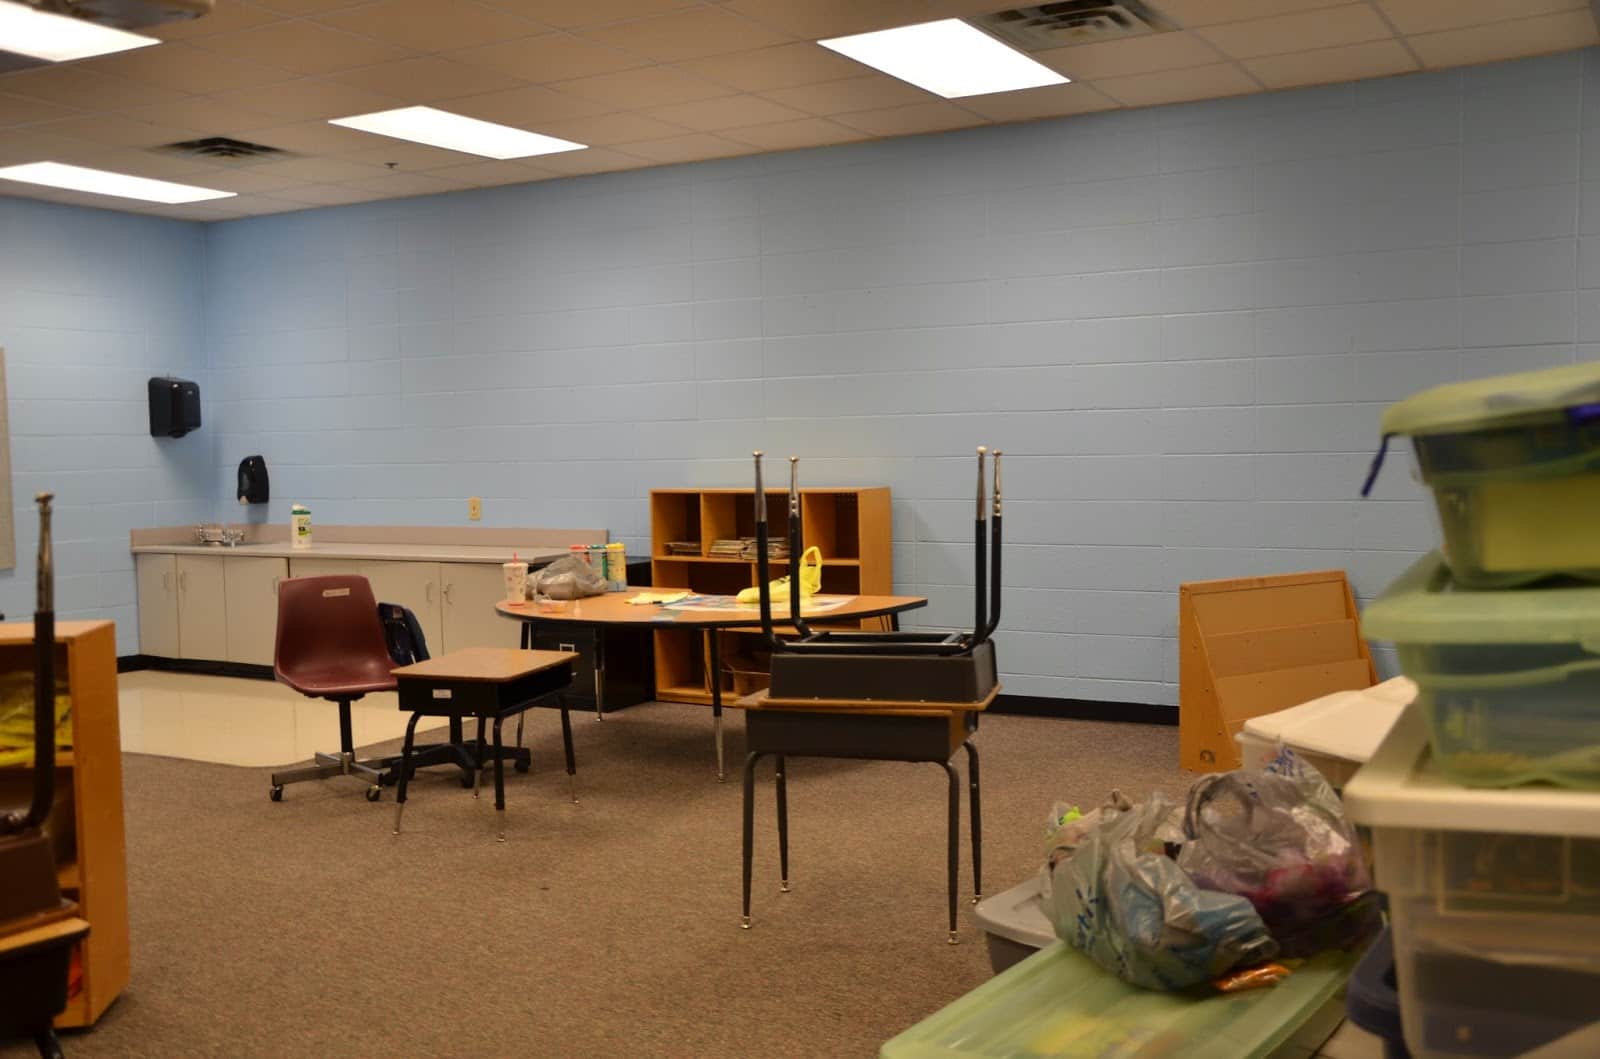
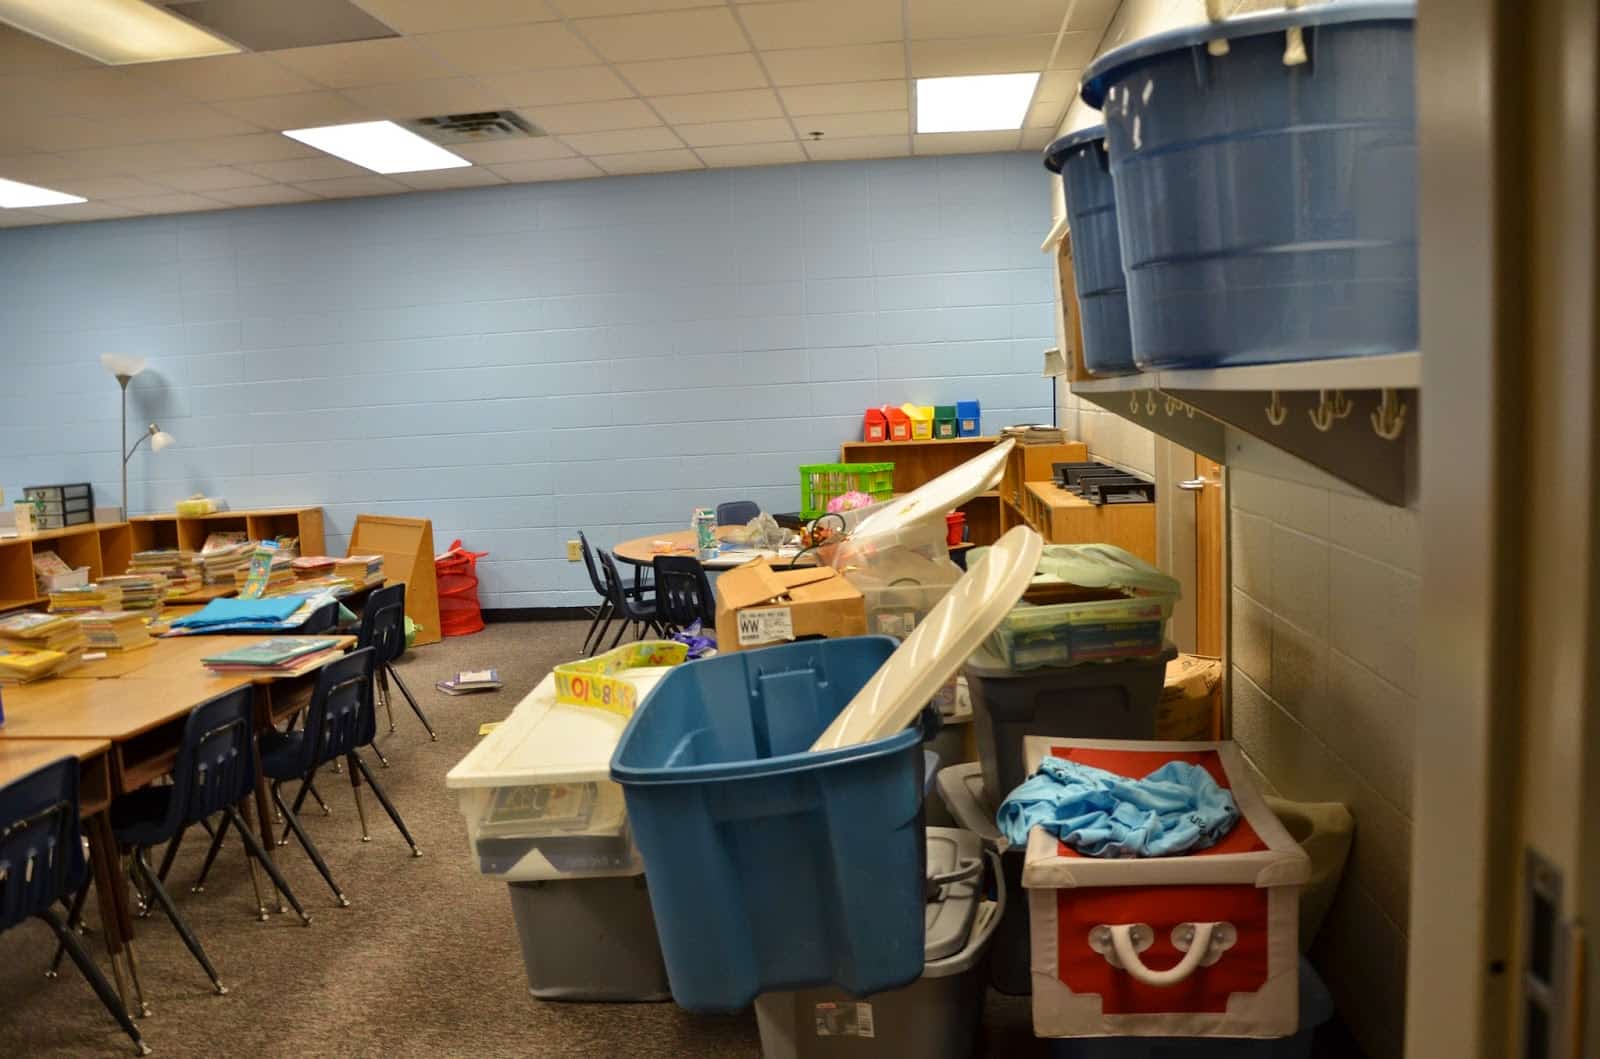
This is what we started out with. This is all of the belongings from S’s garage, ready to be unpacked and put away. A happy, blank, overwhelming classroom to set up! This is the view from her front door.
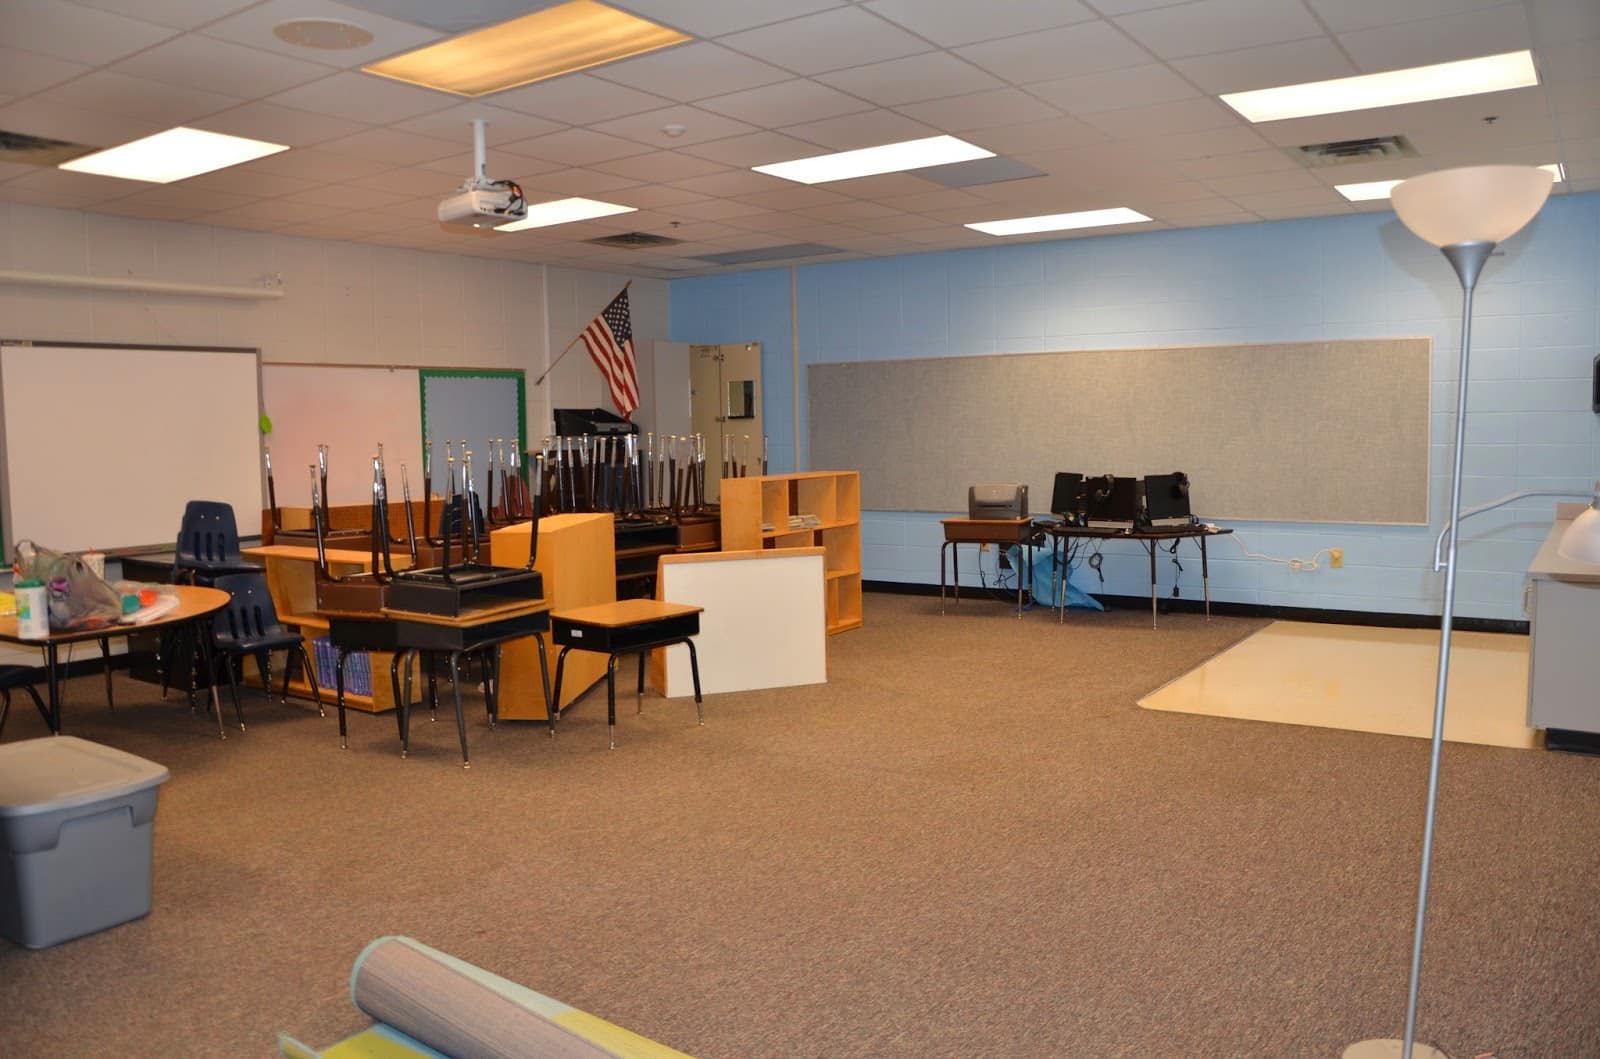
This is from the back of her classroom, where you can see the other side of all her stuff and the front door.
This is a view across the classroom.
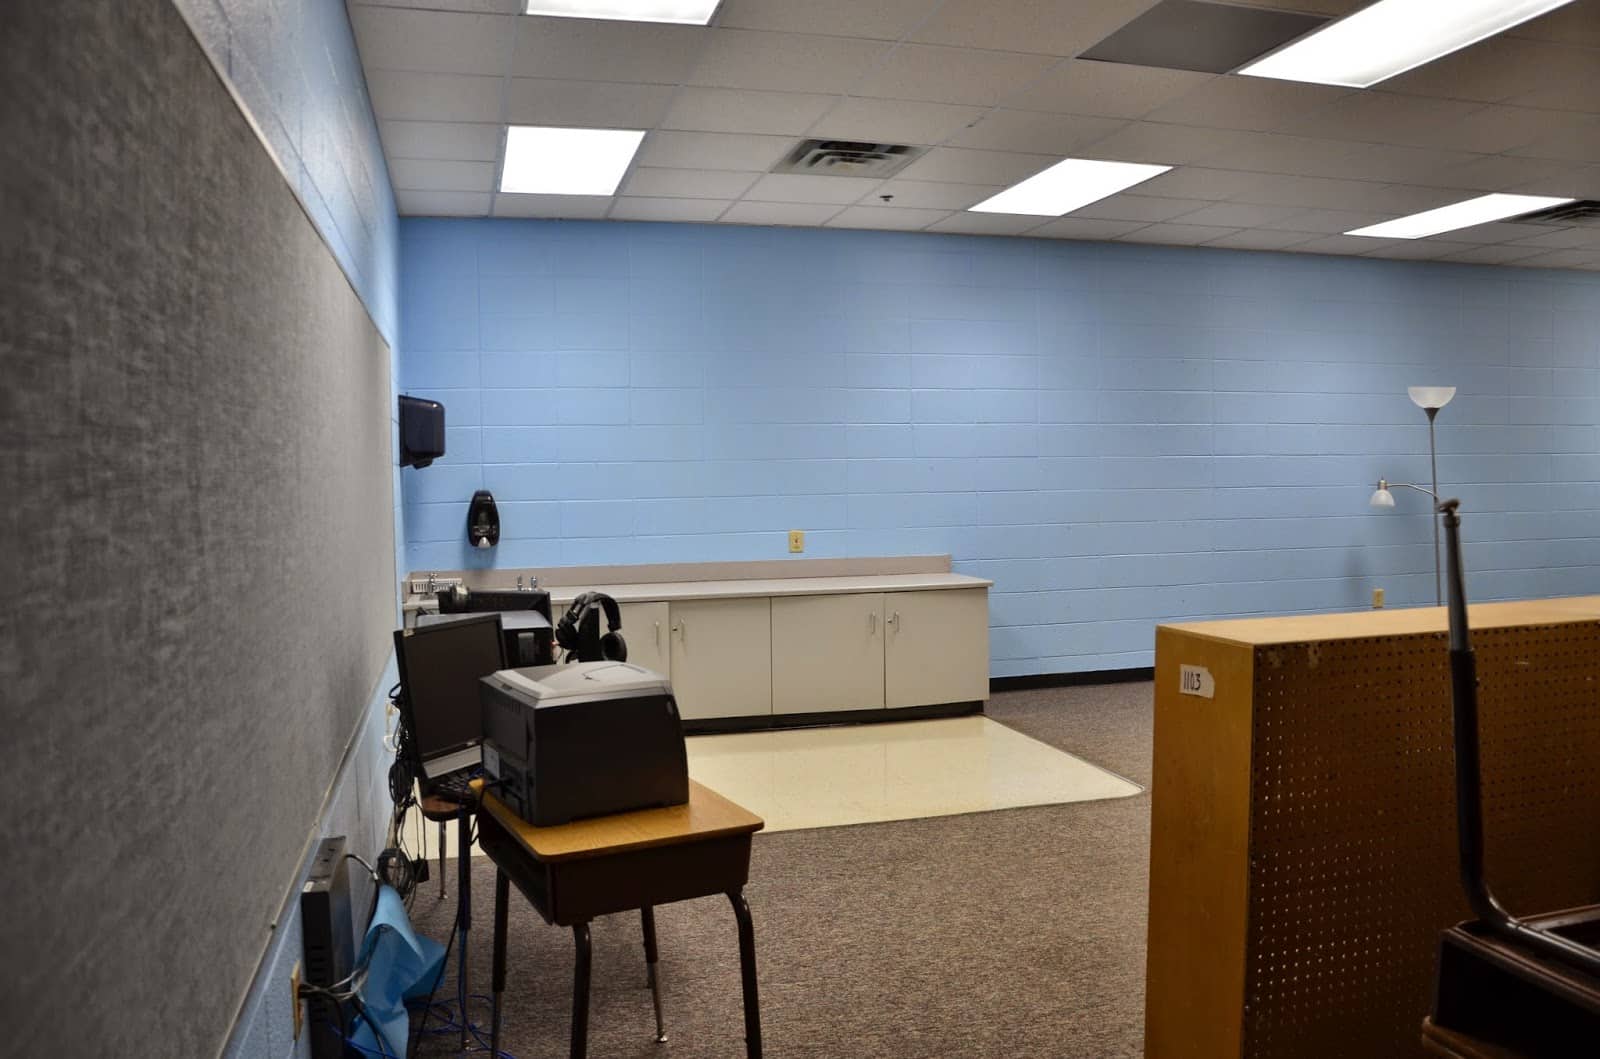
And here is another view of the back wall, with counters and a sink. I love classrooms that have a sink! So much easier!
Originally, we tried to set up the guided reading table/ teacher desk in the back of the classroom, next to the coutner, so she could have a clear sight line of all the areas in the classroom. However, it wouldn’t fit with all the desks. Sadsville.
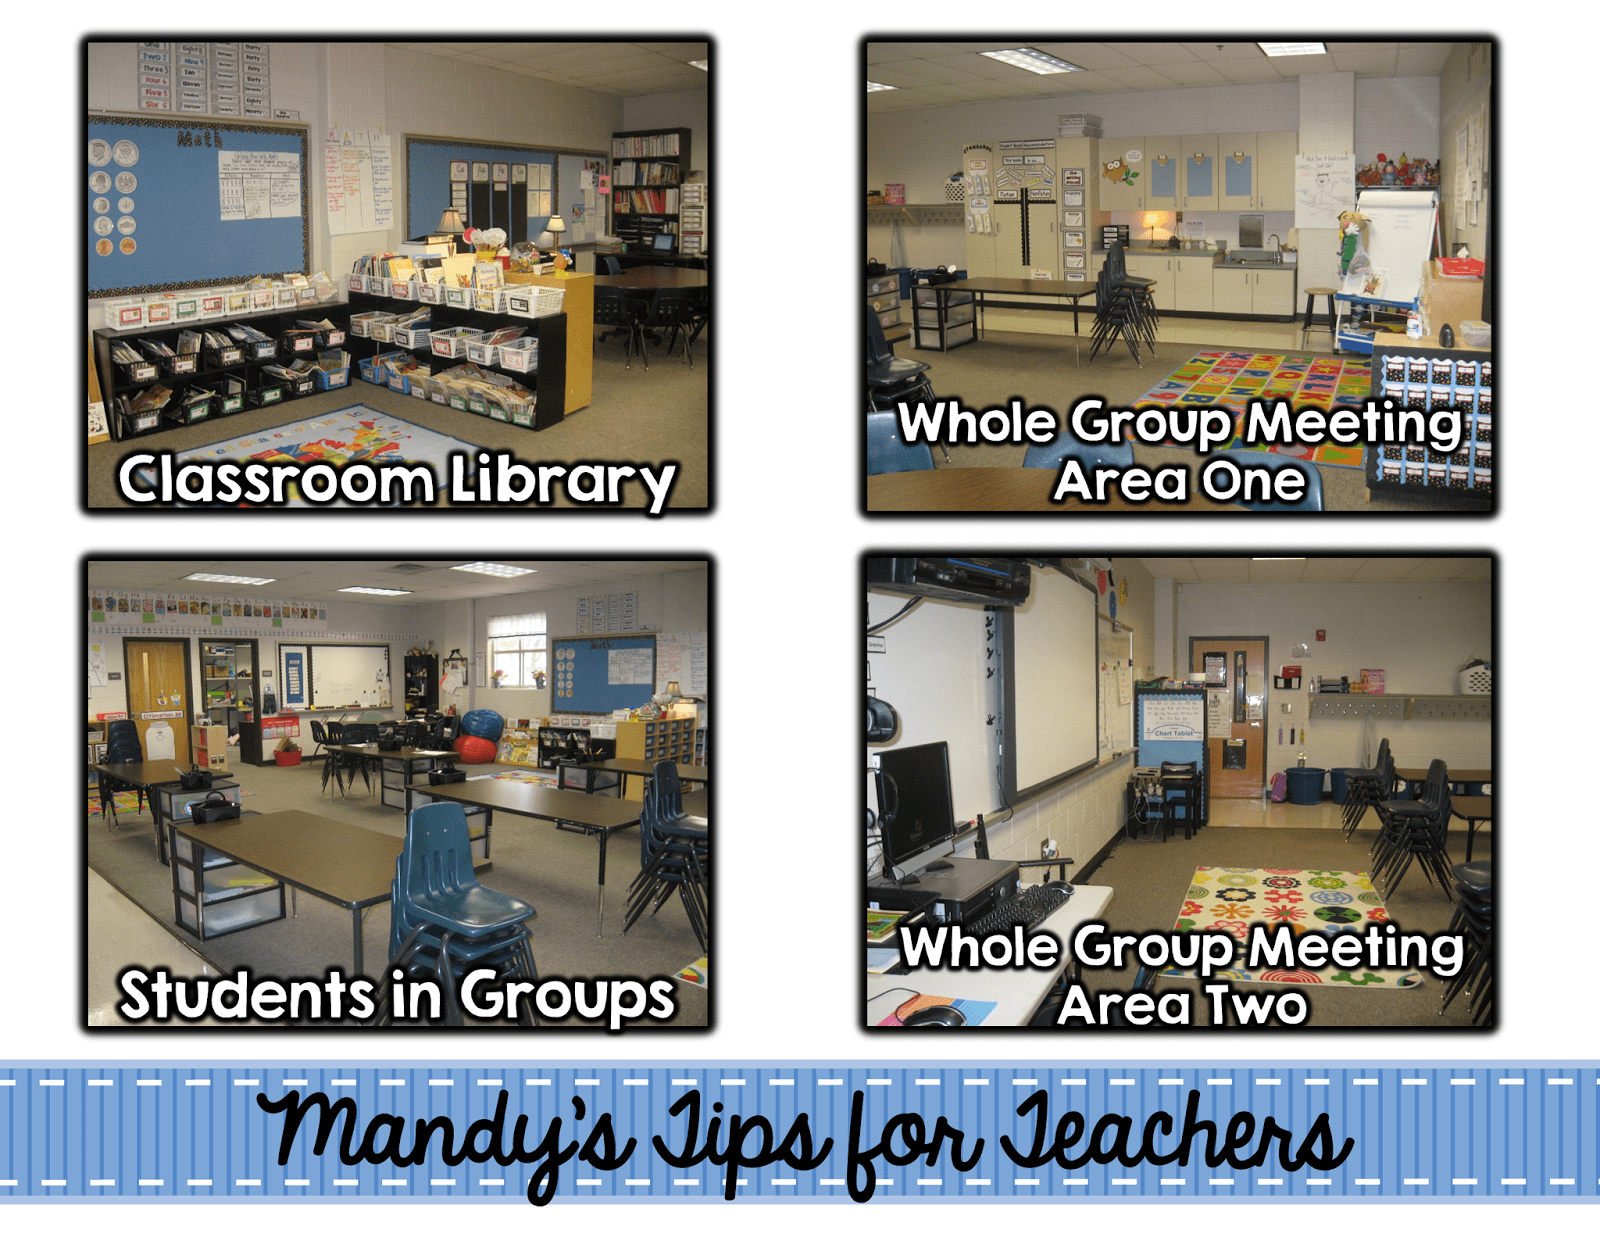
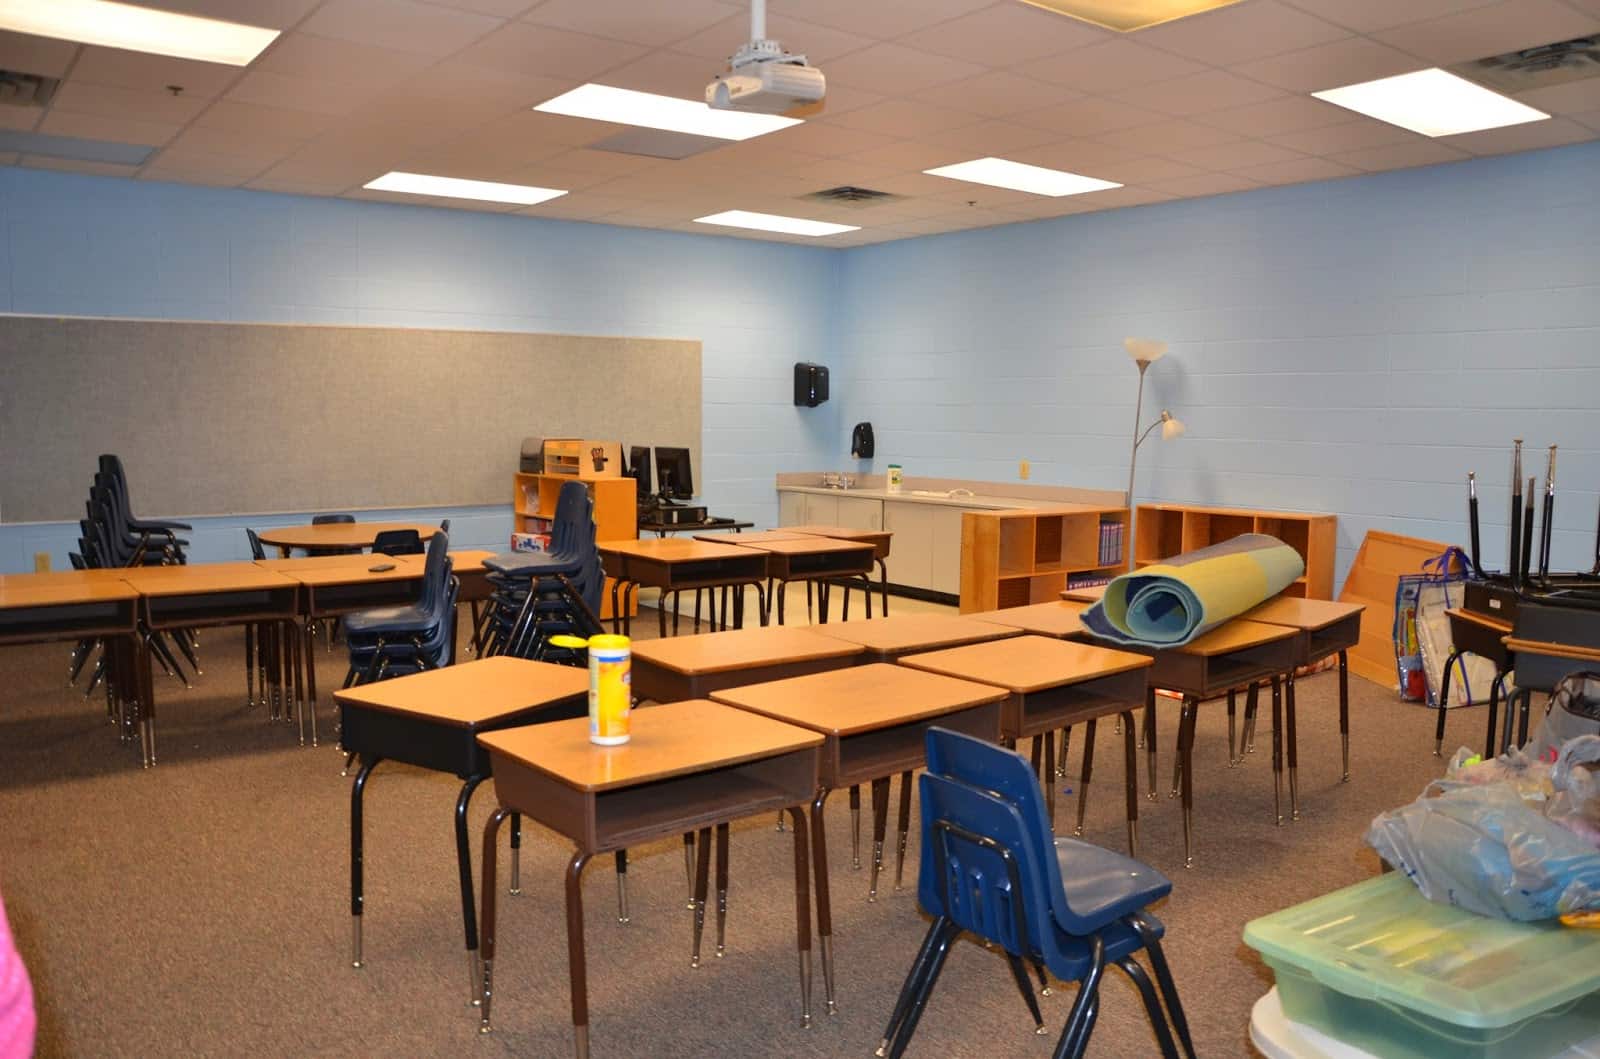
We switched it up and put her library area next to the counter and this made much more room for the desks. The arrangement started coming together at this point. I think it only took us three hours? Seriously, it took a LOONNNGGG time to make everything “fit.”
Here you can see things starting to come together. The little round table is her writing center.
Next to the writing table there is a shelf backed up to the computers. We were pretty limited in choice of where to put the computers because of the drop box and cords. We felt this was a pretty good solution because it made the most of the tiled, back counter area without interfering with traffic flow. Also, the computers were facing the back of the classroom, where the teacher could see it from her guided reading table, but the kids wouldn’t be turned around to watch the screens. Do those computer screens draw your kids attention like flies to honey, or what?!?!?
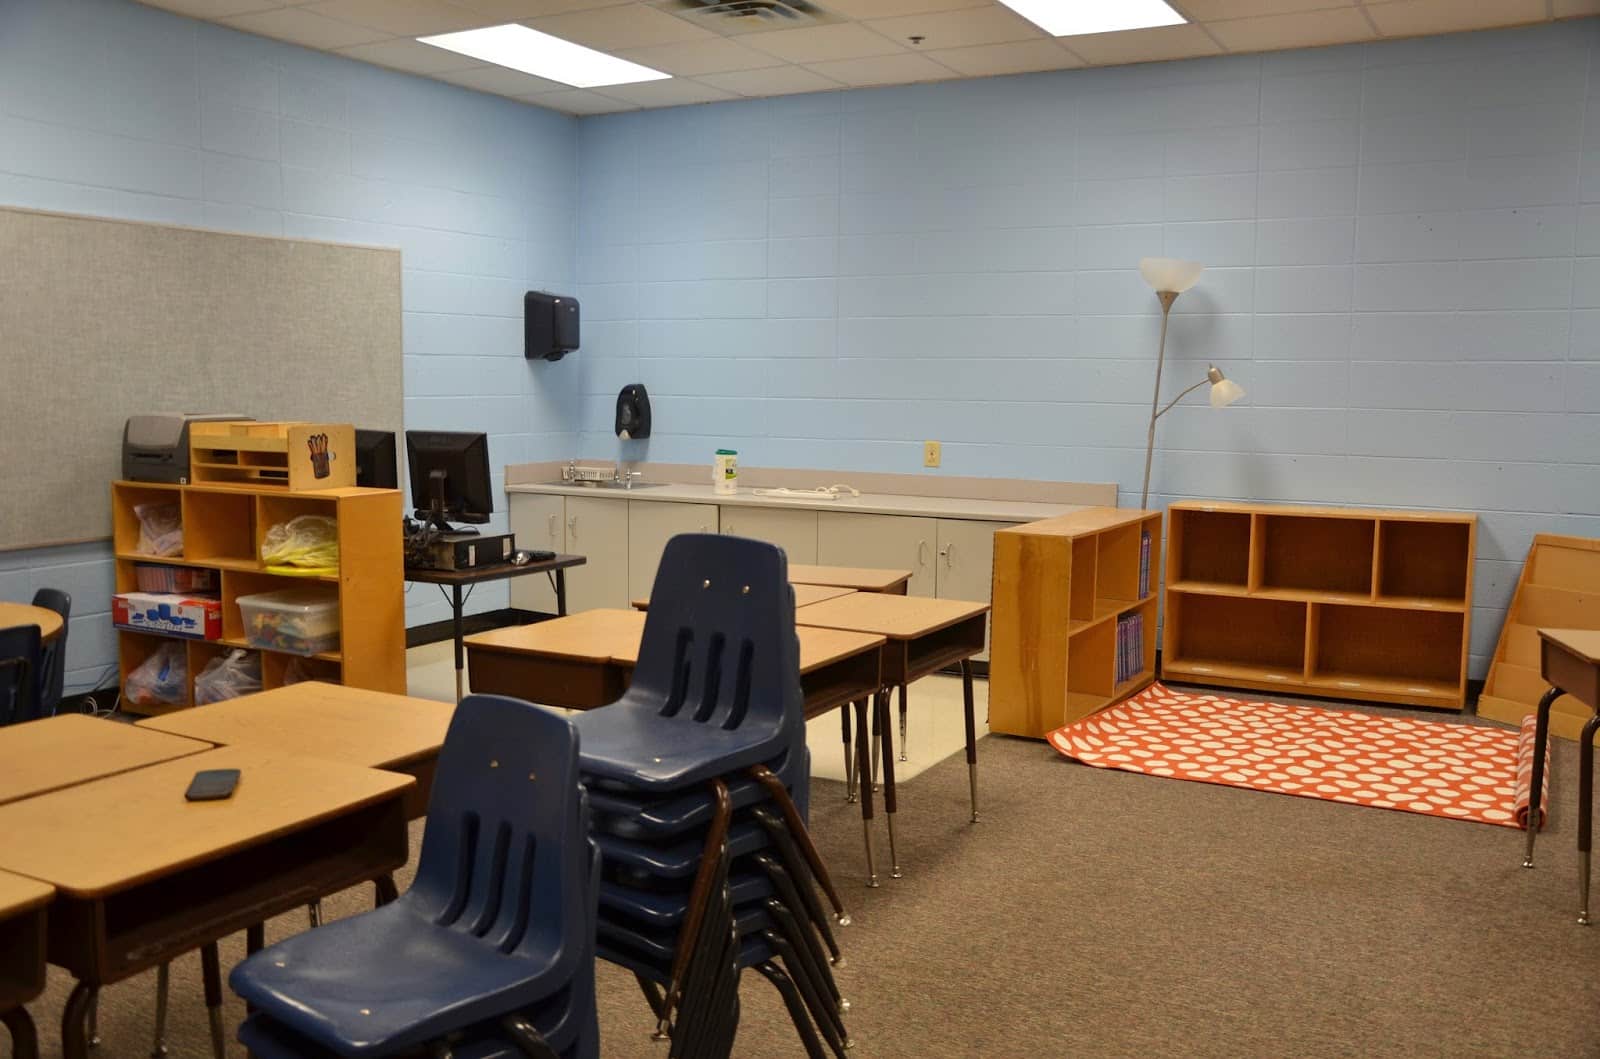
Here is a closer view of the library area next to the counter. I organized her library for her and will write up a post about that shortly!
I don’t know if you can see it over the piles of boxes, but her guided reading table is in the corner. And see how much smaller that pile is?!?! We actually did get a lot done the first day!!
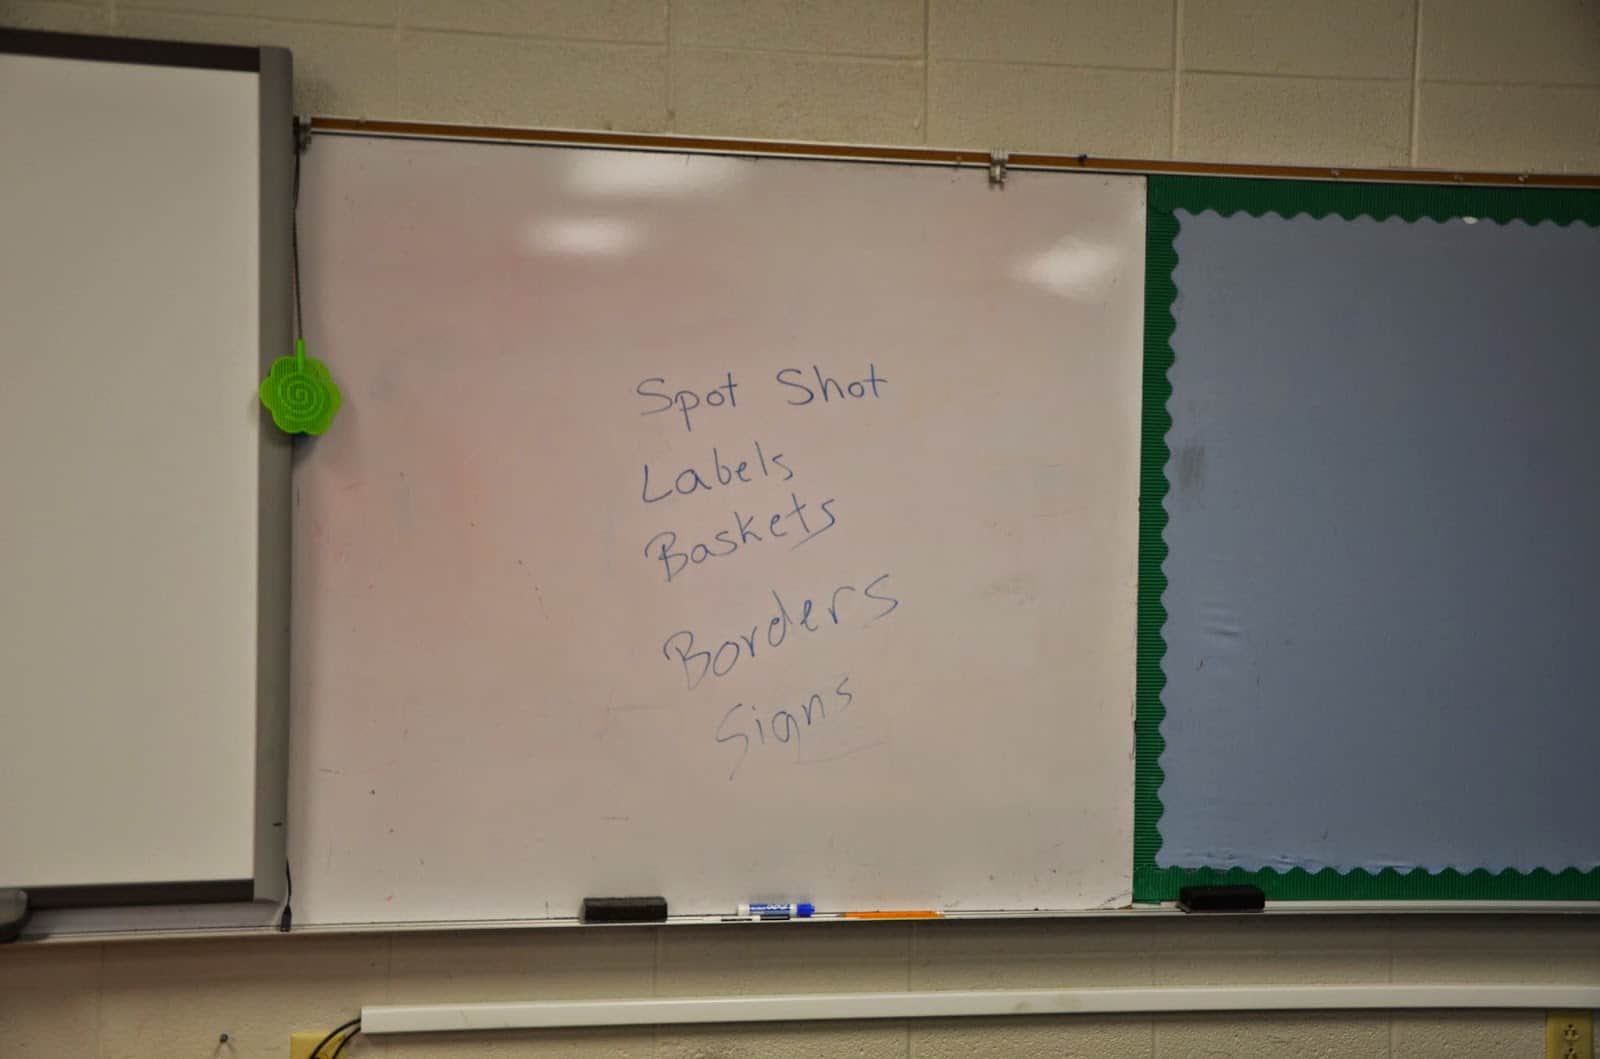
While we worked, when thought of things to do, or noticed things she needed to purchase, we made a list on the dry erase board. This made it soooo much easier than stopping to find a notepad…which would easily get lost in the chaos. When it was time to leave, she simply snapped a picture of the list on her phone to remember it all!
Next post, I will share the progress of her classroom and several more tips for setting up! We are JUST getting started!!
This post is part of a series of posts on setting up the classroom. Check out the rest of the posts!
Mandy Gregory is a 2007 and 2012 Teacher of the Year. She has taught Kindergarten- 4th grades in both the general education and inclusion settings. She is currently a 1st grade Special Education teacher. She is the owner and creator of Mandy’s Tips for Teachers website (www.mandystipsforteachers.com) and has over 13 years of teaching experience. She is married with two beautiful children.


I love this post! I am switching jobs and schools and will hopefully get into my new classroom in the coming weeks..teachers have to report aug. 19th and school starts aug. 25th. I hope to be done with everything by then!
Sarah
teachingiscolorful.blogspot.com
I would love to hear more about the Next Year Box! Also, I too use the whiteboard for lists…much easier to snap a picture at the end of the work session.
Sarah
Kovescence of the Mind
Hey Sarah!
You can read more about the Next Year Box here!
http://mandys-tips-4-teachers.blogspot.com/2014/05/the-next-year-box.html
I loved using it!!!!
Hope this helps!
Mandy
I make lists on my board too…erase them as I complete them..also another list of supplies I forgot to get..snap a pic for the…DOLLAR STORE!! 🙂 Have fun! Wendy 1stgradefireworks 1stgradefireworks
Set a time limit-ditto that!! Now, I jut need to abide by my limit. Smiles!
What a great, quality post! I am the same way…I LOVE, LOVE, LOVE setting up classrooms! Now if only this time of year wasn't so busy and we could get paid to help teachers do this!
Mrs. Olson’s Lucky Little Learners