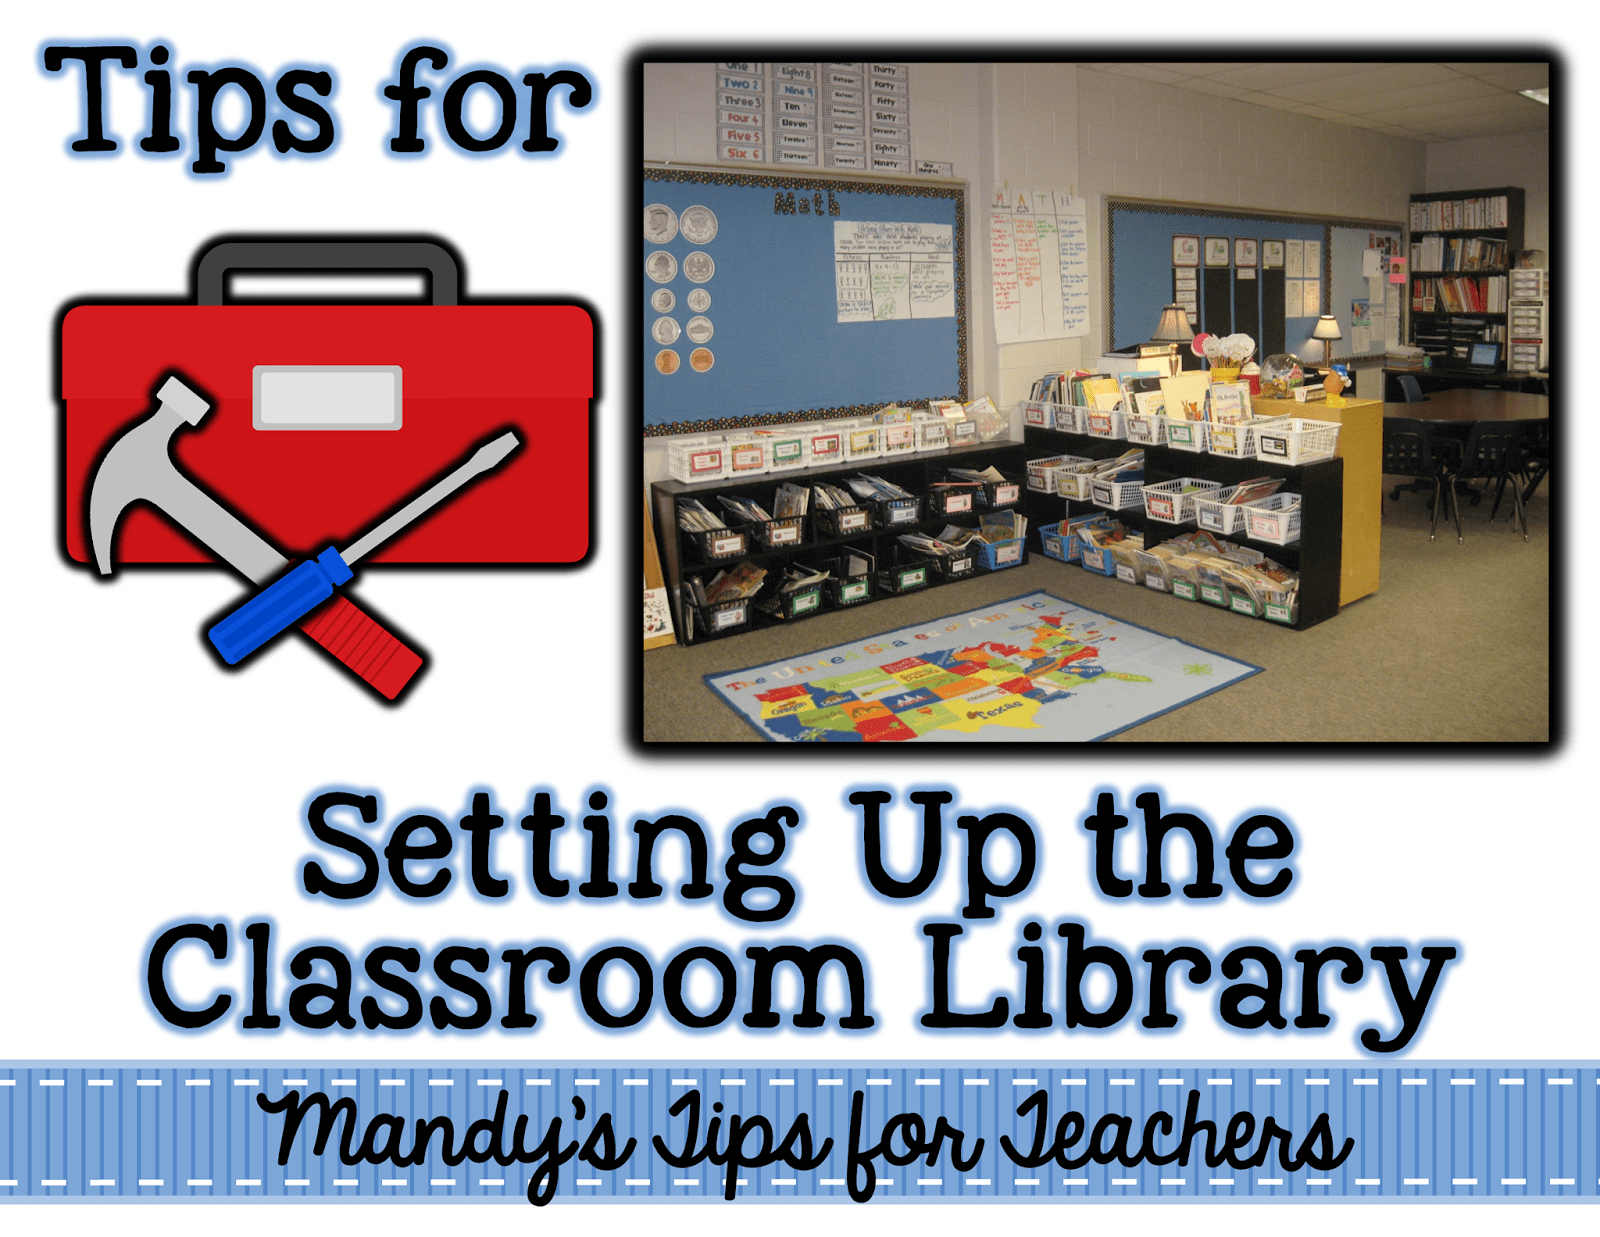
I am back (again) sharing some tips for setting up and organizing the classroom! Today’s focus is
I love books. Any kind and all kinds of books, but children’s books will always hold a special place in my heart. I have written a good bit about my classroom library and how I choose to organize mine
here and then was also featured on
Reading Rockets.
In general, I do not choose to level my classroom library. I, personally, would rather teach children how to choose appropriate books as a life skill, because they will be able to practice this every time they walk into a public library, Barnes and Nobles, or Borders bookstore. The real world isn’t leveled by AR or colored dots and I want my classroom library to mimic that. So please keep that in mind as you read this post :).
Okay, off my soapbox!
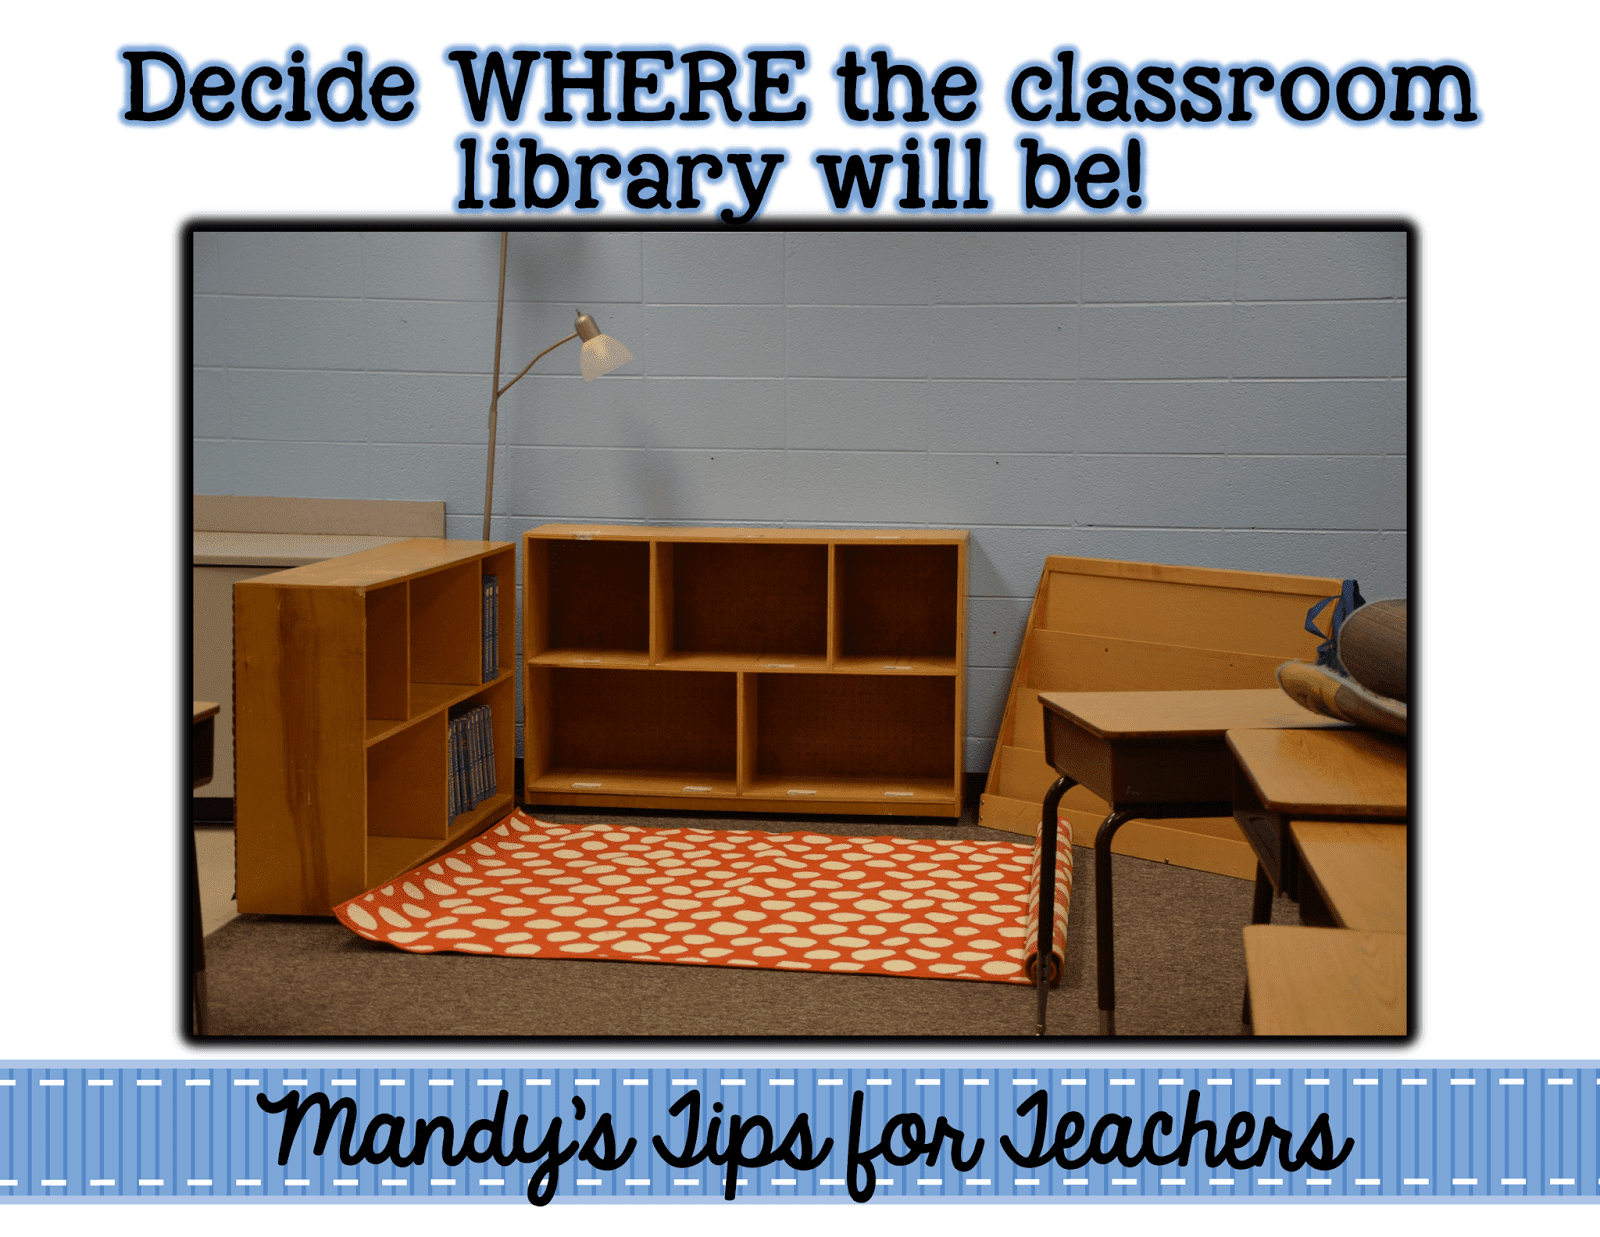
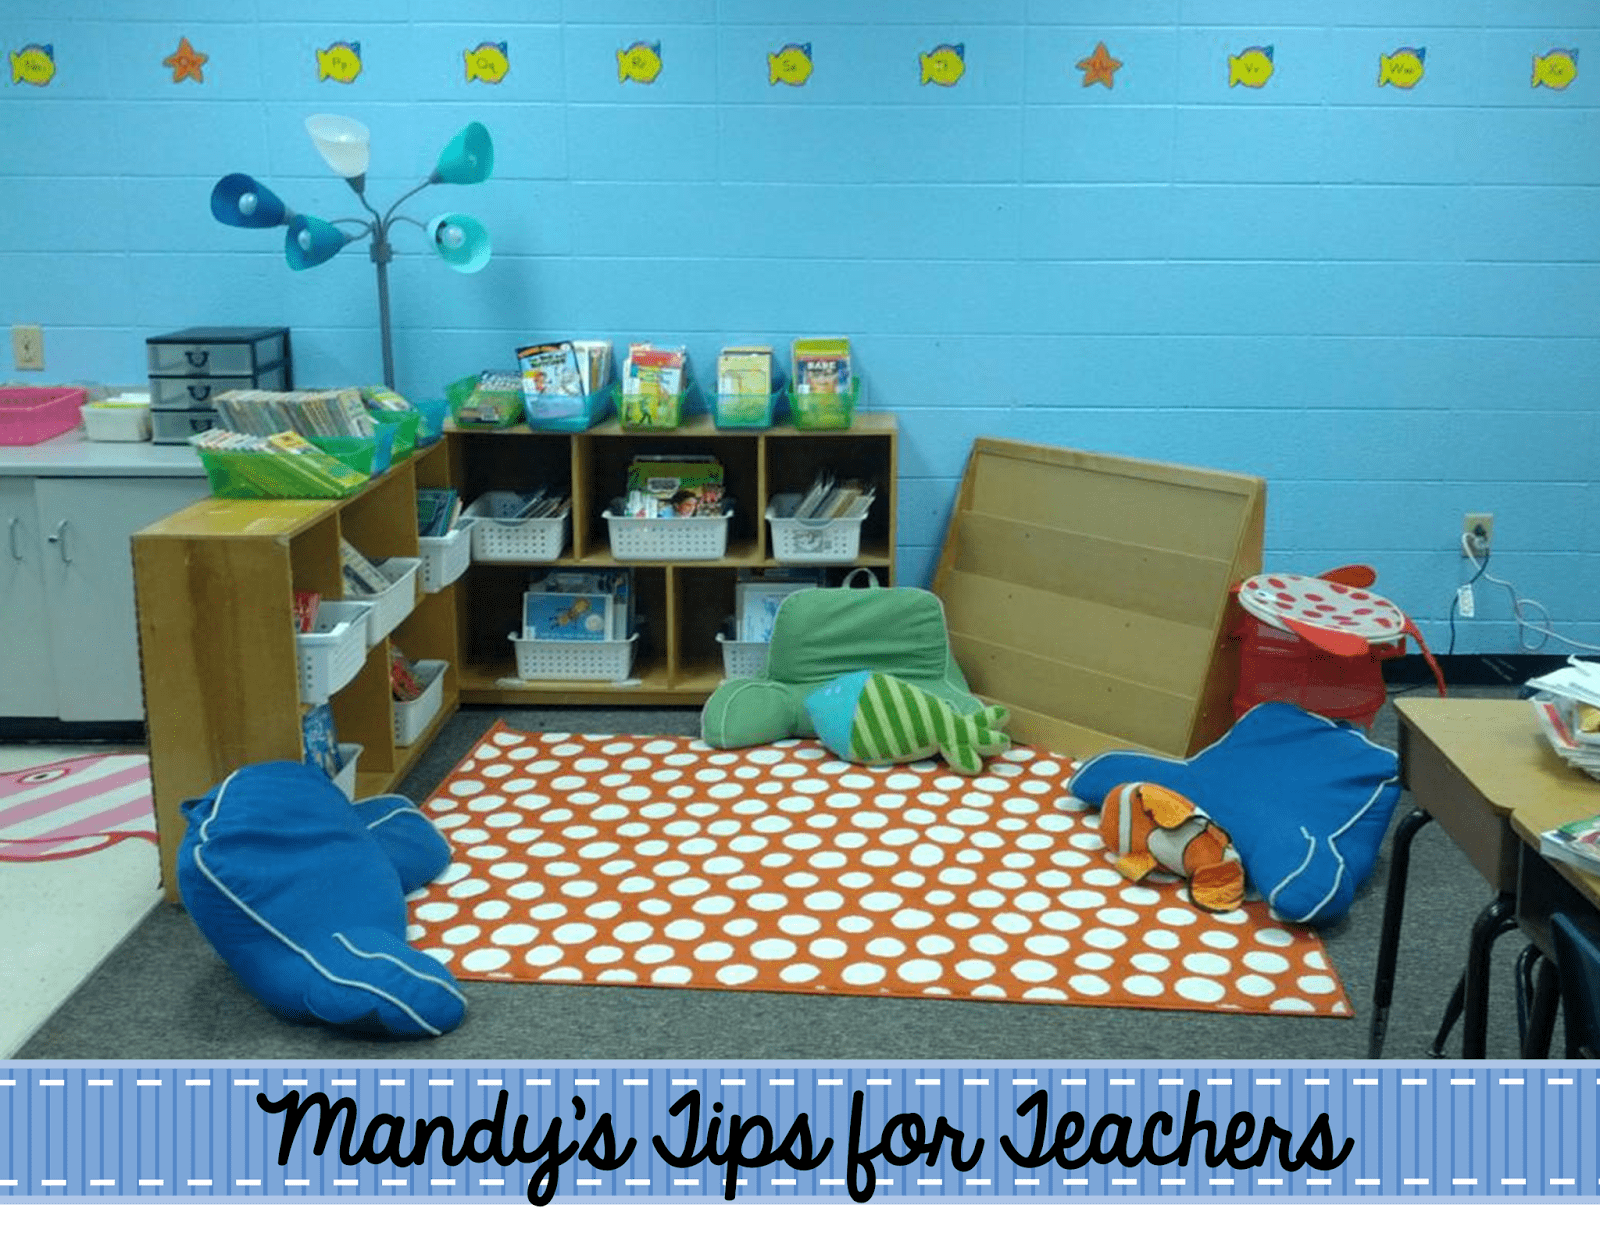
Most teachers like to create a reading “nook” or corner. However, don’t be stuck on the idea of it being a true corner. In both the classrooms I worked recently, both teachers wanted to use a corner, but it wouldn’t work with the arrangement of the furniture and outlets and such. So we just created our own corner using bookshelves!
The bookshelves will be for baskets for books by genre or theme. The slanted bookcase will be used to display seasonal or books related to a specific learning theme. These will be changed out pretty often.
I would caution using tall bookshelves because they are a tipping hazard when students pull books off shelves. Also, be very aware of your “sight line” and that the shelves don’t block the teacher’s ability to see EVERYTHING and EVERYWHERE in the classroom. I made that mistake my first year. Whoops. Kids like to find blocked and hidden areas and are drawn to them like magnets! It is like a kid super power!
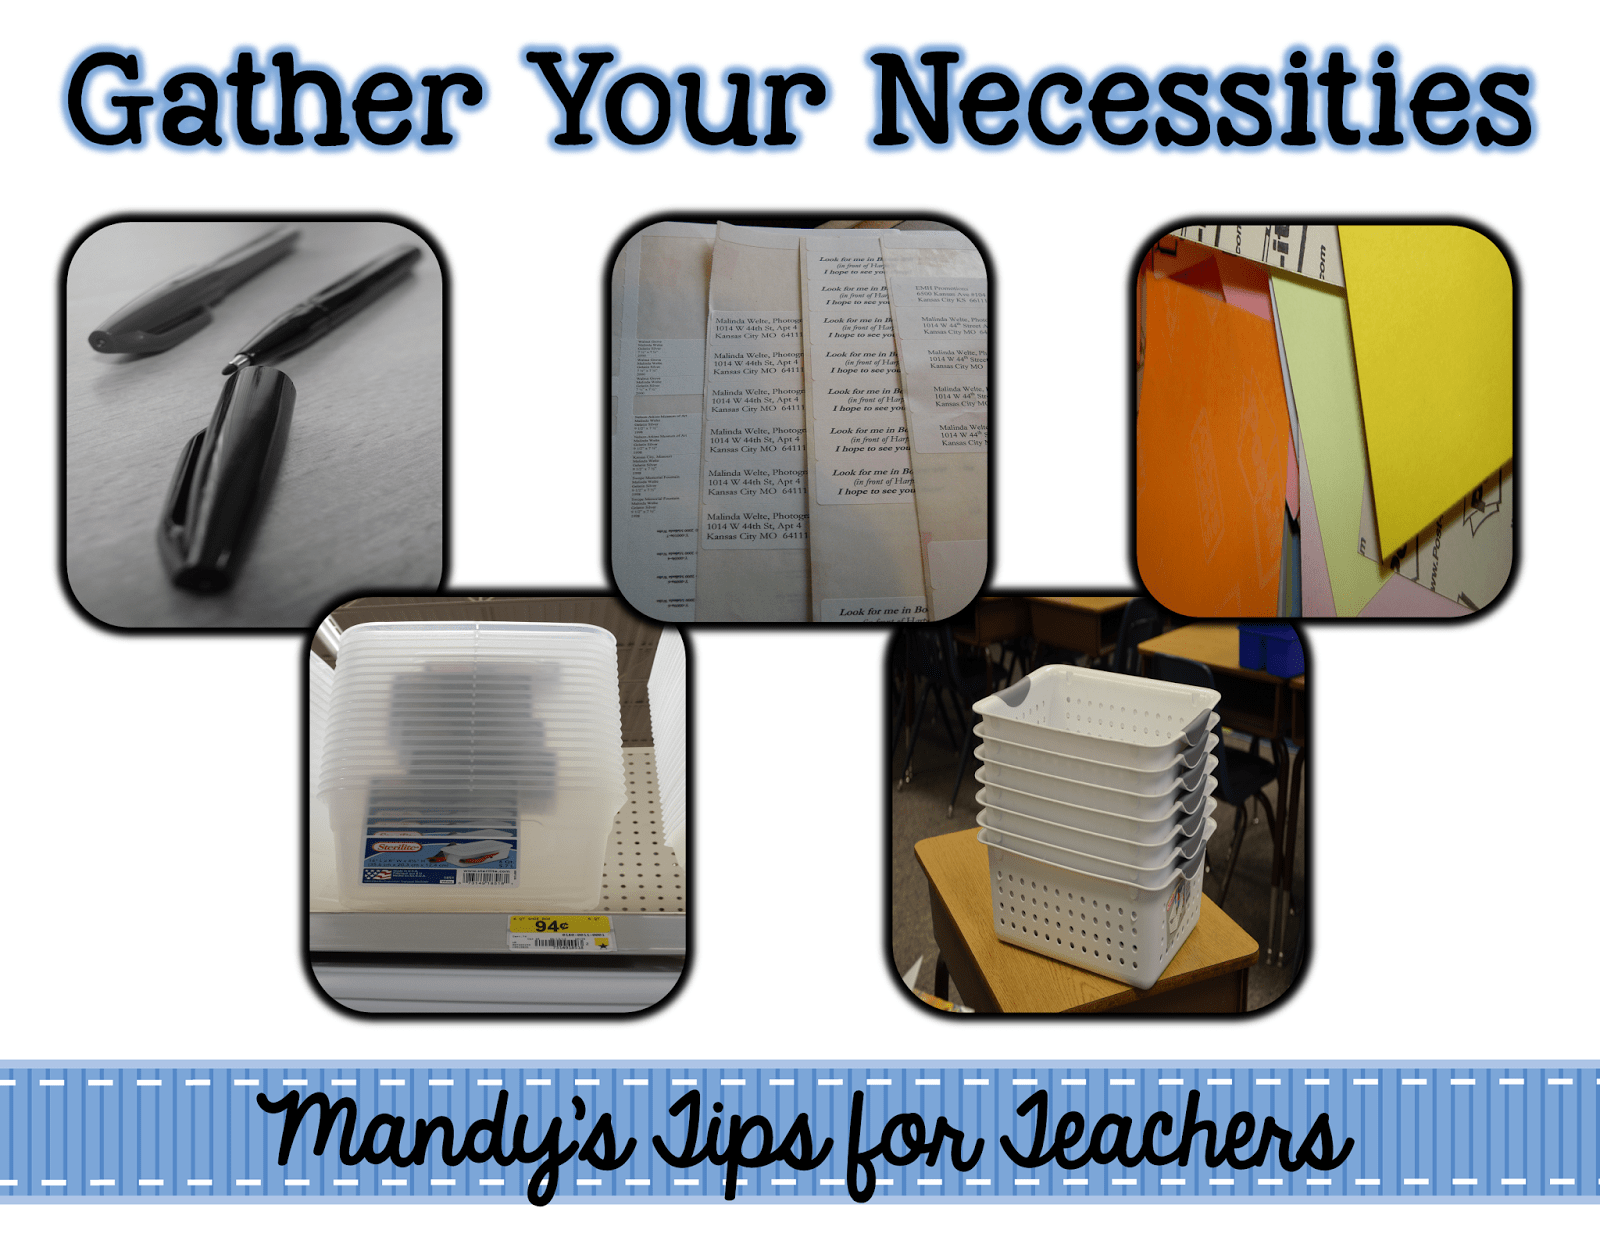
To organize the library I like to have pens or black markers, address sticker labels, post it notes, and baskets. To create this classroom library we used a combination of cheap, shoe box style, plastic boxes from the Dollar Tree (They are green and blue to match classroom decor) and more expensive Sterilite baskets from Target. We used the smaller baskets for chapter books and the larger baskets for picture books.
When planning the baskets you will need, also take into account how much shelf space you have. It doesn’t matter how many baskets you have if you have no place to put them! LOL!
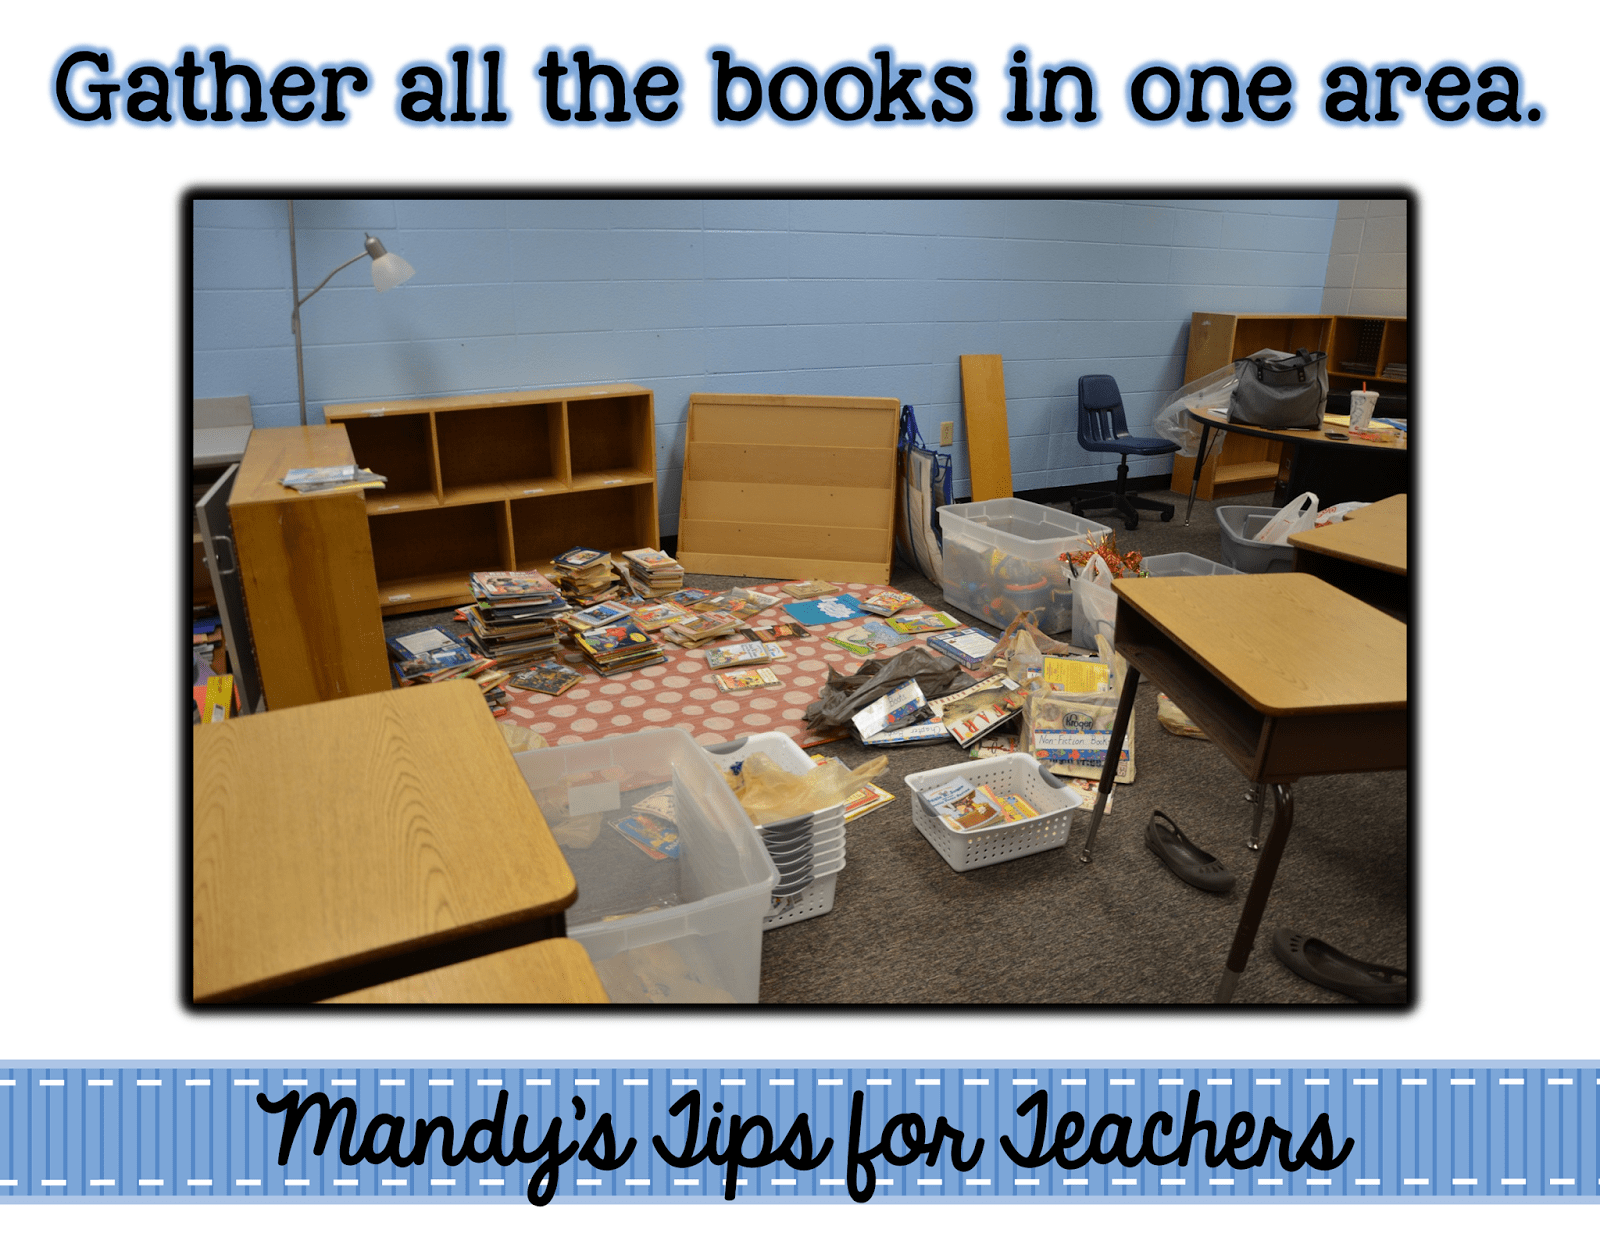
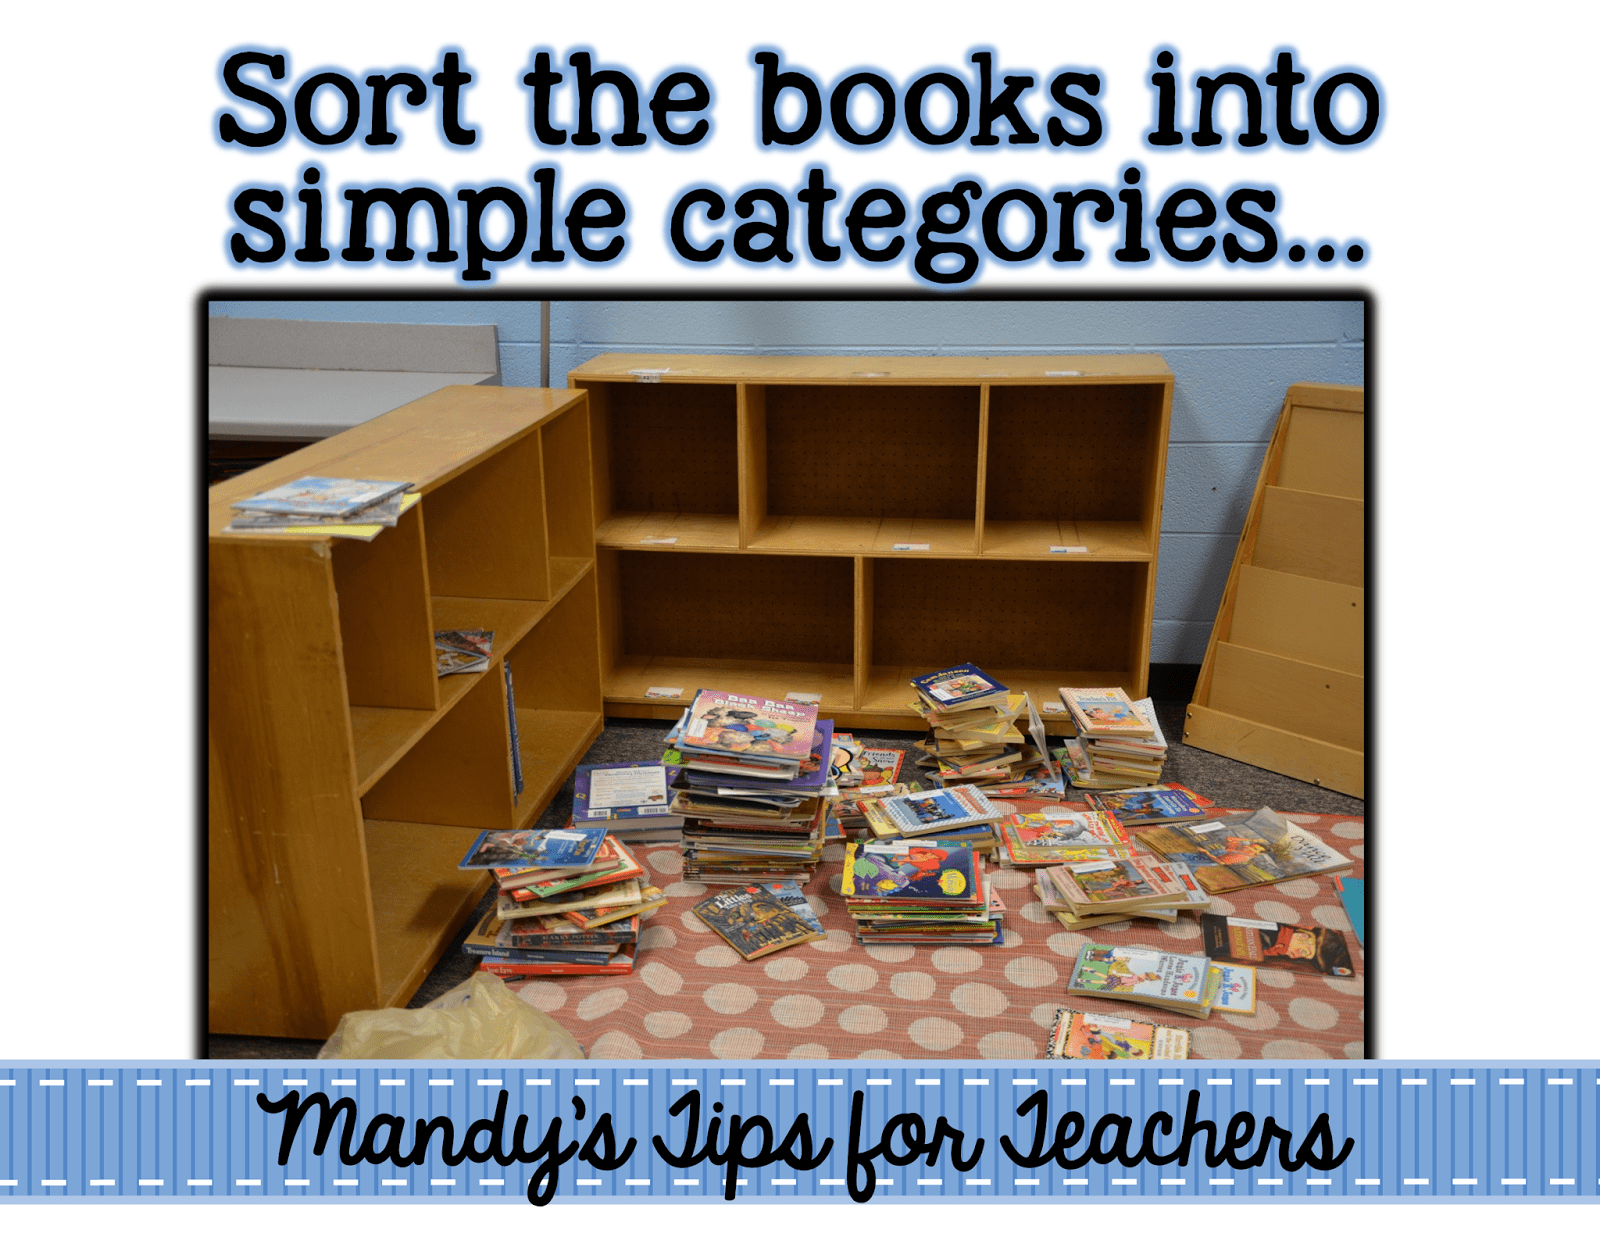
We unloaded ALLLLLL of her children’s books in one area and I got down to business.
First, I began by simply sorting her books into simple categories such as chapter books, picture books, nonfiction, and so on. As I went through the books I pulled out any books that were damaged beyond repair, out of date and unlikely to be picked up by kids, or inappropriate for second grade. I set these to the side.
I looked for similar groups and noticed that she had several Junie B. Jones books, Magic Tree House books, Disney books, and Magic School Bus books. I started to group these together and made stacks in the floor.
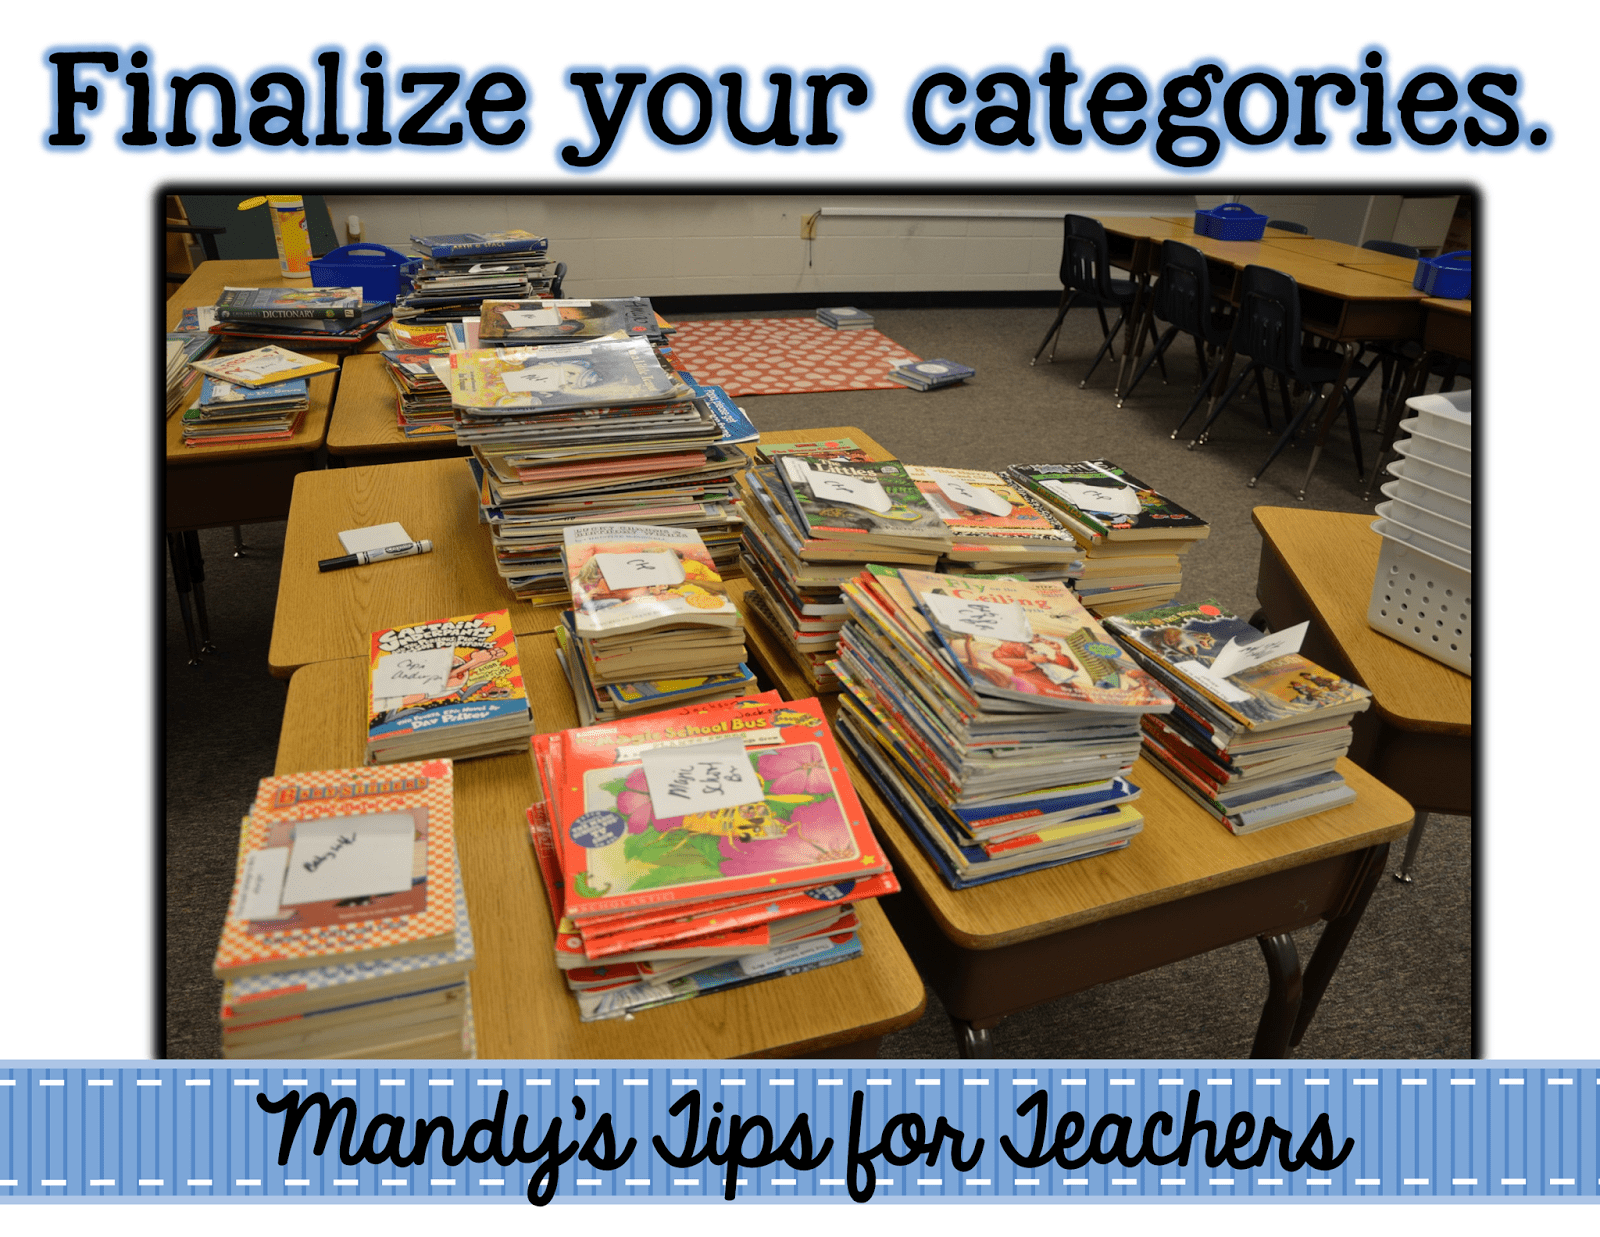
After I went through all the book, I finalized my categories. I noticed that we had lots of Clifford and Little Critter books, and Dr. Seuss but not enough books (or baskets) for a category for each. I simply combined these into a “favorites” basket.
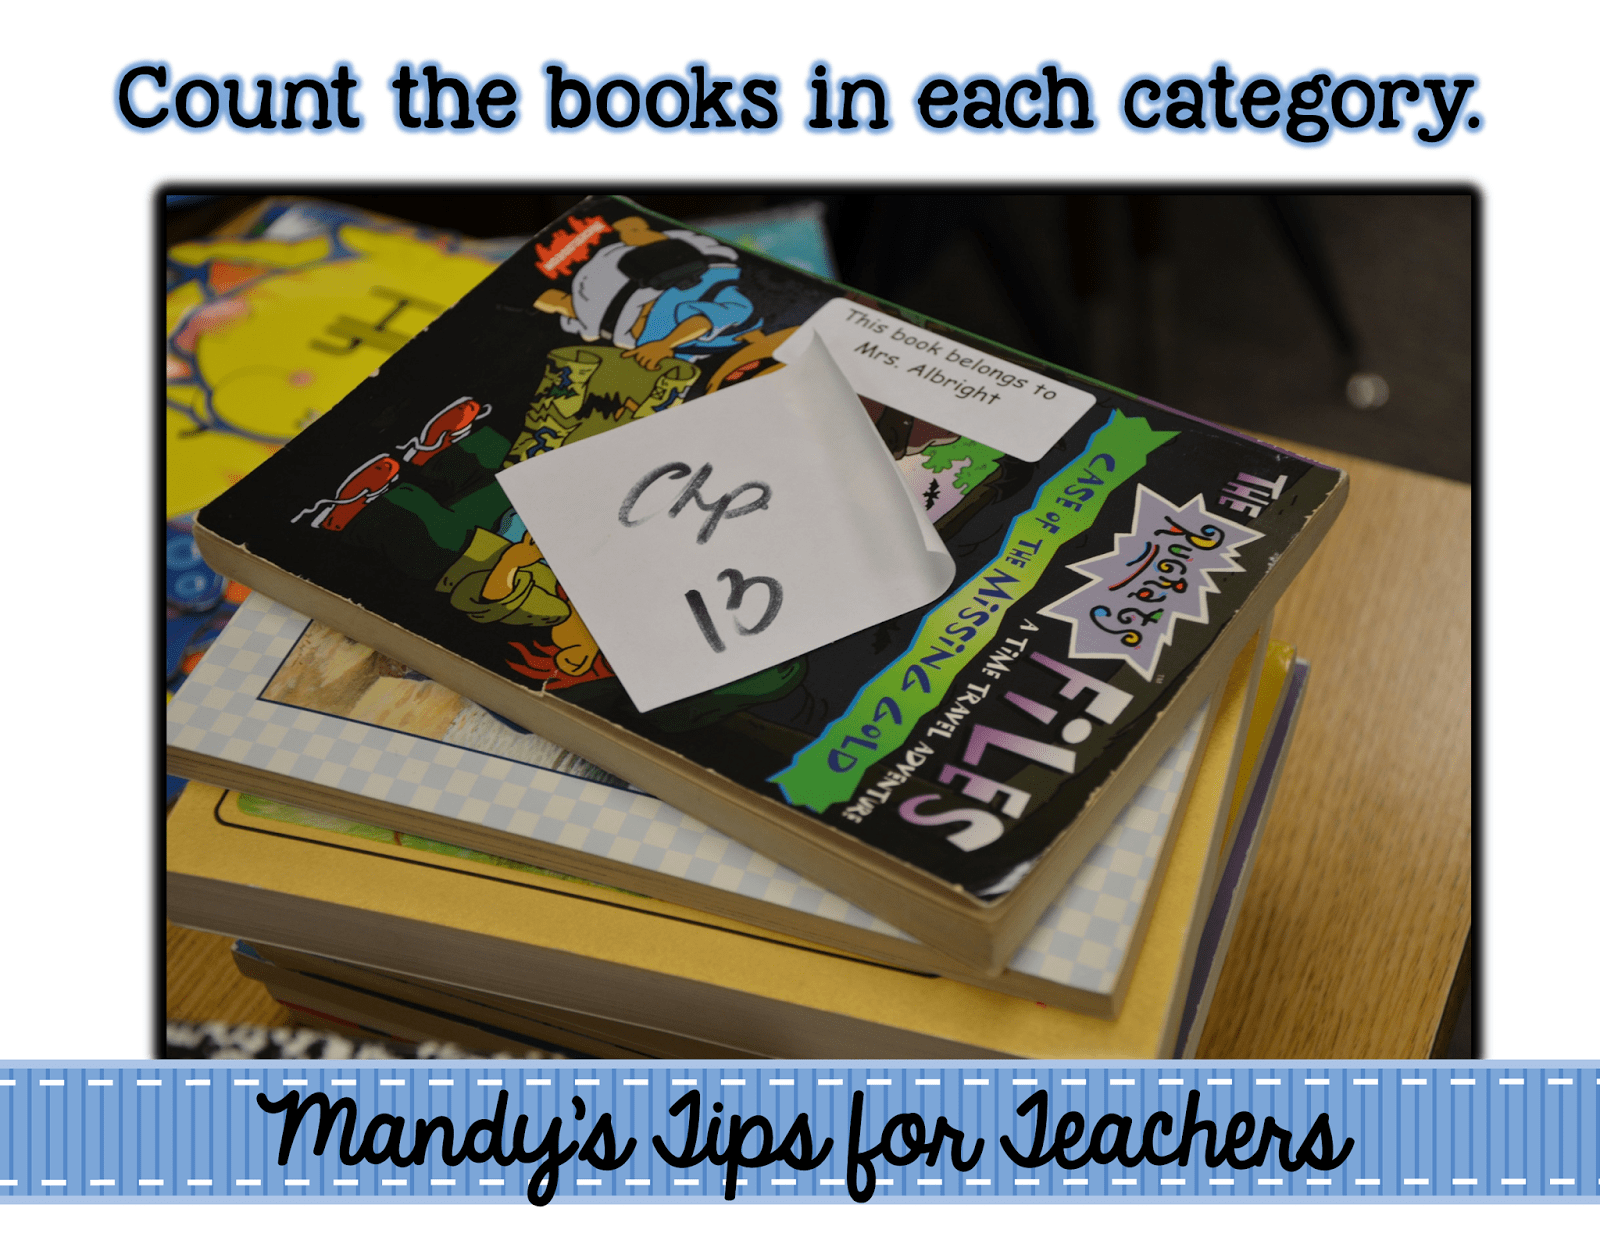
Then I went around each stack and counted the number of books in each category. I wrote the title of the basket category and the number of books in the stack on a post it note. Believe it or not, that is my chicken scratch saying “Chp 13.” That means chapter books- 13. After I labeled each stack, I pulled off all the post it notes and stuck them in my purse! Now, I knew exactly how many labels I needed for each category and could make the labels form the comfort of my own home in front of the TV!
Here is an example of the labels I used in my classroom. I made them more fancy with a matching icon and then used the same icon on the basket label. You can read more about how I did that
here (and even get FREE labels!).We were going for a more simple (and quicker approach), so I simply wrote the category and “This book belongs to…” on each label. I did this at home and made sure I had enough of each different category of baskets by referring to the post it notes!
A tip when creating labels: I noticed that the teacher wrote, “This book belongs to Mrs. A at A Street Elementary School.” Which was fine…when she still worked at A Street Elementary School. Unfortunately, she changed schools…and now all her labels were wrong…and confusing. So you may want to reconsider putting the school on the label and just include your name.
So let’s do a clock in at this point. After I sorted, categorized, and counted the books I had spent about an hour and a half. Seriously. Then, I went home and spent about 45 minutes or so printing and creating the labels. They were super simple. I went ahead and printed the whole pack so there would be plenty of extras for future books.
The next morning I started labeling books first thing.
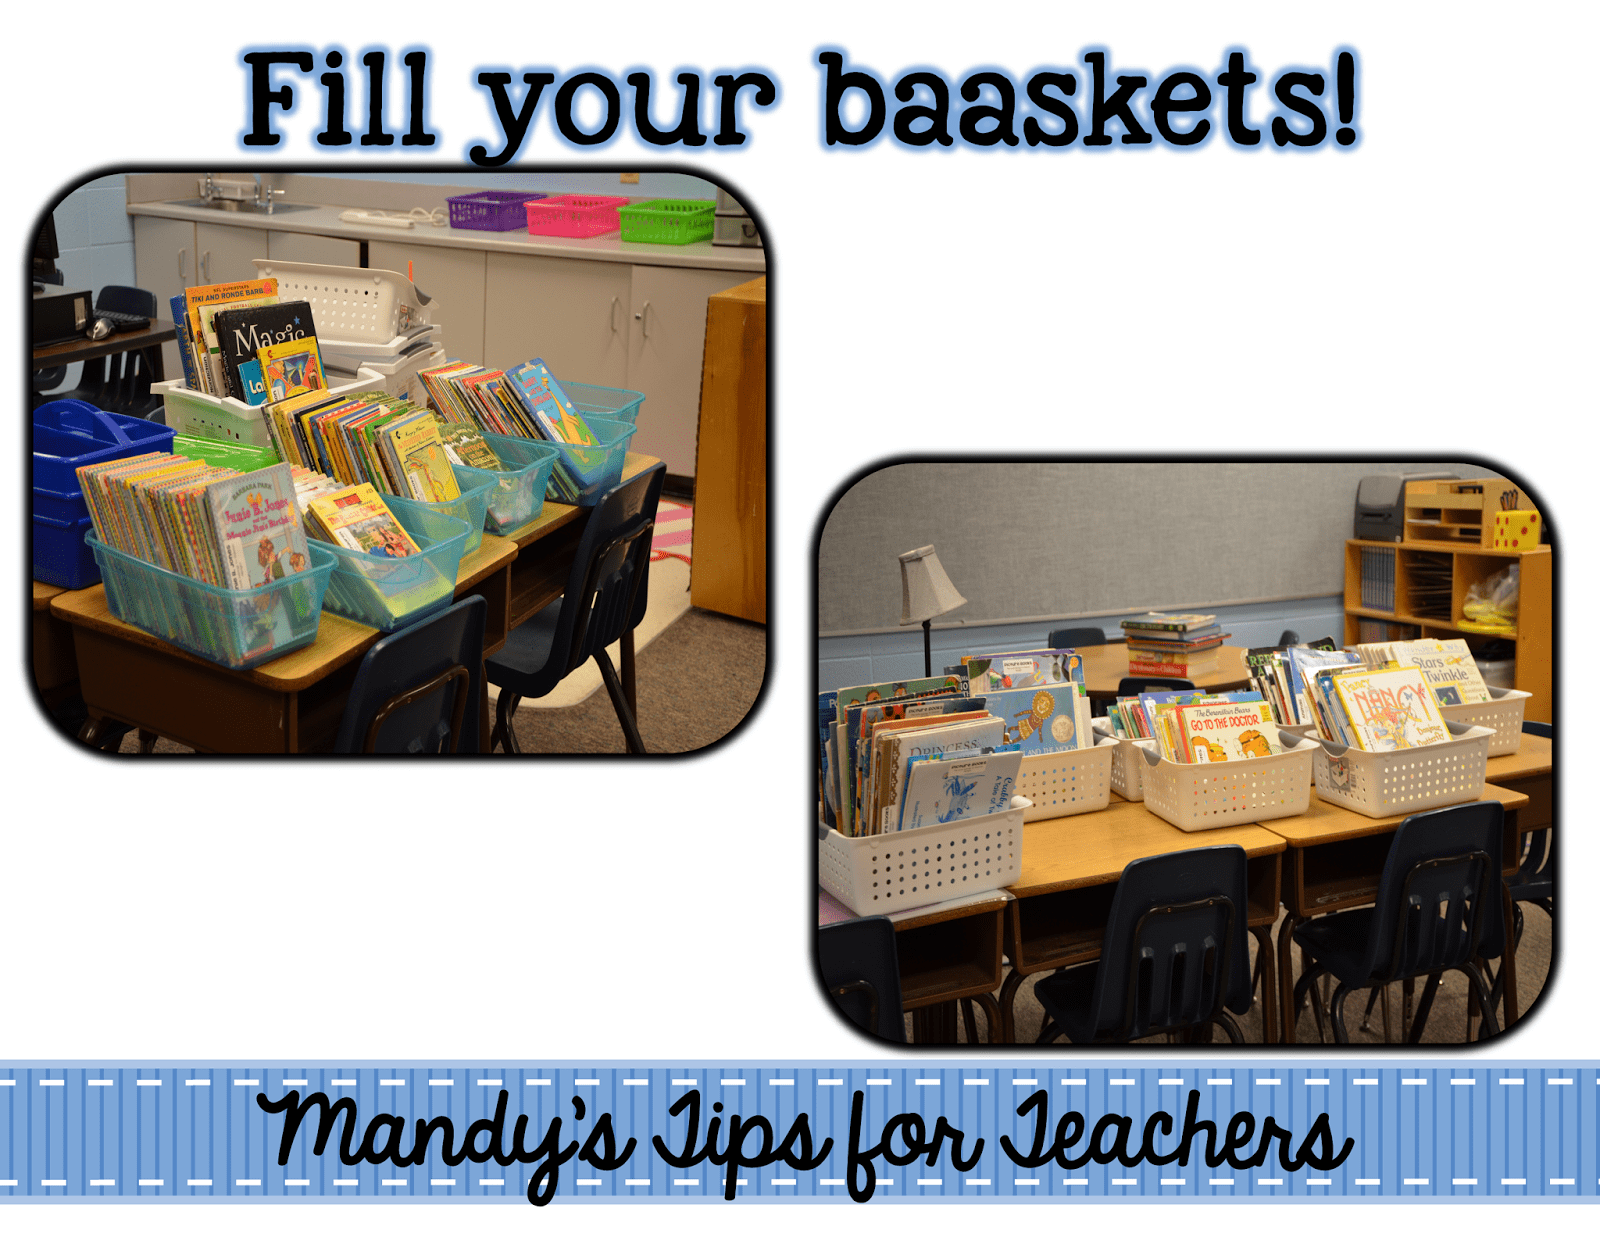
I labeled each book in a stack and then transferred the stack to a basket. It took about an hour or so to label all the books. Some of the books were already labeled with old labels, so I just stuck the new label right on top! LOL!
We loaded up the shelves with all the baskets and added the pillows, lamp, rug and red basket for “lost” books. It looked so homey! The only thing missing? Basket labels. I don’t have a picture of this (yet) because she ran out of labels. She said she would send me a picture on Monday and I will updated the labels to finish off this post.
Total time invested (included home time for creating labels) was about four hours from beginning to very, very end! Not too shabby!
How do you organize your library?
This post is part of a series of posts on setting up the classroom. Check out the rest of the posts!
Mandy Gregory is a 2007 and 2012 Teacher of the Year. She has taught Kindergarten- 4th grades in both the general education and inclusion settings. She is currently a 1st grade Special Education teacher. She is the owner and creator of Mandy’s Tips for Teachers website (www.mandystipsforteachers.com) and has over 13 years of teaching experience. She is married with two beautiful children.


I have loved reading all of these posts! What a great friend you are to give so much of your time. How long have you been out of the classroom? Do you plan to go back at some point?
I think you are the first teacher I have ever seen who discourages leveling books for a classroom library, and I totally agree! You're just awesome!
Wow! That looks great! I wish you could come to my classroom and help me set up my library! My books are already sorted. They just need labels now! Haha. 🙂
Pam
Diary of a Second Grade Teacher